Over the next few posts, we are going to walk you through the how-tos of assembling a dreamy dessert bar that strikes the perfect balance with style, taste, and practicalities. There are a lot of details to cover to pull off a beautifully styled table: menu, servers and flatware, props, backdrops, and signage to name a few, and then there are all the practicalities like quantities, organization, and utility. It can be a bit overwhelming for the novice and professional alike. But take a walk through our dessert bar boot camp over the next couple of weeks and you will be fully prepared to create a striking spread that even Martha would approve.
I like to think of the dessert bar as a party within a party, and like a party, it takes planning to pull it off. So let’s start with the basics.
First up: the venue, date and event style.
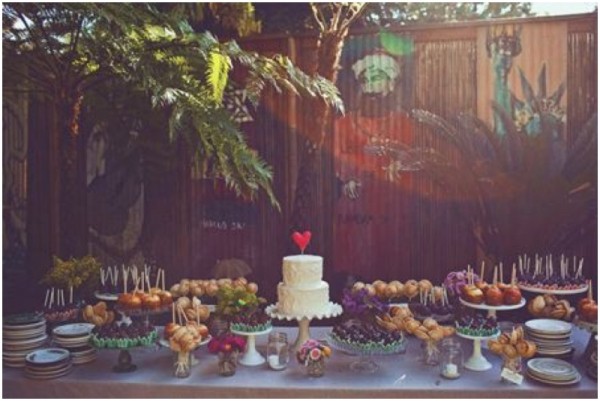
These determine the styling direction for your table, and play an important role in menu design. Are you having a casual backyard dinner party with long tables and cafe lights? Is your event more rustic – set in a barn/stable/mill, or at a family ranch estate? Are you going for a super-styled bash set in a white-walled gallery or loft with warehouse windows and exposed brick walls? A more traditional ballroom? A destination escape set amongst palms and sand? It may seem obvious, but it’s important to have this figured out first before jumping into a menu tasting or design.
Next: menu design!
So now that you have your style and venue chosen, it’s time to choose your sweets. The most important factor is that you serve items that you love, because even if you have the most beautifully styled dessert bar anyone has seen, it’s going to be a flop with food that is unsatisfying. Use your event date and style as a guide for brainstorming:
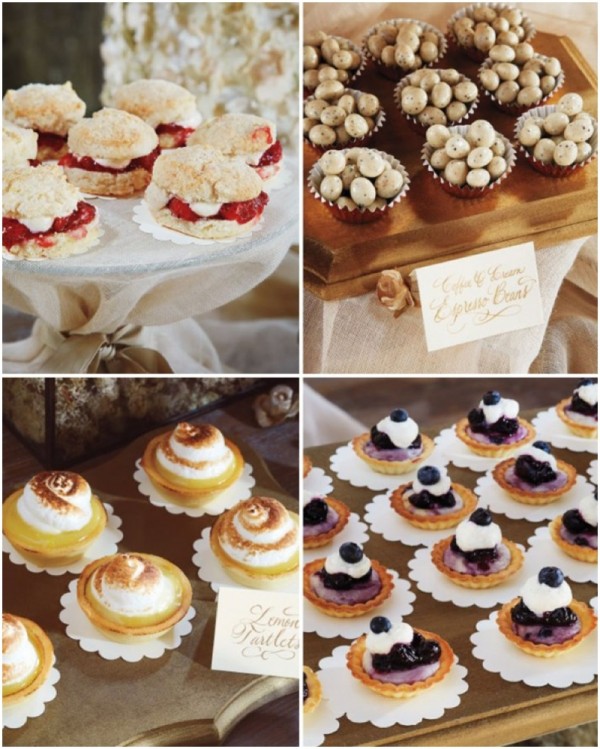
-Think about the season your event will take place in – what are some flavors, fruits and experiences that come to mind?
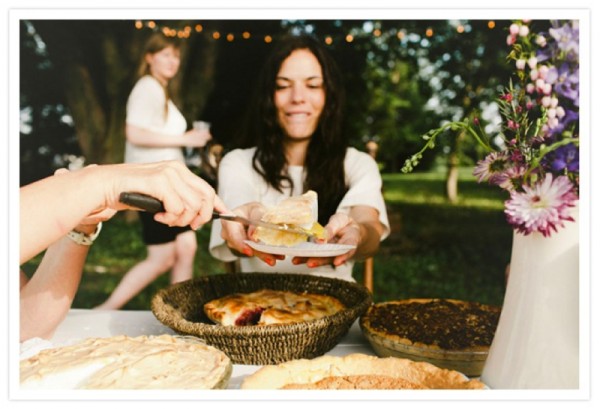
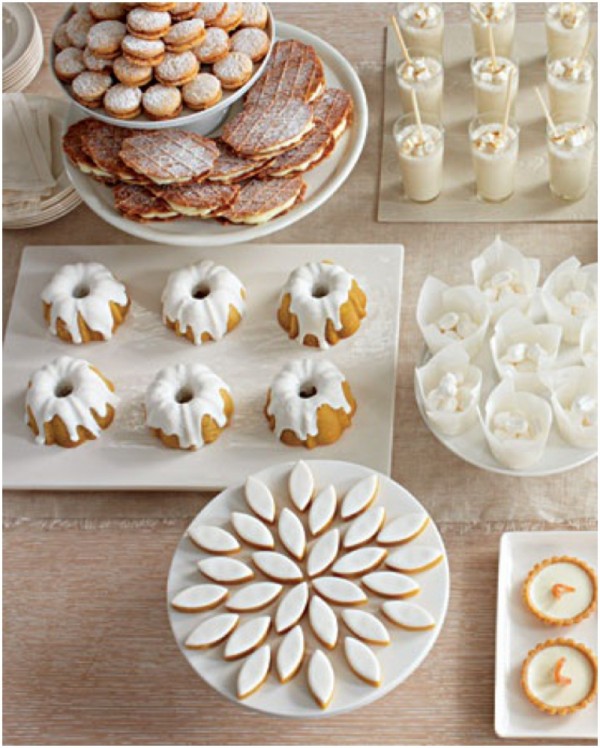
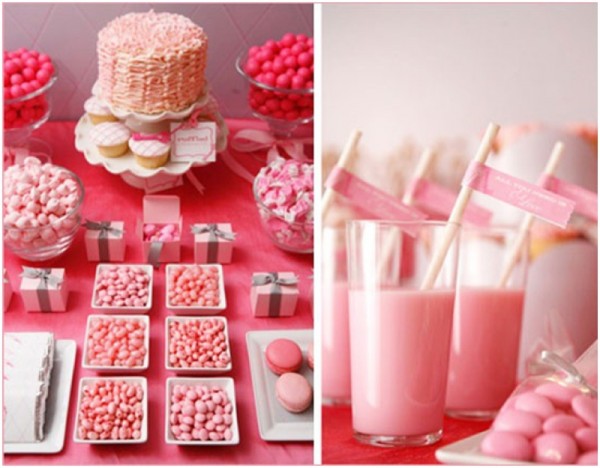
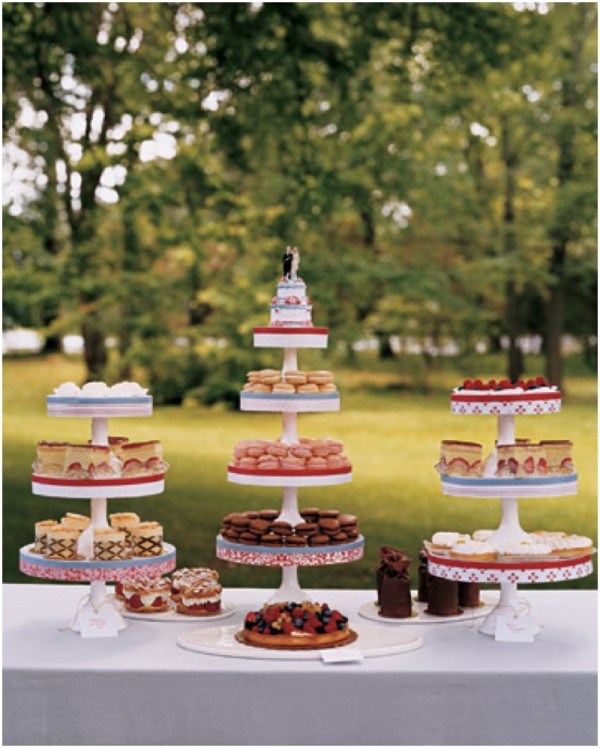
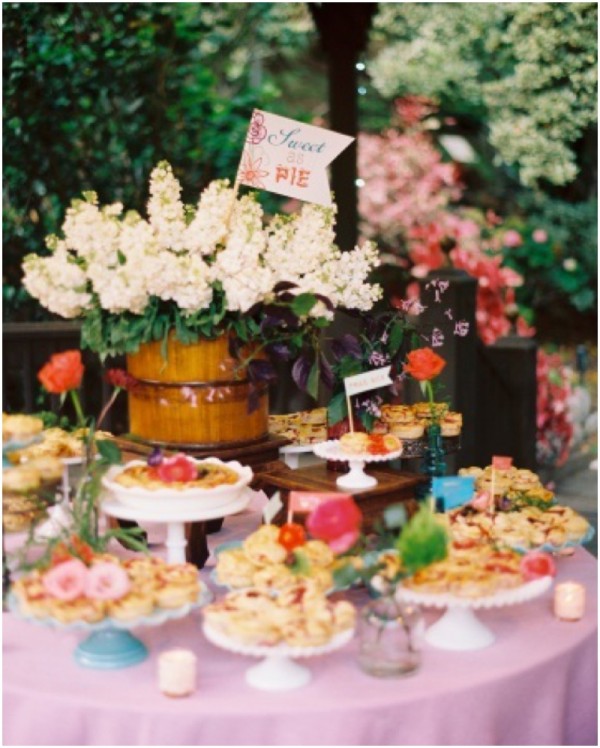
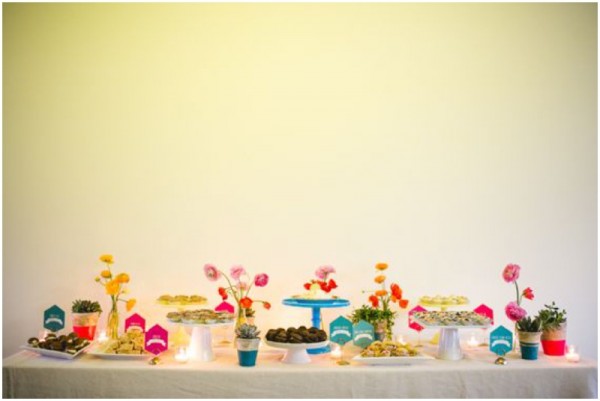
- Think about your style, and the types of foods you associate with them. For example, something rustic usually calls to mind pies, fresh fruits, shades of brown (caramel and chocolate, for example), while something modern may call to mind more color, geometric shapes, symmetrical servings, and clean lines.