Hi! This is Wendy with Birds of a Feather and I have a fun little tutorial for you today! What a cute idea for a wedding send off! They are easy to make and oh so super cute! These eggs are said to bring good luck to the person who’s head they are smashed over – how fun is that?!
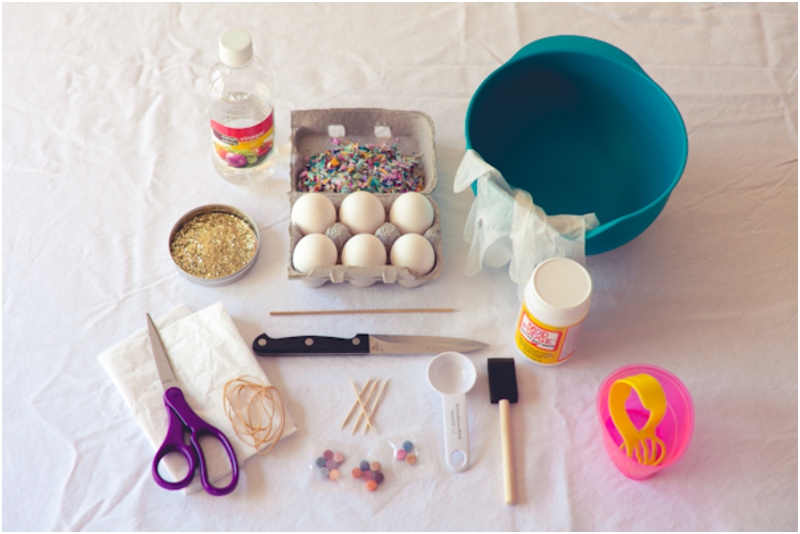
Let’s start with the supplies you will need. If you find yourself crafting quite a bit like me, you more than likely have some of the items lying around already.
Carton of eggs (get the white ones, the dye shows up better)//Cups to put the dye in ( I bought these PAAS cups at Target to make things easier)//Egg tongs (these work SO much better than the cheap little wire one that comes with the dying kit – it is also useful for holding the eggs under the dye)//White vinegar//Sharp, pointy knife//Thin wooden dowel//Large bowl ( or you can empty eggs over kitchen sink)//Easter egg dye kit//Tooth picks//Rubber gloves//Rubber bands (optional)//Paper confetti//Glitter and a shallow container to pour it into (I used the lid of a mason jar)//White tissue paper//scissors//Modge Podge//Sponge applicator

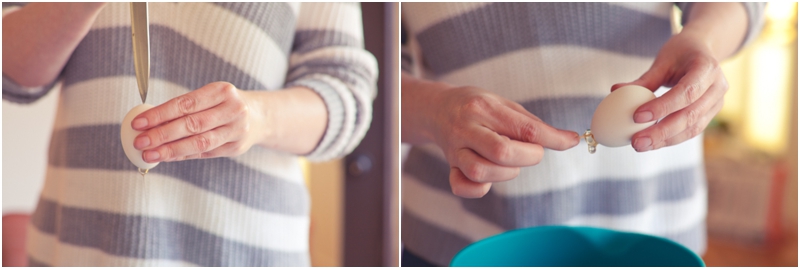
We are going to start with emptying the contents of the eggs. I have found that the easiest and quickest way to do this is to make a hole at both ends and blow the contents out. You will make a small hole in the narrowest end of the egg. It is best to do this with a short stabbing motion, if you twist the knife it will crack the shell and you do not want that. Once you make the small hole, flip the egg over and make a large hole using the same stabbing motion. This will be the hole that the contents will come out of as well as the side we will stuff the confetti into. Stick a tooth pick into the large hole to break the yolk. Flip the egg over and proceed to blow into the hole – this will force the contents out of the other end. Once it is empty, rinse the egg out and place it back into the carton with the large hole facing down. If you are having a hard time getting the water to drain out, place a toothpick into the egg to push back some of the inner skin of the egg so it can drain properly. Continue with this until all of your eggs are empty.
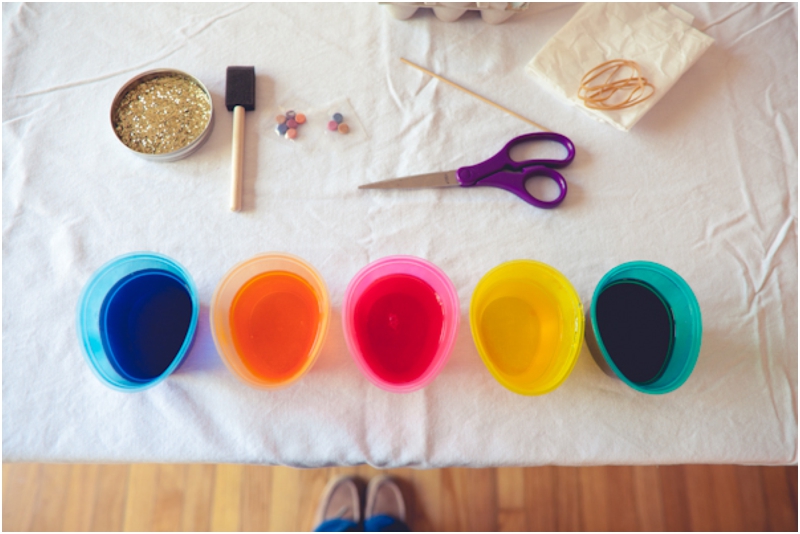
Next, we will take the egg cups and prepare the dye. There are instructions on the box that help you with the proper measurements to achieve the color you desire. The pink dye takes a while to color the egg if you use the vinegar method, so I suggest only using water with the pink.
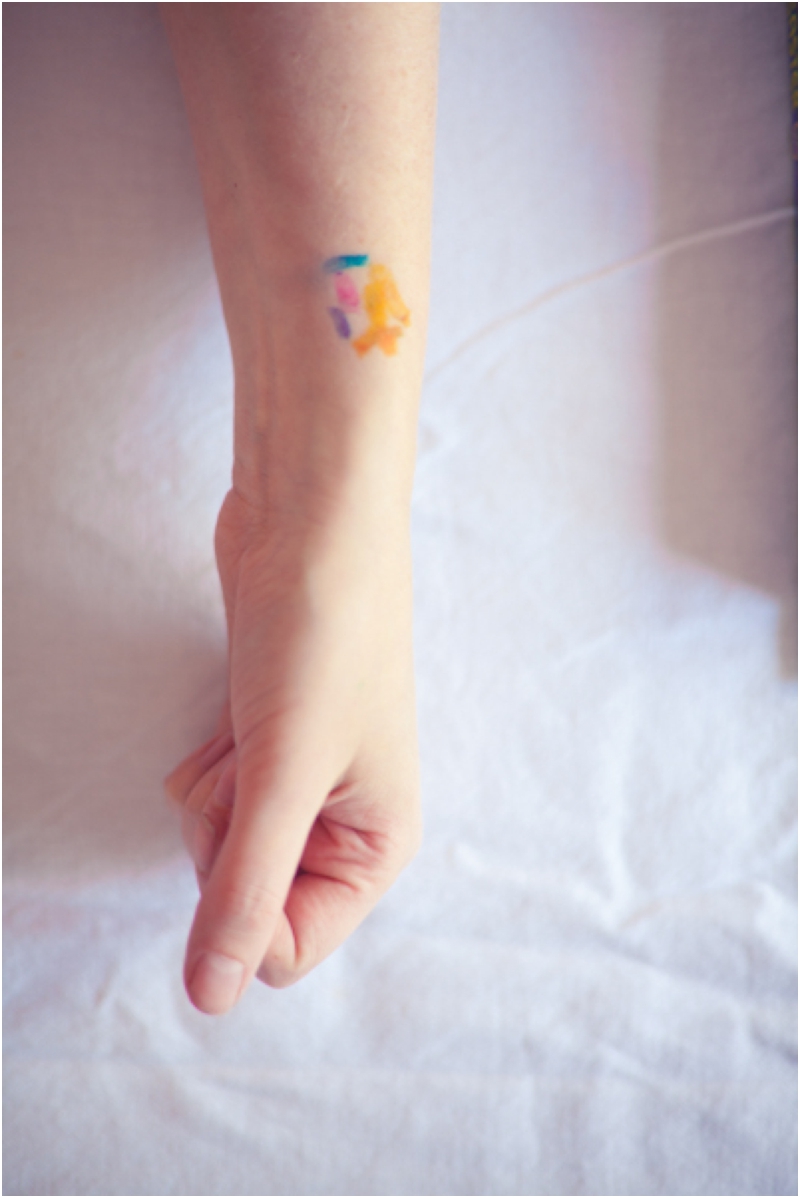
The dye tablets can be a bit confusing to tell which color is which, so it helps to wet your wrist or a piece of paper and rub the tablet against it to see what color it actually is before dropping them into the cups.
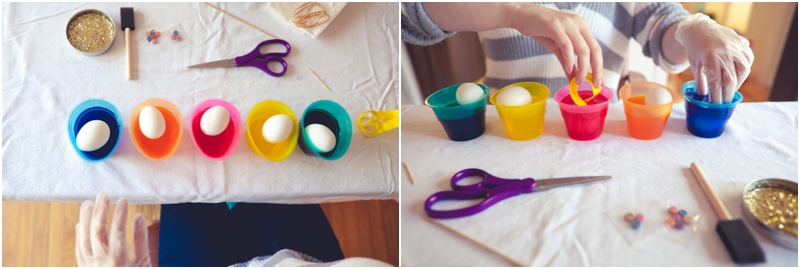
Once you have your dye ready, go ahead and put your gloves on and drop the eggs into the dye. If you want a pattern on any of the eggs, wrap your rubber bands around them to prevent the dye from getting to certain areas before dropping the eggs in. The eggs will float, so this is where the gloves come in handy. You can hold the eggs under the dye so they dye all at once, or you can periodically roll them in the dye until each side is the desired color. I used the egg tongs to hold some of them down so that I did not get dye on my gloves that could potentially transfer to another egg.
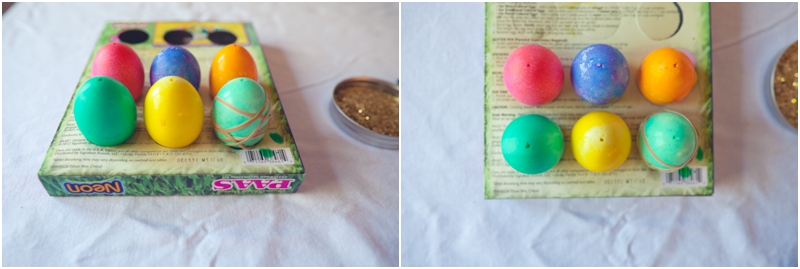
When the egg is dyed, pull it out of the dye and use your toothpick to make sure there is no dye trapped in the egg. Use the box from the dye tablets to sit the eggs on to dry – there are punch out holes on the back of the box that act as drying trays.
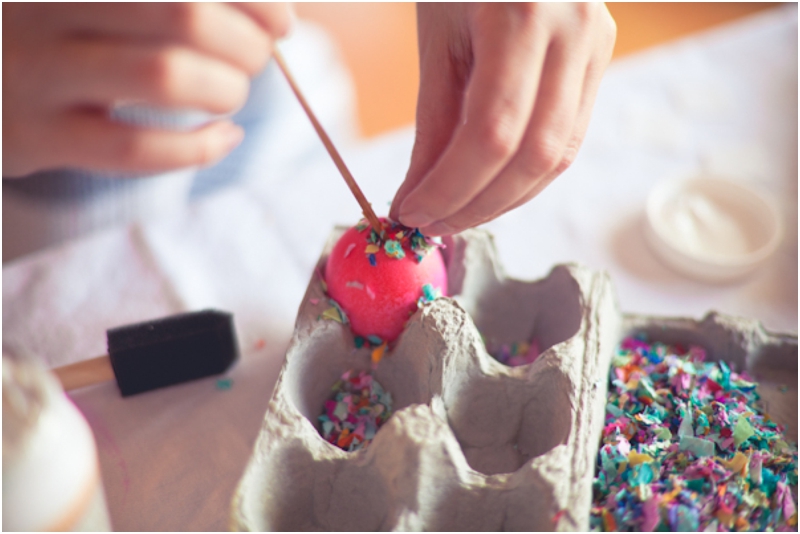
Once all of your eggs are dyed and dried, remove the rubber bands if you used them and transfer them back to the egg carton – making sure to wipe out any water in them leftover from the initial draining process. Pick up some confetti and begin to push it into the hole with the help of your wooden dowel. If the hole is too small, use the dowel to break it open a bit wider.
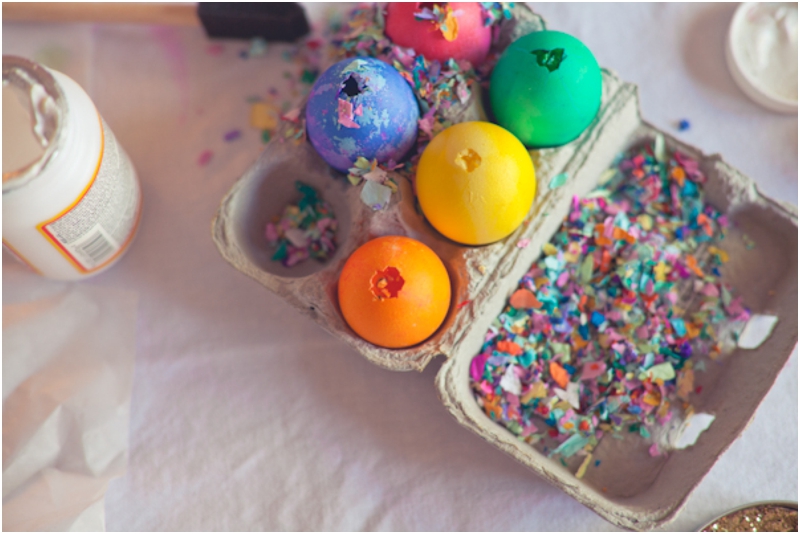
Fill the egg about halfway with confetti and then move on to the next egg until all contain confetti.
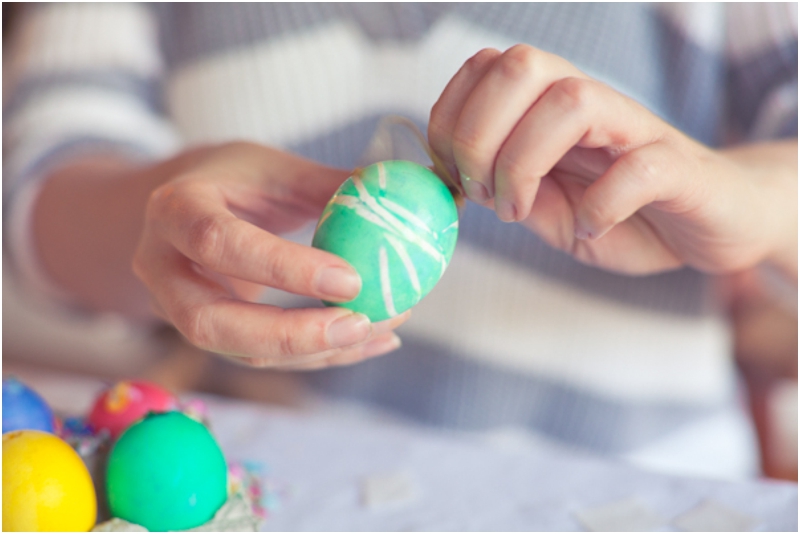
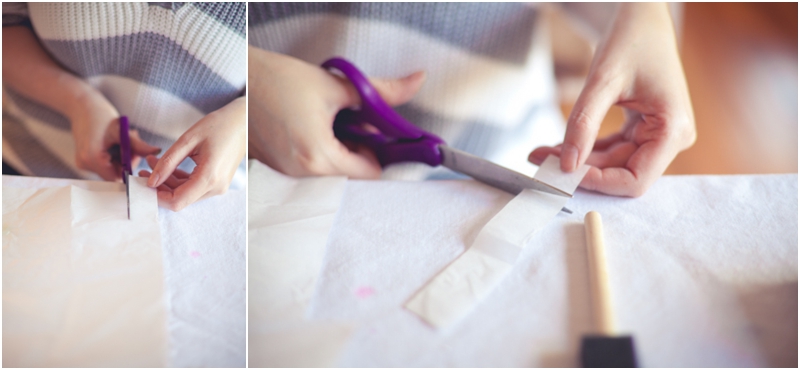
Next you will want to cut your tissue paper into small squares that are just big enough to cover your large hole.
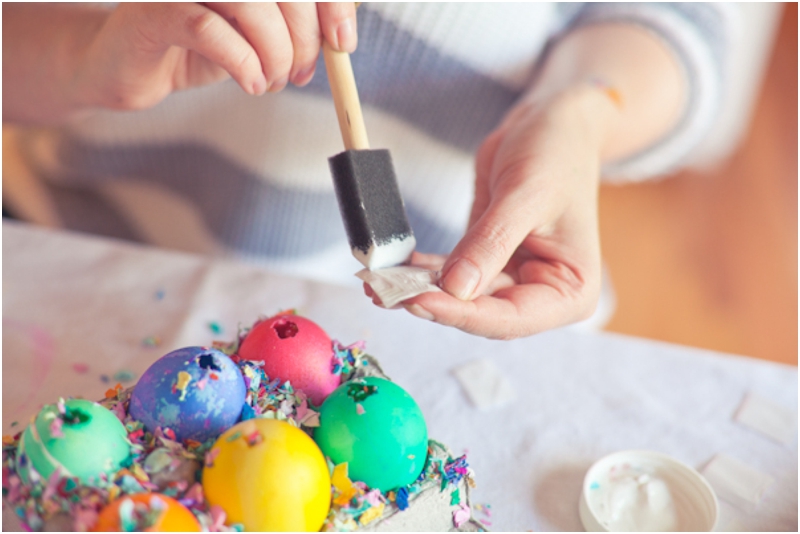
Spread the Modge Podge with the sponge applicator over the tissue square, making sure it is thoroughly covered. Place the tissue square over the hole and smooth it down really well.
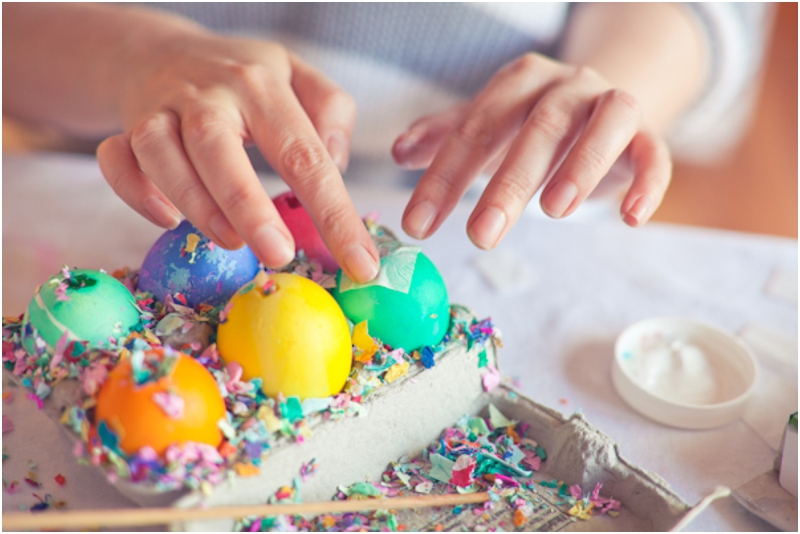
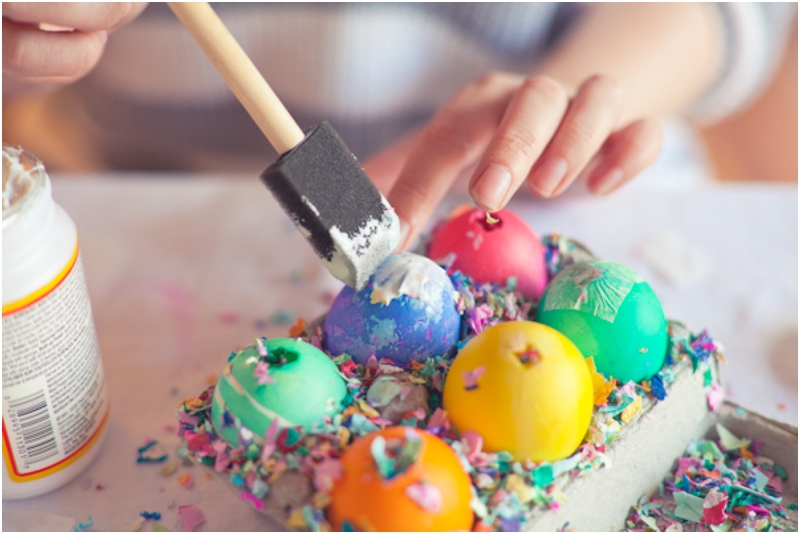
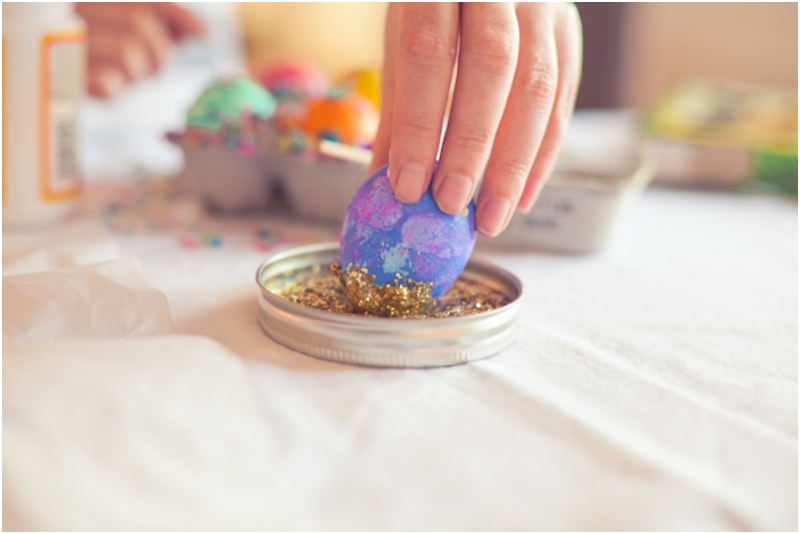
Once they are all covered it is time to cap them off with a little glitter topper! Pour your glitter into the shallow container, place some more Modge Podge onto the tops of the tissue paper, and roll the egg in the glitter. I put the glue on in more of a circle pattern rather than following the exact edges of the tissue paper.
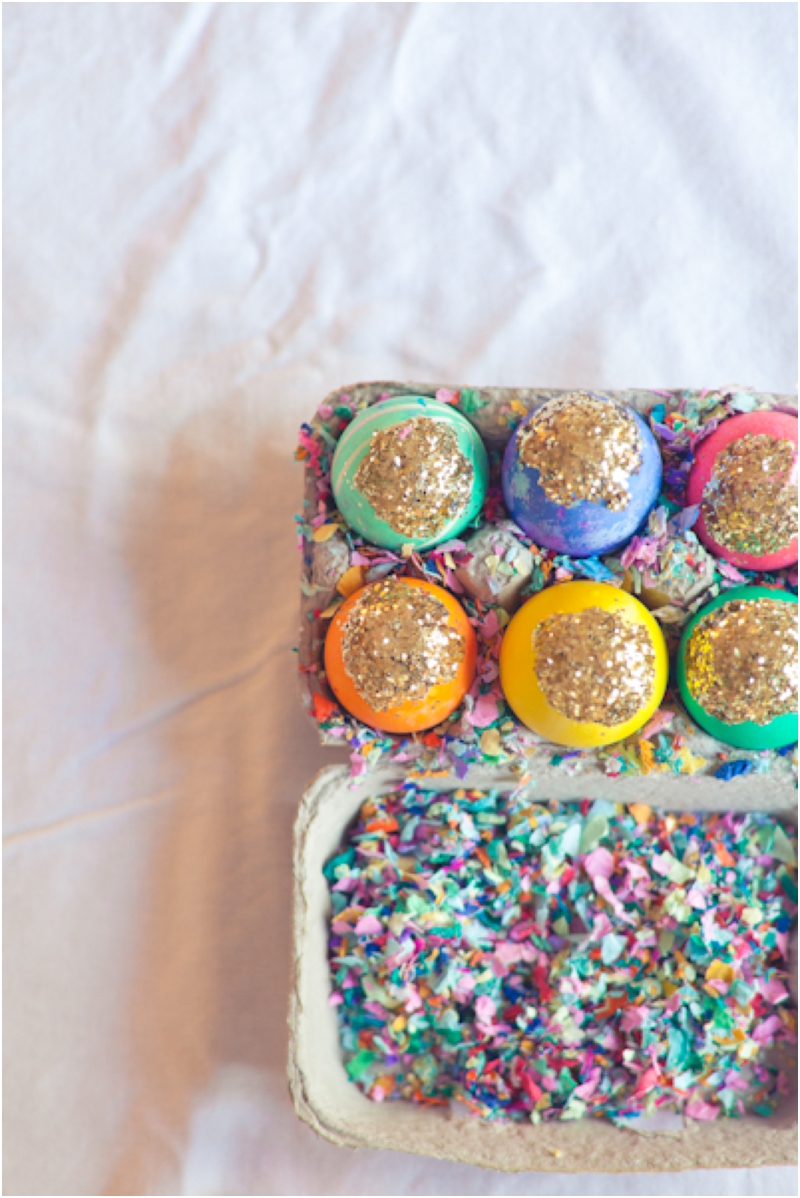
Voilà! You are done! Enjoy!
