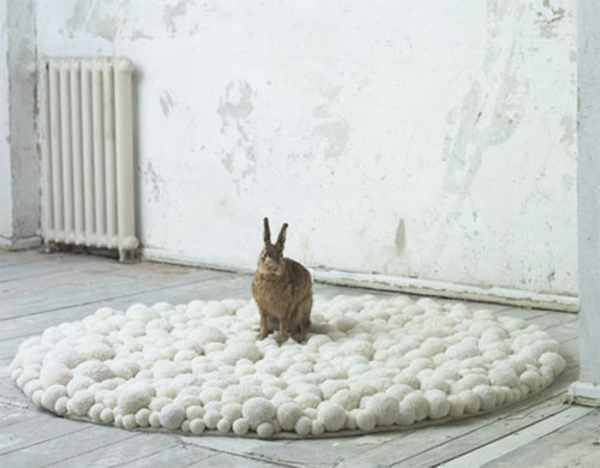
pom squad

January 9th, 2013 | Posted by Hello Love in Flower - (Comments Off)

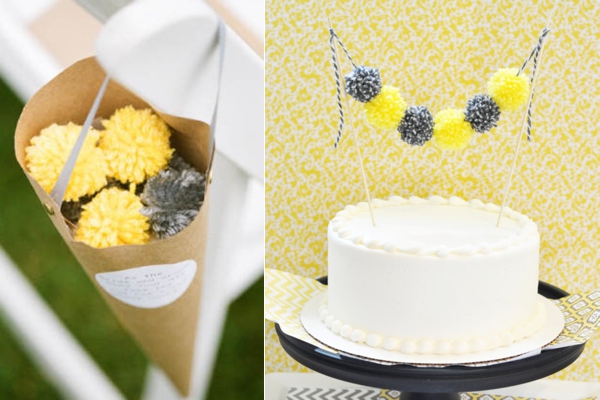
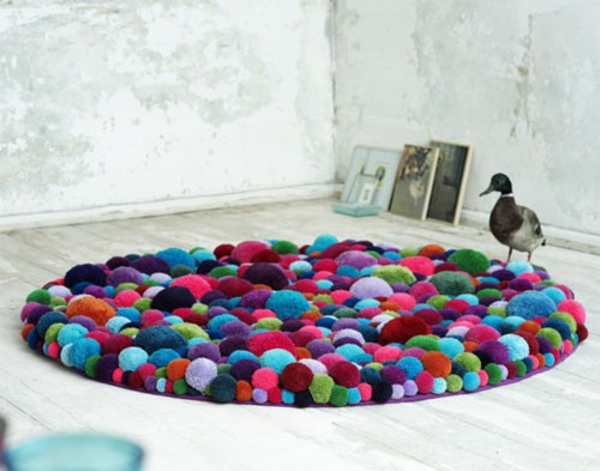
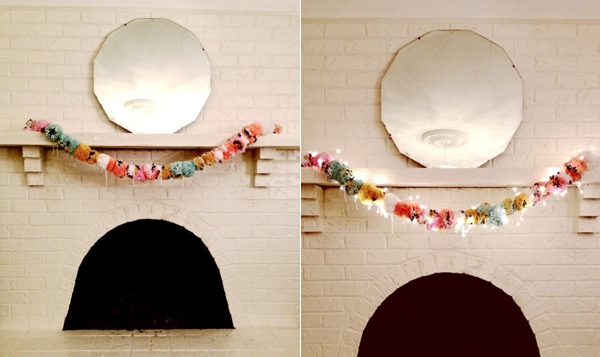
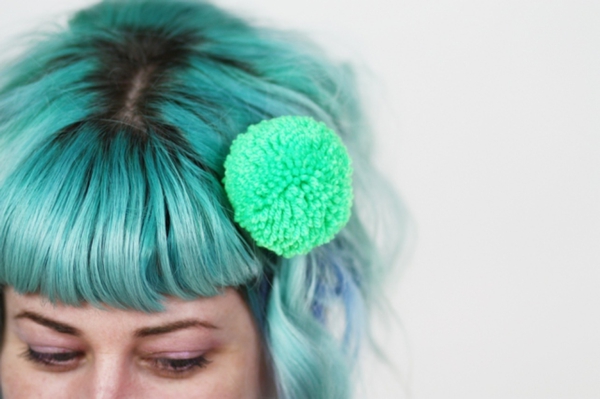
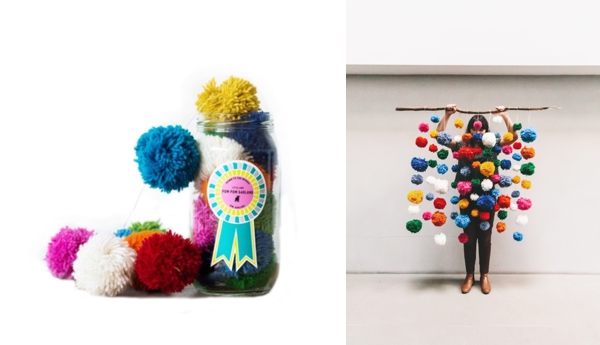
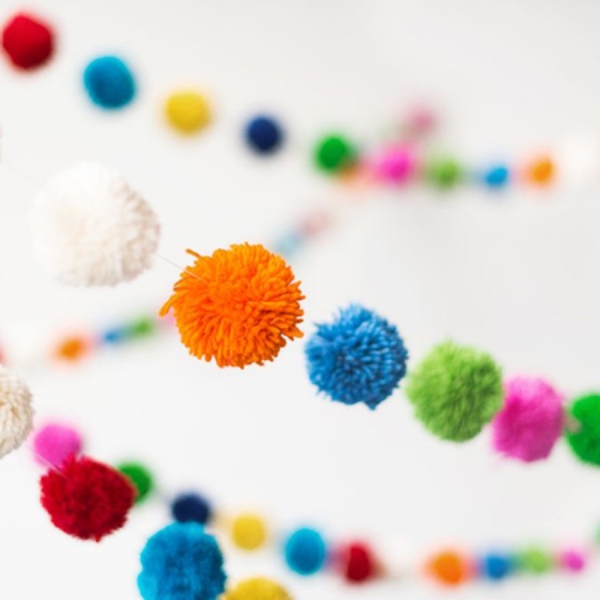
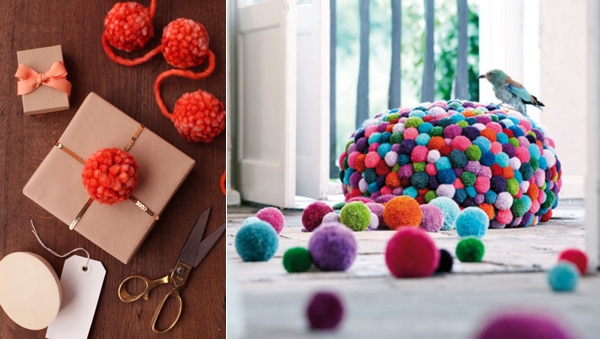
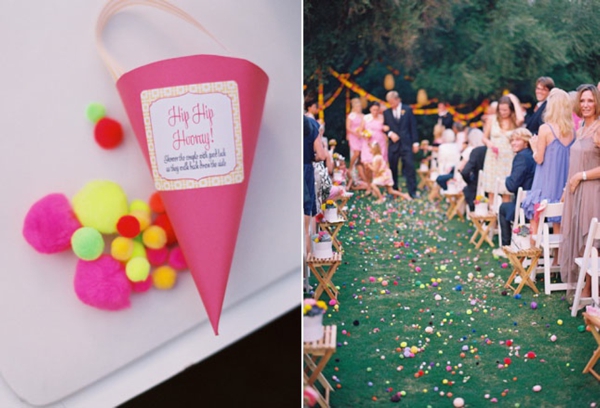
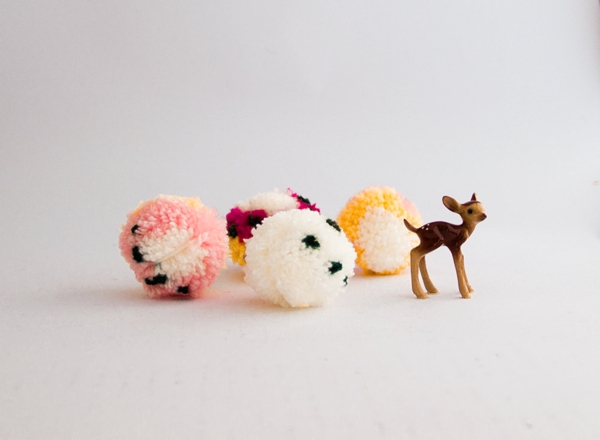
You may have gathered that I do way more than just flowers! I love all things craft too! What you may not know, is my deep love for pom poms….I used store bought mini poms for my 2009 wedding sprinkling them down the center of our family style tables a la runner and handmade pom pom wreaths hung over the entry doors to our venue! The pom squad is now in full force and here are some clever ways to use these puffy little yarn pretties!


images via: martha stewart weddings, etsy, safari living, design sponge, minted, design milk, wedzu, folksy, blushing bride, luulla, and blushing bride blog.


DIY: mercury rising!

October 24th, 2012 | Posted by Hello Love in Flower - (Comments Off)

Mercury glass can get pretty expensive and sometimes you are limited on the shape and size…..Why not make it yourself? This tutorial from Ashley Brown via Design Sponge on antiquing glass or creating a mercury glass affect on vases and votives is a valuable lesson to the wedding crafter! enjoy!


Materials

  • Krylon’s Looking Glass Spray Paint (#9033)
  • spray bottle (filled with water)
  • glossy black enamel paint
  • metallic glossy gold enamel paint
  • scrub sponge
  • small paintbrush
  • a glass piece you want to paint
  • optional: painter’s tape and a few magazine scraps

Instructions

1. Start by covering the outside of the glass with a few magazine pages and painter’s tape to prevent getting spray paint on the
outside. This step is optional, but I did it just in case. If you end up getting a little on the glass, don’t worry. It scratches right off.
Make sure your glass is super clean (especially on the inside). If you leave smudges, it will cause the “mirror” effect to be a little cloudy and not as reflective.

2. Once the glass is sparkling clean, lightly spray the inside of the glass with water — just enough to form some good-sized water
beads.

3. Right after you spray the water, lightly coat the inside of the glass with the Looking Glass spray paint. Since you’re probably
going to be spraying inside a relatively small surface, it’s hard to do even sprays, but try to keep things as even as possible. Like any spray paint project, it’s best to do several very fine coats than a few thick coats. After each coat, quickly turn the glass upside down to dry. Note: When you turn it upside down, the paint will run, but that’s okay! That’s part of what gives the finished project an aged-glass look. Make sure you put the glass (upside down) on a drying rack so air can get in there to dry both the paint and the water. If you don’t have a drying rack on hand, balance it on two upside-down paper bowls. This method works really well, and you can just throw away the bowls when you’re finished.


4. Repeat step three until you achieve your desired look. I recommend at least three coats.

5. After the glass is completely dry, it’s time for a little bit of enamel paint. This step was a tad intimidating before I got started, but it ended up being really easy and fun. Start out by using the scrubbing sponge to scratch away some of the Looking Glass spray paint here and there. There’s no science to this, so just do what you think looks good.

6. Once you rough up the inside, apply thin layers of the black and gold enamel paint using your paintbrush. For a more “natural” look, try mixing the two colors. Note: It’s kind of like applying makeup, in that you have to know when to stop. Too much scratching/painting will take away the mirrored aspect. So just be sure not to overdo it. If you’re planning on using your piece as a candle holder, remember not to go too heavy on the enamel paint. You still want the candle light to shine though. Also, If you get to a point where you aren’t sure if you should keep going or not, go ahead and put it down for a few minutes (or even a few hours) and come back to it later. With this project, it’s totally okay if you let it dry and come back to it later. There’s really no right or wrong way to do it!

7. Let your new masterpiece completely dry before putting a candle inside. Depending on how thick your enamel-paint coats are, you may want to wait a full 24 hours.

8. Enjoy your new accessory, and don’t forget to tell people, “I made that!”


flower power!

September 26th, 2012 | Posted by Hello Love in Flower - (Comments Off)

this was to cute and clever to pass up….spotted on BROOKLYN BRIDE! thanks, vane!


FLOWER CHILD DIY

September 5th, 2012 | Posted by Hello Love in Flower - (Comments Off)

I am loving this kid-friendly tutorial for making a floral halo by the house that lars built for hello bee! Grab your flower girl(s) and get busy!

Materials: flowers, clippers.

tep 1: Cut down the flowers to 5-7 inches long. Take off extra greenery.

Step 2: Cross one flower over the other.

Step 3: Take the top flower and wrap it under the bottom and then up to the top again. Bring it down to lay with the first stem. The tighter you do this, the more secure the crown.

Step 4: Lay the next flower down close to the second and repeat the process.

Step 5: When you reach the right length for the shape of the head, weave in the ends of the stems into the first flowers.

DONE!

That’s it! To create a fuller crown, weave in more flowers. For variation, try varying the flowers for different patterns.

photography by Amanda Thomsen and Brittany Watson Jepsen


SUMMER POPS!

August 31st, 2012 | Posted by Hello Love in Uncategorized - (1 Comments)

DIY PERFECT SUMMER POPS…presented by Cake Walk Bake Shop and photographed by Apryl Ann Photography.

Ingredients:
- lemonade (2-3cups)
- green tea, room temperature (2-3cups)
- simple syrup (1 cup)
- fresh mint (handful)
- fresh edible flowers (as many as you like)

Equipment:
- Pop Molds (I purchased this mold on Amazon for under $20)
- Popsicle Sticks
- it’s that easy!

1. Mix equal amounts Green Tea + Lemonade into a spouted vessel (for easy pouring). Add a splash (to taste) of simple syrup to cut the tartness of the lemonade.

2.  Mix it up.

3. Pour the tea-lemonade mix into the pop molds, only filling to about 1/3. You must freeze the pops in phases, otherwise the fun stuff (flowers + mint) would all float to the top of the mold, leaving you with a mostly solid-looking pop.

4. Carefully place a few flowers and mint leaves into the pop mold, dunking them into the tea-lemonade liquid. You may choose to use a fork or butter knife for this, but I just went all in with my fingers.

5. Freeze each layer for at least 2 hours so that the layer is completely set before you add the next, otherwise meltage will occur and your carefully preserved flowers will float on up to join their friends in the next layer. Only partially freeze the second (middle) layer for 30 minutes to 1 hour so that you can place the popsicle stick. You are looking for an almost slushy like texture with enough thickness to hold the stick in place. Insert the stick and pop it back into the freezer to continue to freeze solid before adding the final layer. If adding a sliced lime, this would be the layer to do so. For each layer, repeat steps 3 and 4. Let the entire pop freeze for at least 6 hours before sharing with friends.

Enjoy!


Note: To make simple sugar, mix one part sugar with one part water in a small saucepan. Bring to a boil and let cool.

Fun Ideas: Make adult-only pops by adding sweet tea vodka! Add almonds for crunch! Use pink lemonade to add some extra color!


the longest yard sale…

August 22nd, 2012 | Posted by Hello Love in Flower - (2 Comments)

We got a lot more than we “bargained” for at the 127 Corridor Sale! We went in search of vases and vessels but came home with ponies and flocked teddy bears too! The 127 Sale is the world’s longest yard sale,  stretching from Michigan down to Alabama! If you are a DIY bride or in search of interesting props, containers….anything really, then plan a road trip for the first weekend in August! For more info visit The 127 Sale website!

(more…)

BONSAI MUSEUM

July 25th, 2012 | Posted by Hello Love in Flower - (Comments Off)

When touring the Bonsai Museum in Brooklyn, New York I really got a feel for the ancient Japanese art form of growing miniature trees. Each plant was a different variety and each a had their own unique shape. I could see bonsai as a form of gardening done together as a couple and how neat would it be to display the miniature landscapes as centerpieces at your wedding!

(more…)