up up and away!

May 23rd, 2012 | Posted by Hello Love in Flower - (Comments Off)

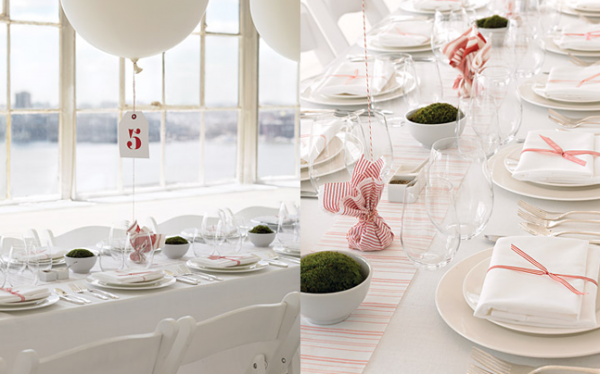
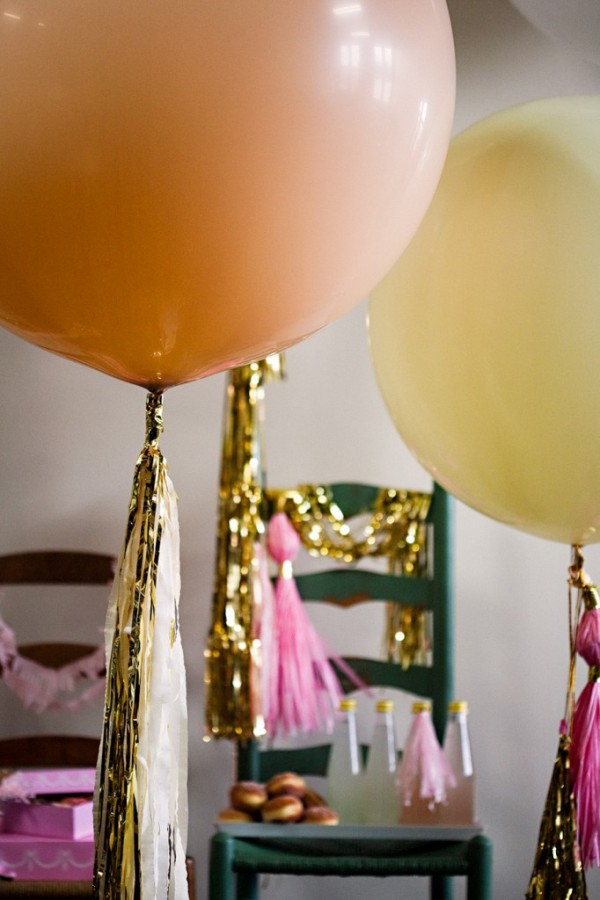
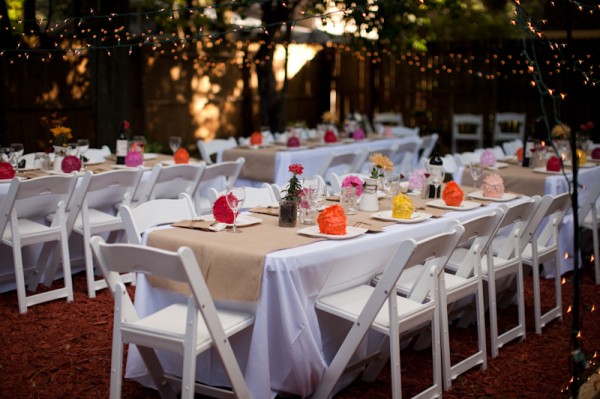
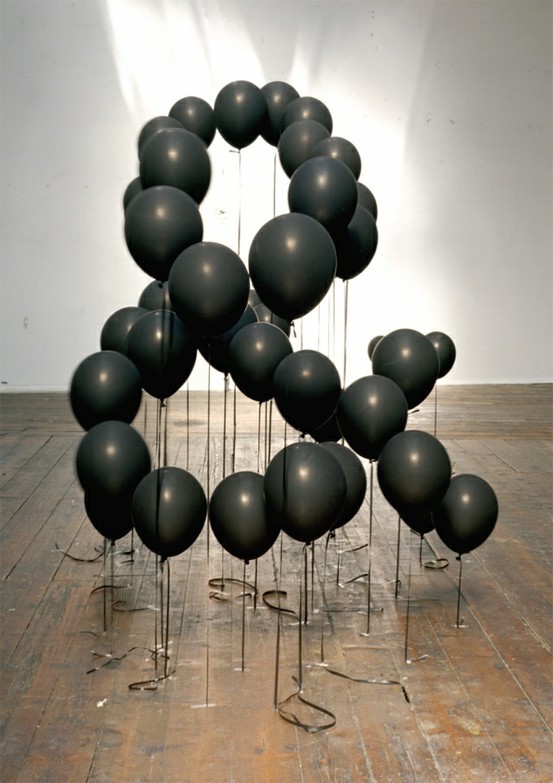
Everyone knows I have a passion for flowers….but I am also bananas for balloons! Give me a bouquet of balloons and watch my face light up! I believe that you don’t always need to go overboard with flowers, other types of decor can be just as stunning, dramatic, and eye catching. Get inspiration on ways to decorate with balloons for your big day. Think centerpieces, escort cards, and dessert table!

(more…)

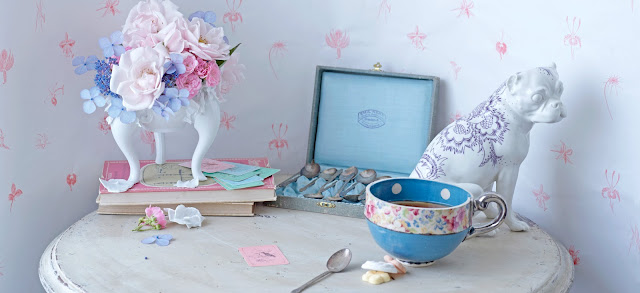
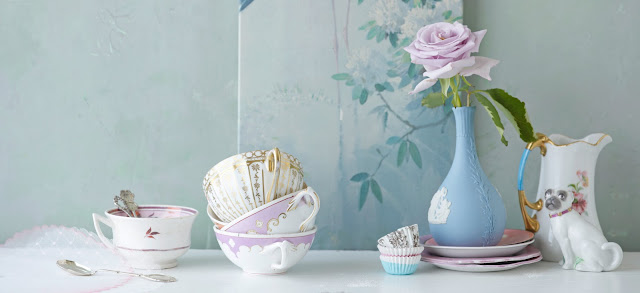
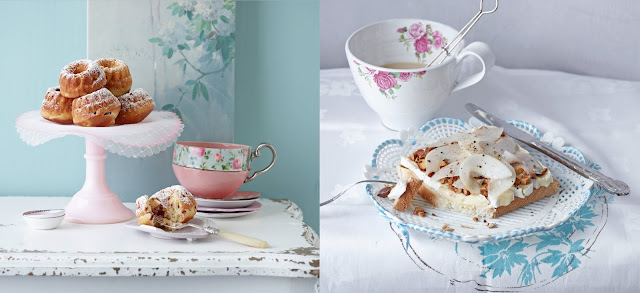
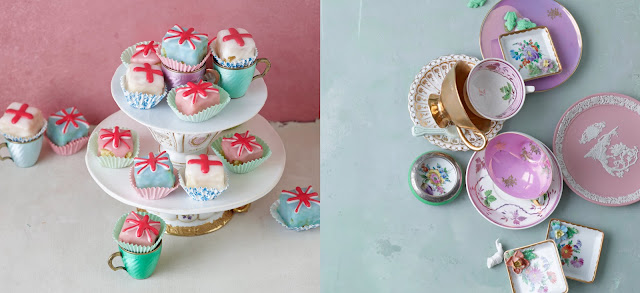
pastel patissere

May 20th, 2012 | Posted by Hello Love in Parties | Uncategorized - (Comments Off)

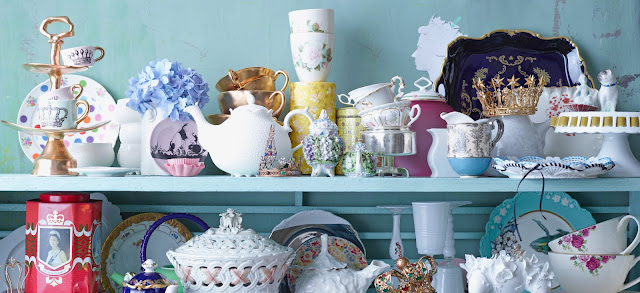
A tea party with French flair! Gather your fine china, mix and match!

(more…)

DIY veil

May 11th, 2012 | Posted by Hello Love in Parties - (Comments Off)

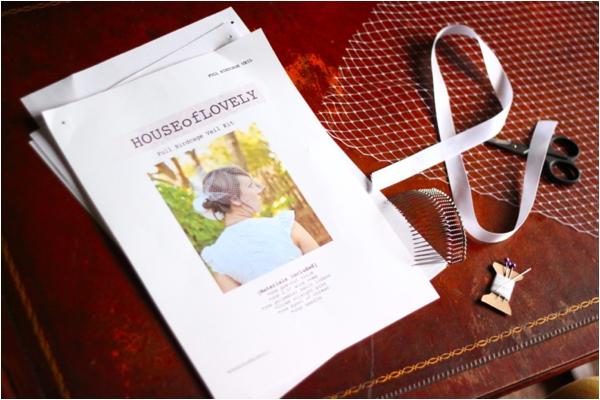
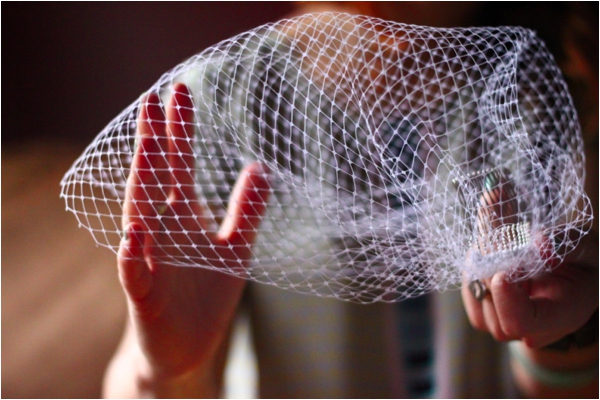
DIY birdcage veil–by Lauren Samuels, HOUSE of LOVELY

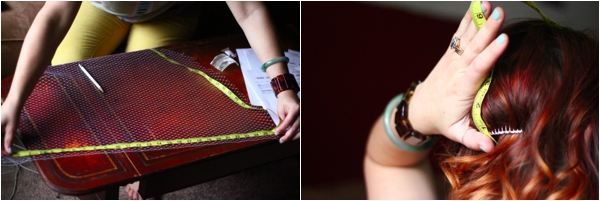
The hardest thing to understand when considering making your own birdcage veil kit is how the measurements of the veil correspond with your head and how that will look. These veil kits start out as a FULL size birdcage veil- so there is always room for alterations! The height of the veil is determined by the distance from where you want the comb to be placed to where you want the veil to stop. The width of the veil depends on the measurement around your head and how tight you would like it to fit. If you see that the measurements of the veil are larger than you’d like, then you can easily trim off excess!

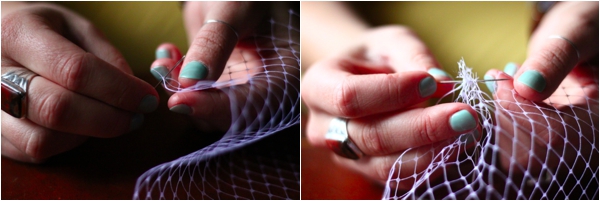
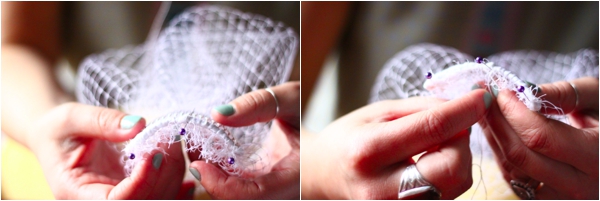
Once the measurements are set, go ahead and thread your needle. Tie a thread knot around the corner of one end of the veil and continue threading the little square boxes along the CUT EDGE.

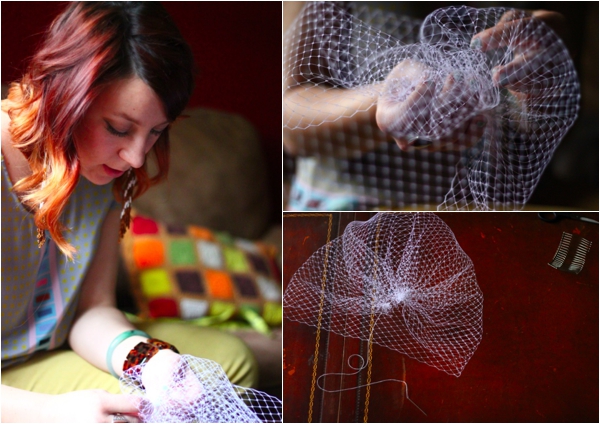
Once you have threaded all along the arch of the veil it should start to look like an actual birdcage veil! Go ahead and put that aside while we prepare the comb!
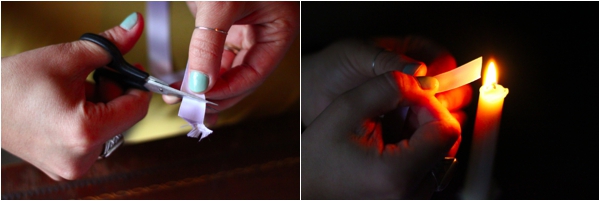
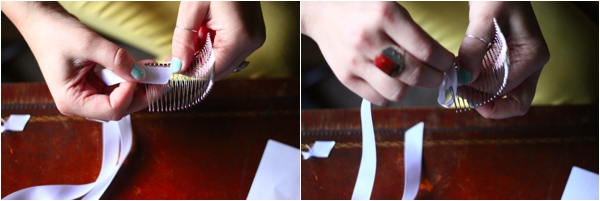
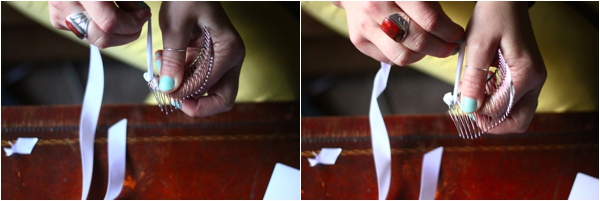
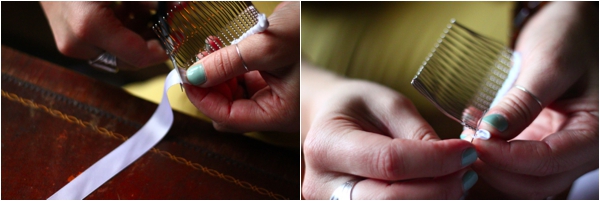
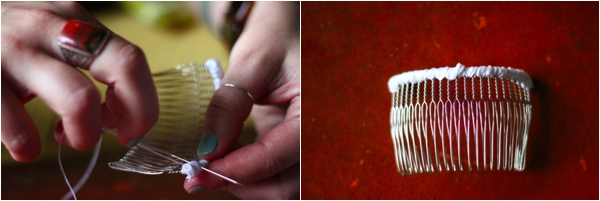
If the ribbon does not have a clean edge, re-cut it. To harden the edges of the ribbon, we will hold it CLOSE (not IN) to a flame. This is easiest done with a candle rather than a lighter. This can only be done with a polyester ribbon because of how the fibers react! Once the first edge has been melted, slide it through the comb as shown- going through each tooth to create a couture finish!

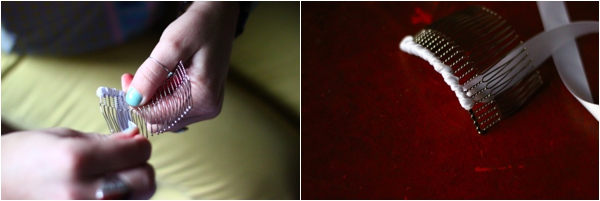
Once you are at the end of the comb, go ahead and snip off the end of the ribbon- leaving about 1/2” to melt and sew down!

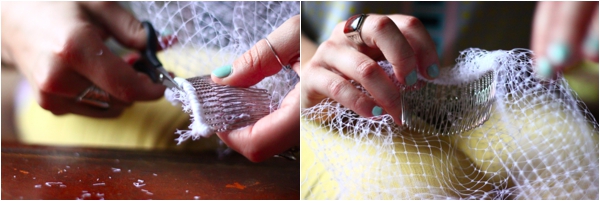
Once the comb is totally finished, it is time to attach the comb to the veil. Place the comb (arch down) on top of the veil. Pin down the veil through the ribbon of the comb to assist in the handling. Sew through the veil from one side to the other by catching the ribbon all along the way. Once you are finished- tie a knot and cut off the excess veiling.


like their Facebook page here:
Thanks for stopping by,


fiesta foto shoot

May 6th, 2012 | Posted by Hello Love in Parties - (2 Comments)

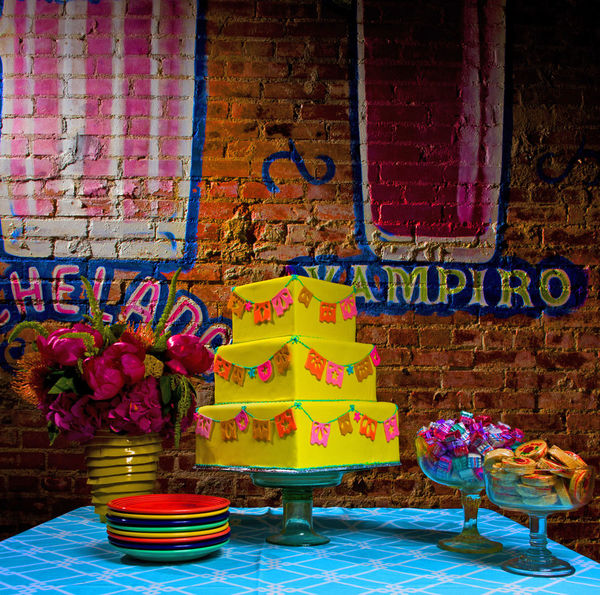
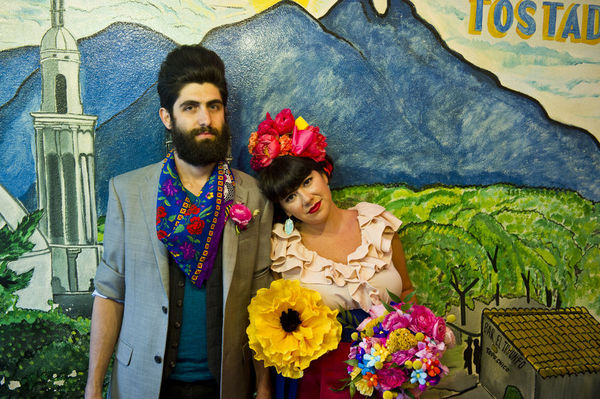
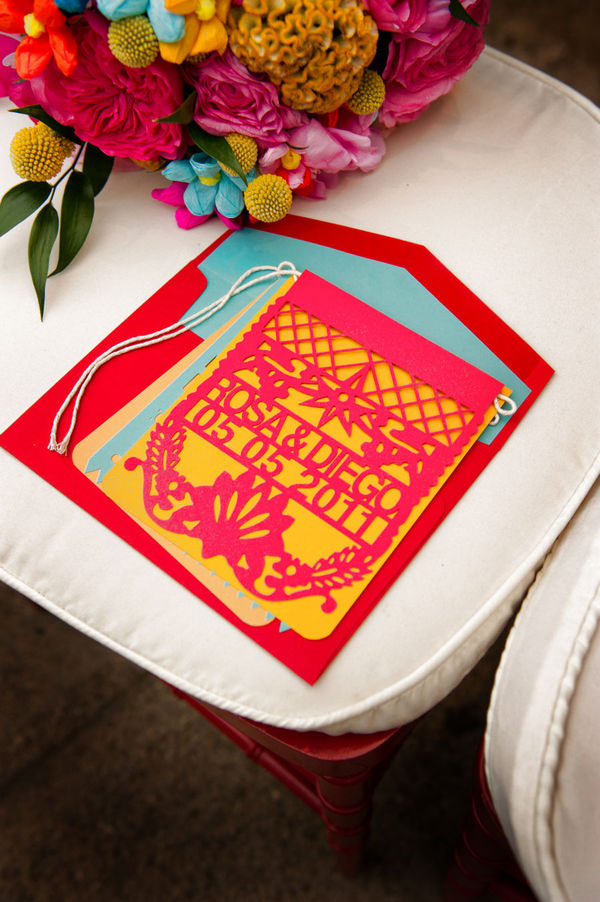
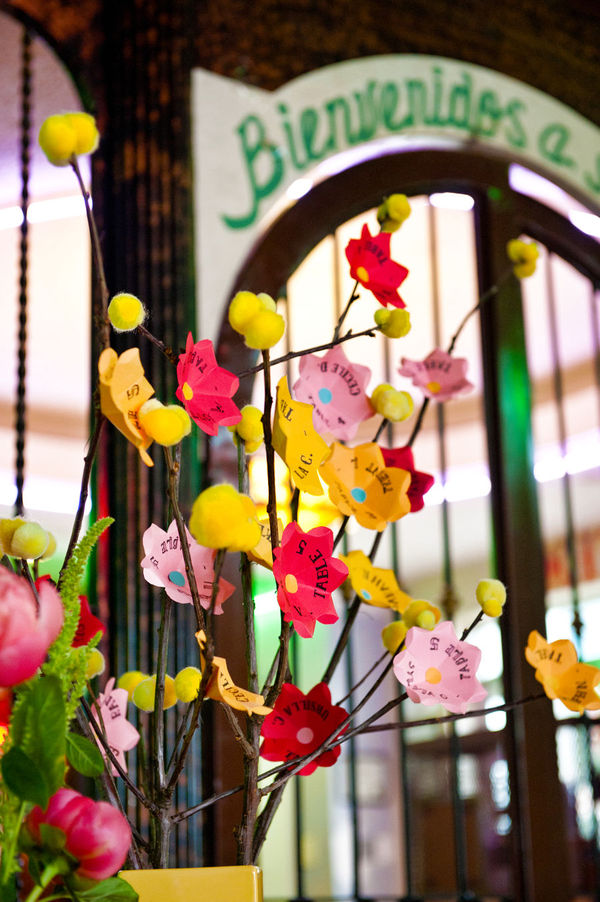
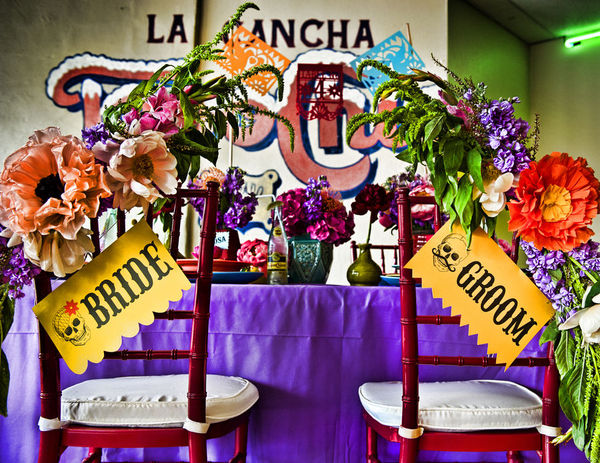
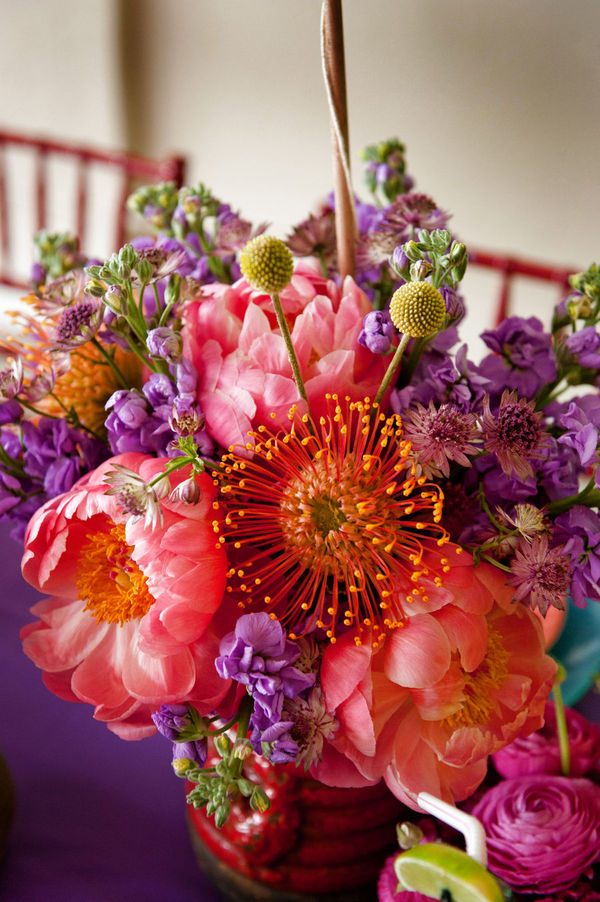
Colors collide in this bright and bold Cinco de Mayo inspired photoshoot! Paper Flowers, Mexican Candy, Papel Picado, and a Piñata make for a fun and festive way to celebrate!


(more…)

Piñata Party

May 3rd, 2012 | Posted by Hello Love in Paper - (1 Comments)

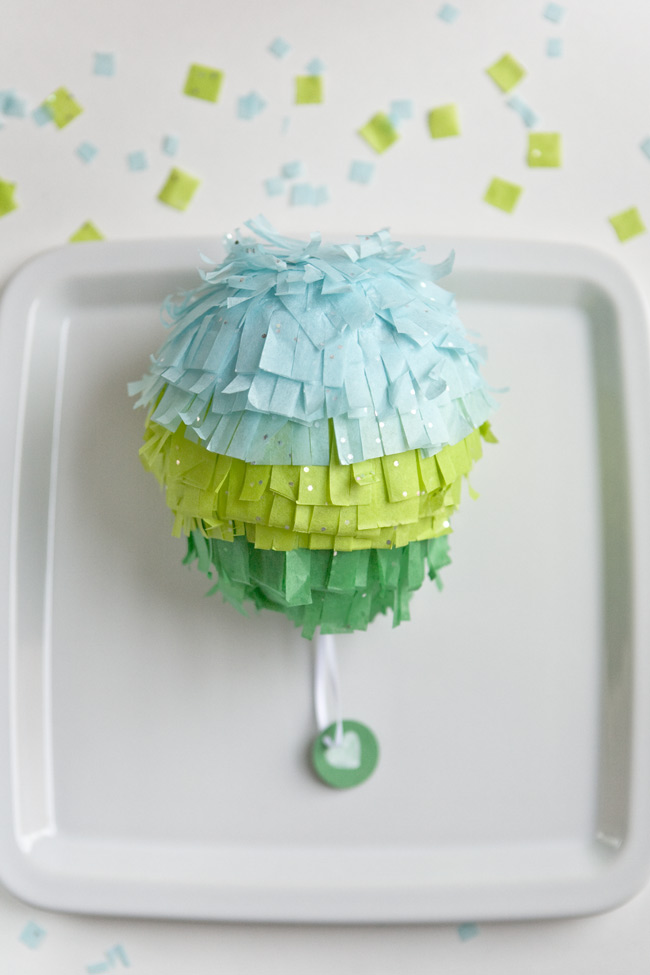
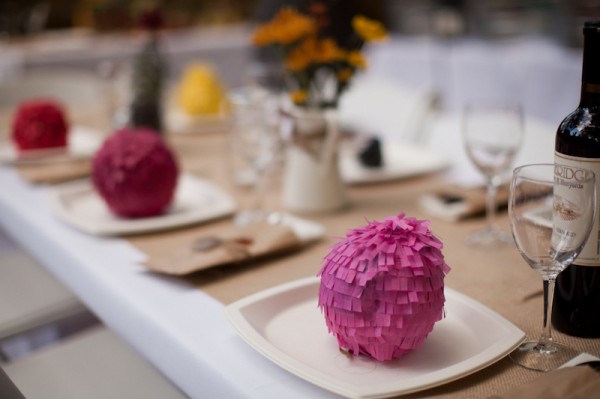
Piñatas are traditionally made of papier-mâché and decorated, filled with toys and/or candy, and then broken during a celebration. But who says they have to be big? Check out these fun (pint size) piñata party favors.
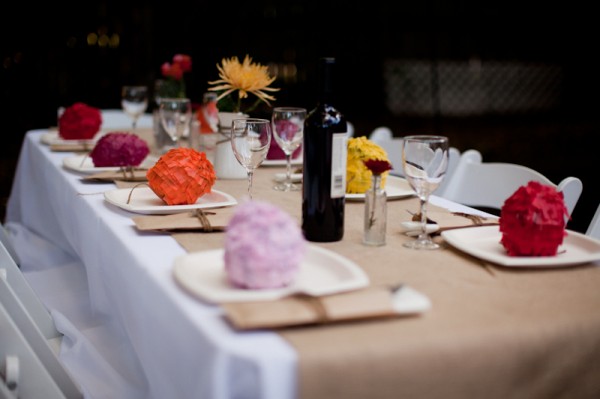
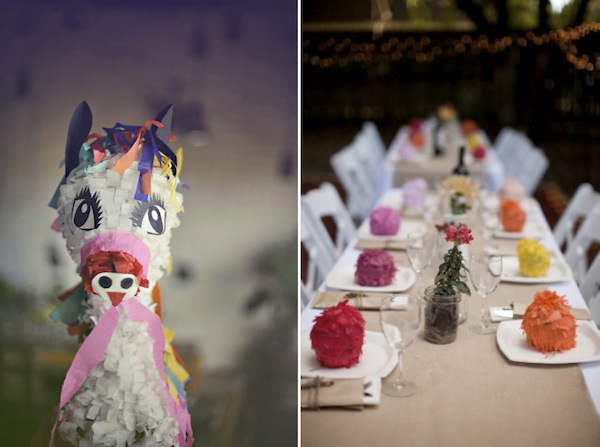
I stumbled upon this great DIY tutorial that you can use for your next fiesta!

For this project, you’ll need:
- Small balloons
-flour & water for papier mâché
-newspaper or any thin paper
-candy to go inside the pinata
-scissors
-Elmer’s glue
-tissue paper
-glasses or a base to hold the piñatas while they dry

Step 1: Blow up balloon to desired size and tie with a knot. Ours were about 5-6 inches long. Rip paper into small pieces – strip or square shapes are great, but really any shape will do. Mix equal parts of water and flour for papier mâché glue paste.

Step 2: Start gluing pieces of paper onto balloon, allowing an opening around the balloon tie for candy once it’s dry. After your first layer dries, repeat the process until is thick enough to hold candy.
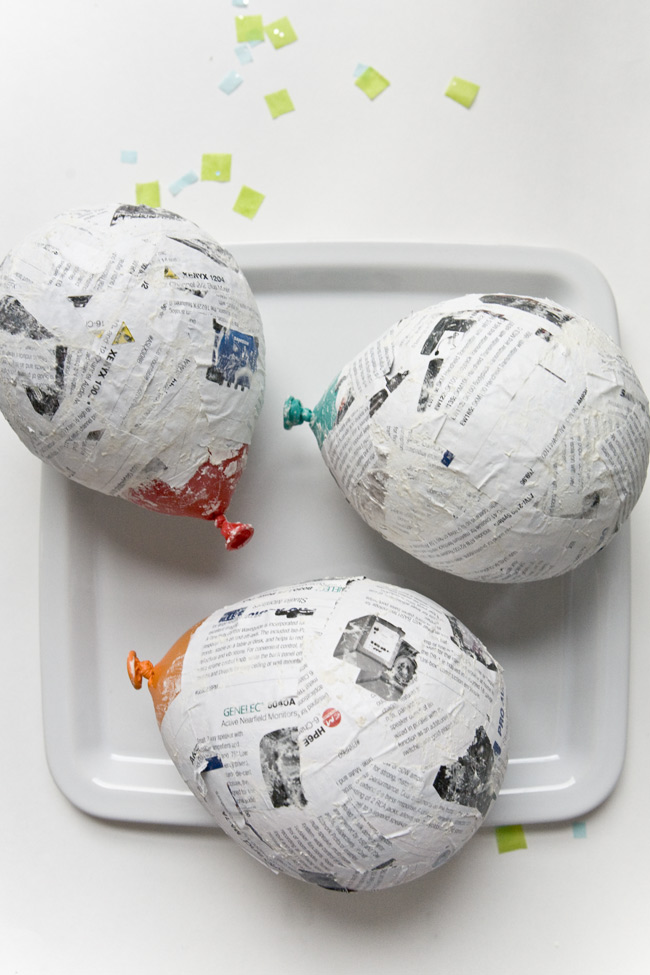
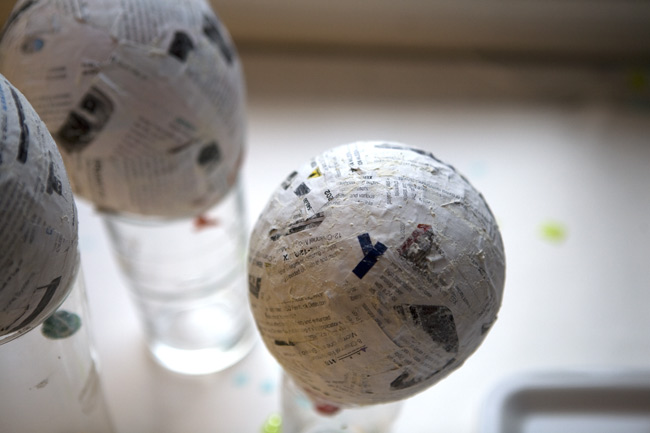
Step 3: While your papier mâché dries, you can get your tissue paper ready. We batch fringed tissue paper by folding a long strip of paper (about 4 inches wide) in half several times. (Save some time by using multi-blade shreading scissors!)
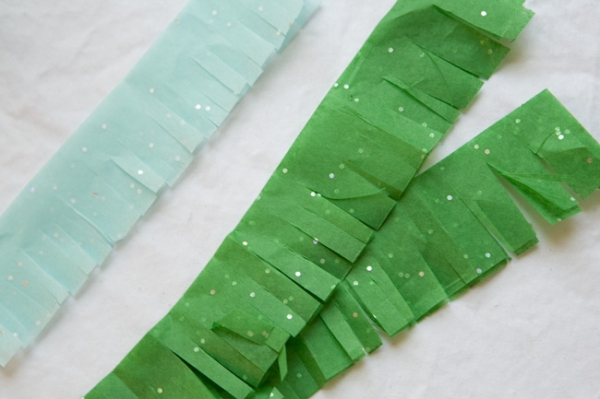
Step 4: Once your papier mâché is dry, you can start layering your fringed tissue paper. Always start layering the fringe from the bottom up. Regular white school glue works perfectly. Continue until the entire balloon is covered.
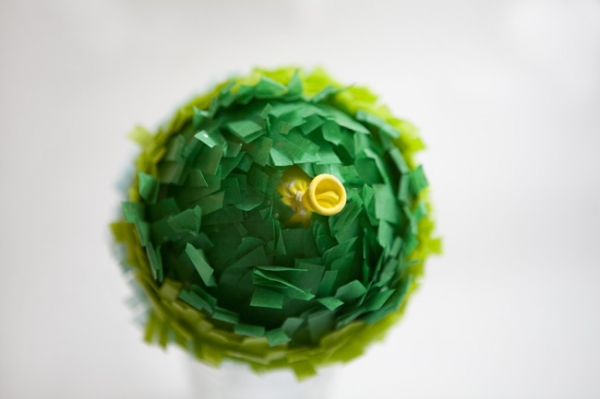
Step 5: With a needle, gently poke a hole on the balloon to deflate it. Pull balloon out and we’re ready to add the candy!
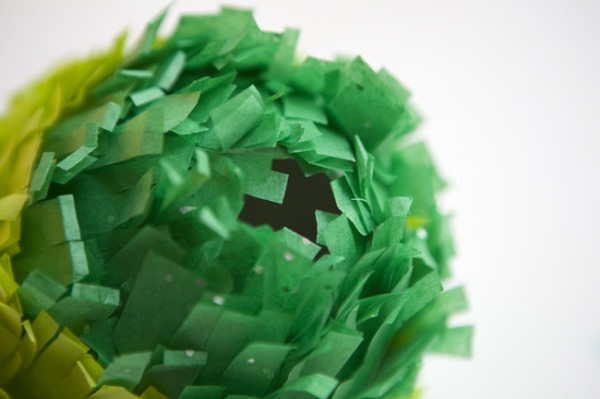
Step 6: To create a handle for the mini piñata, thread a tag in a ribbon and make a knot halfway. Tie the ends of the ribbon onto a candy.

Step 7: Now you’re ready to add candy and seal the pinata. Add the handle last and seal the pinata with a matching piece of tissue paper.

Enjoy!


Sources: Ruffled, The Sweetest Occasion, Confetti System, Martha Stewart Weddings, Perfect Bound Blog, Discover Paper, Oh Happy Day, Ruffled DIY

think green!

April 25th, 2012 | Posted by Hello Love in Flower - (Comments Off)

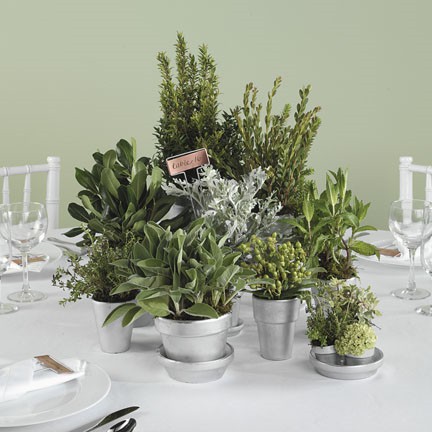
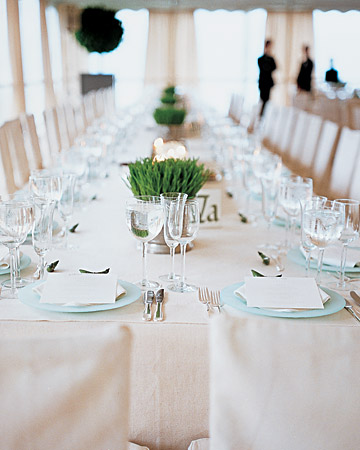
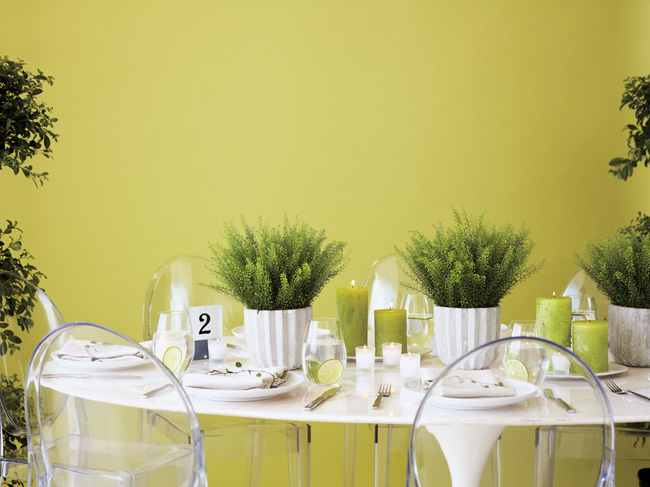
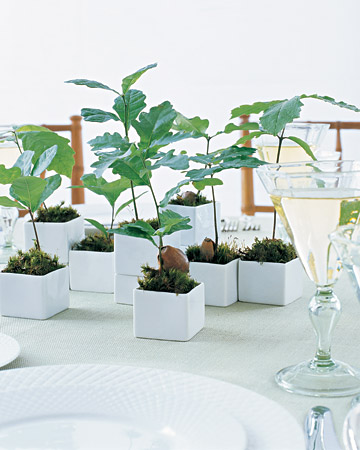
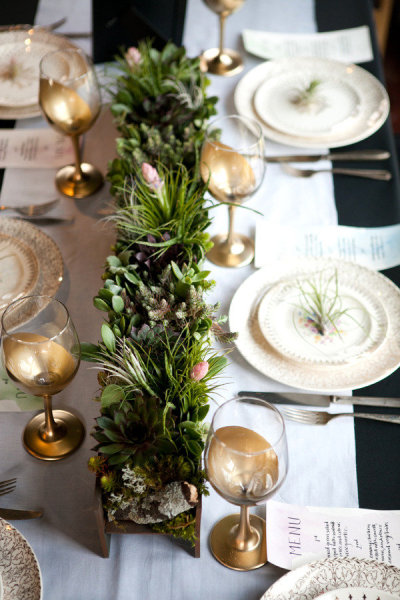
Plants make great centerpieces! They are fairly inexpensive and will last long after the wedding is over. If you are a DIY bride, plants are a great idea for you! I suggest you think about a few of these green options: olive, rosemary, dusty miller, wheat grass, succulents, myrtle, mint, hypericum, or lambs ear.


photos sources: elizabeth anne designs, style me pretty,  martha stewart, and brides.

HOUSE of LOVELY

April 20th, 2012 | Posted by Hello Love in Parties - (Comments Off)

photo by Lissa Anglin Photography

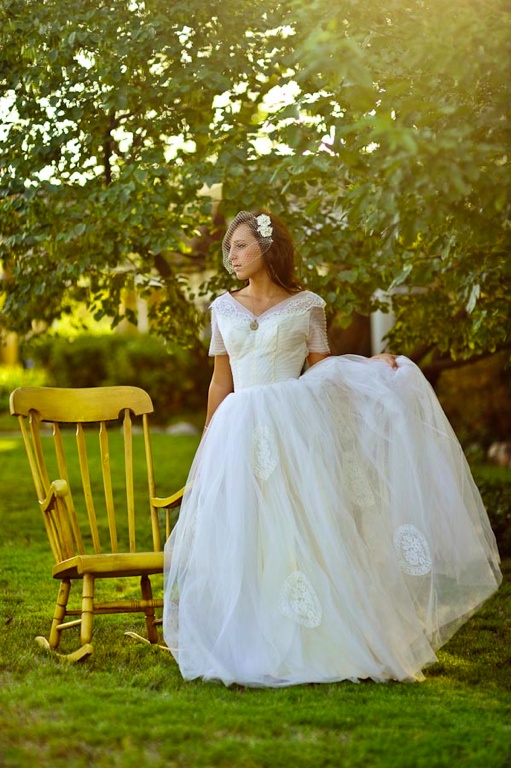
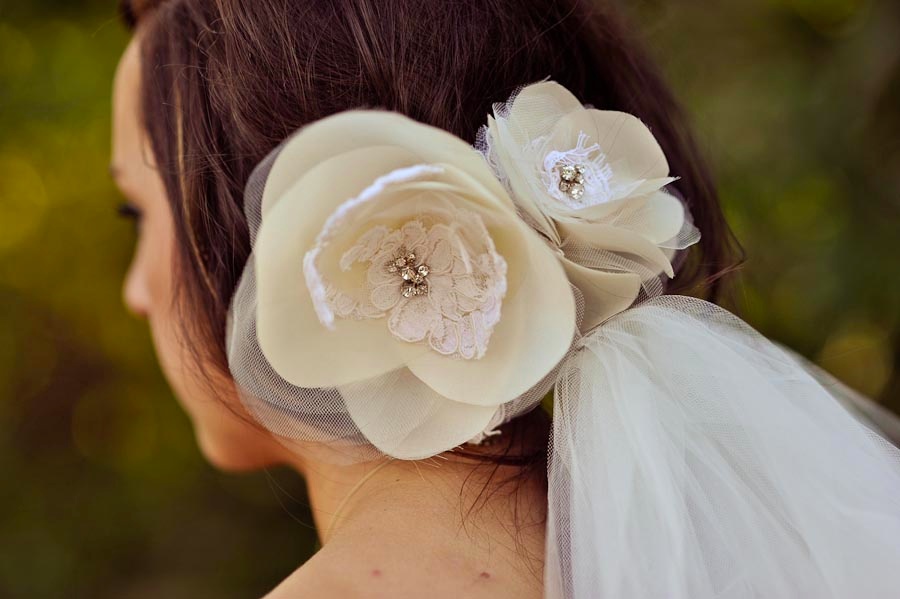
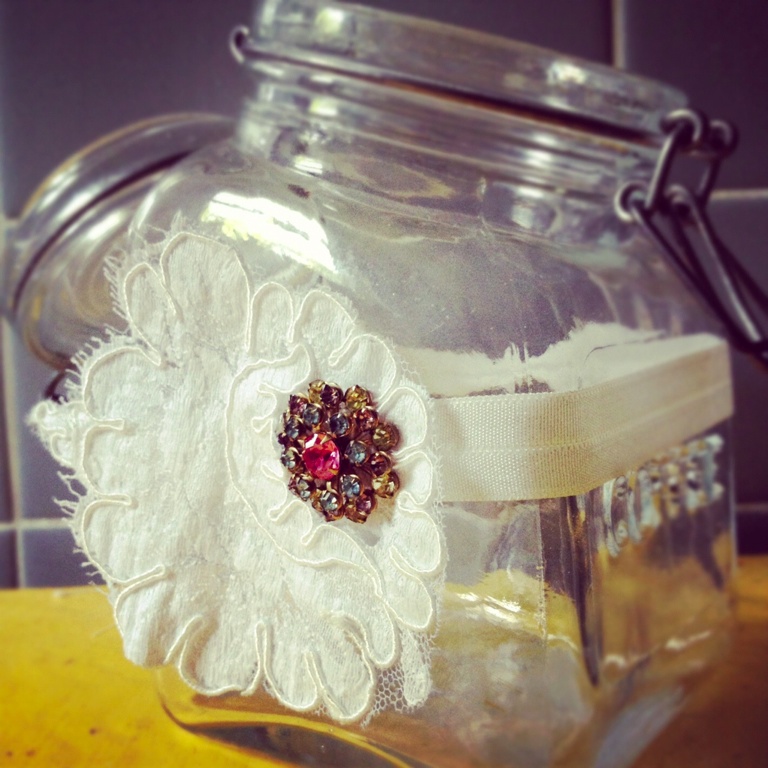
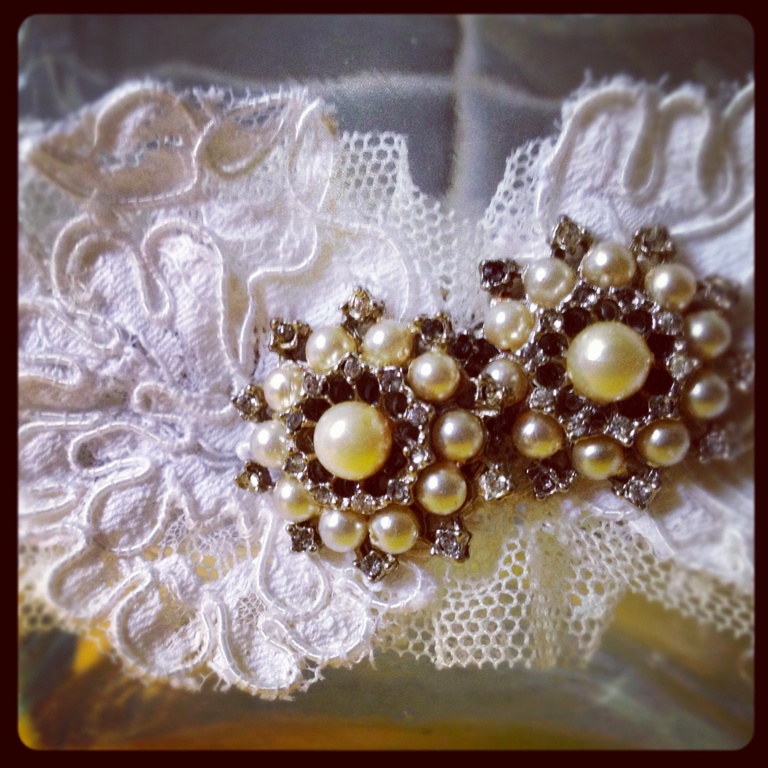
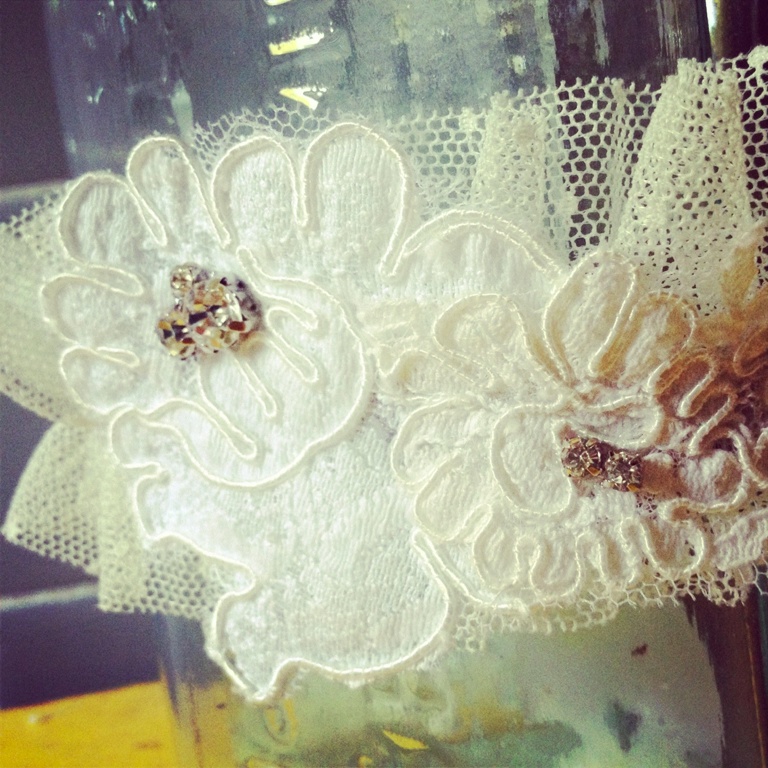
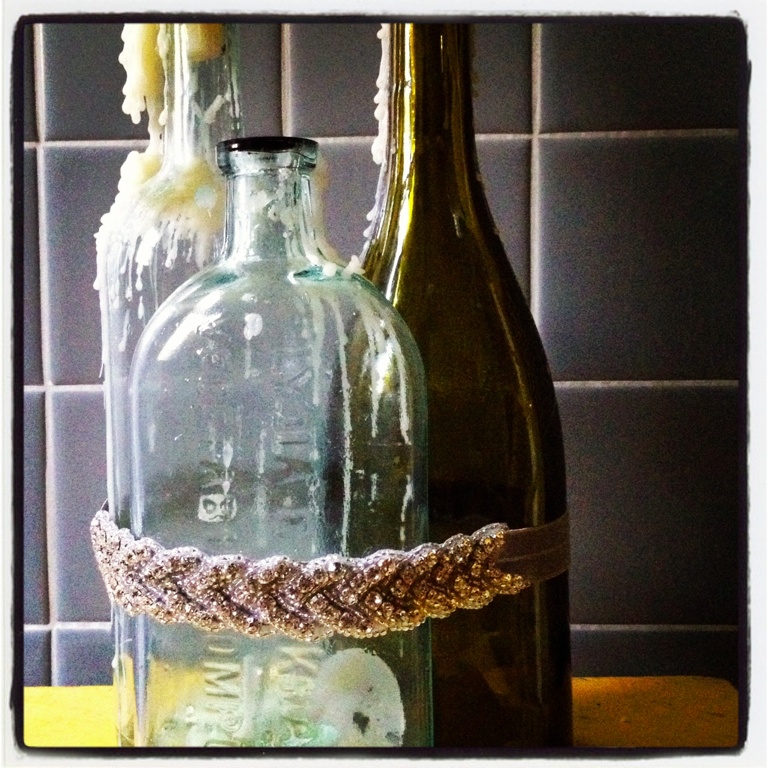
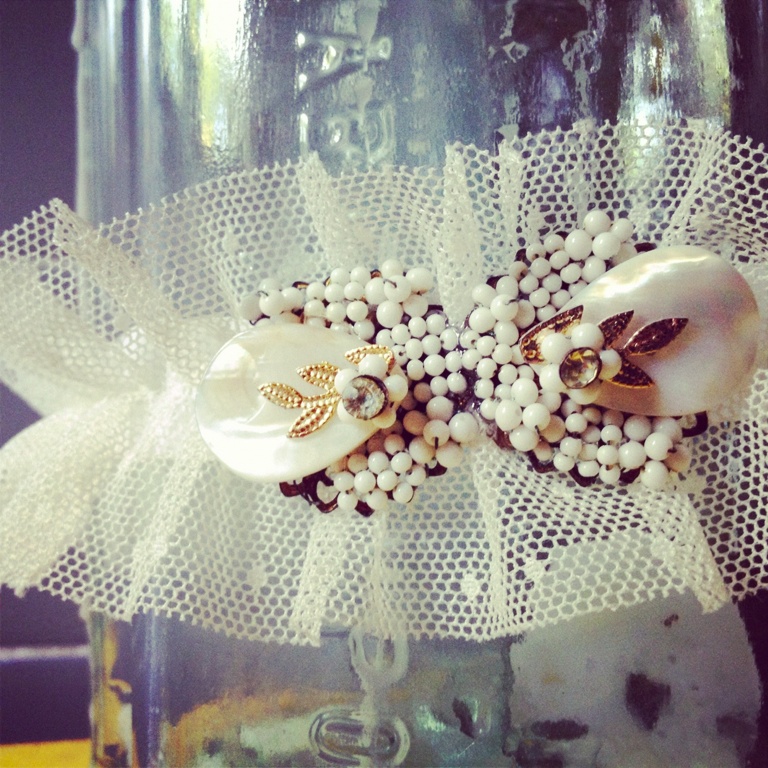
 ”When I am creating anything for my site I try to keep a few things in mind: cost, creativity, quality & nostalgia. Every bride is totally unique and should be adorned with one of a kind items! Because several of my items are created with lovely little vintage jewelry pieces, I can guarantee that it would be the only one of its kind! All of the materials used are the top of the line- from the high quality French lace to the Swarovski crystals. I try to push the envelope with designs. It keeps me from getting bored with my work and allows for a very diverse shop!”-LAUREN

photo by Lissa Anglin Photography

“I just released one of my newest product ideas- Do-It-Yourself veil kits! This may sound challenging, but in fact- it is the opposite! These kits come with EVERYTHING you would need (even the needle & thread!). I have come up with 2 main types of veils: traditional and birdcage. The step-by-step illustrated instructions make it so easy to understand. The instructions explain how to put a veil on for a secure fit & which way is appropriate for certain hairstyles. There will be no rushing back across town because you forgot to buy something at the store. Best of all, this is geared toward the budget-minded bride. The prices are so much more reasonable than any bridal boutique without having to compromise quality.” -LAUREN

SHOP SHOP SHOP SHOP SHOP
All of our readers will receive 10% off any item currently in Lauren’s etsy store! Please use this code at checkout “hellolovecoupon”
Etsy shop-House of Lovely
Lauren Samuels is a graduate from Baylor with fashion design degree. She managed a high end fabric store for 3 years then started House of Lovely in June 2011.
Lauren was wed in feb 2012 to Steven Samuels. After the wedding, these two love birds settled in Nashville, where they currently live.
She is now a personal shopper at the nashville anthropologie! and… we LOVE HER WORK!!