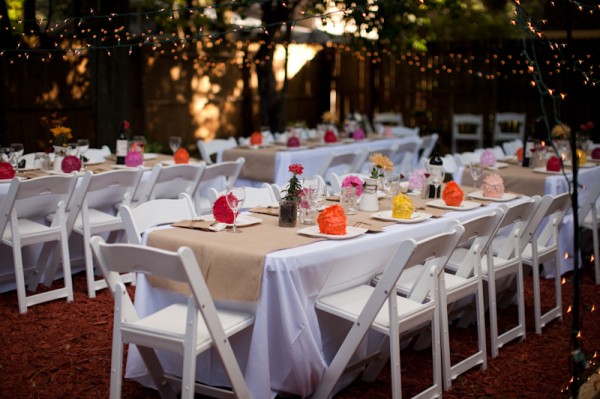
Piñatas are traditionally made of papier-mâché and decorated, filled with toys and/or candy, and then broken during a celebration. But who says they have to be big? Check out these fun (pint size) piñata party favors.
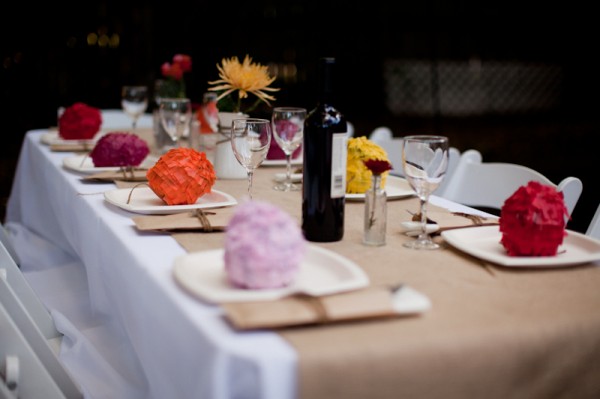
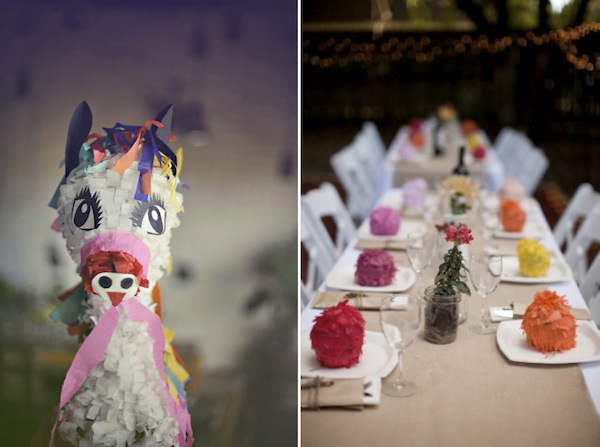
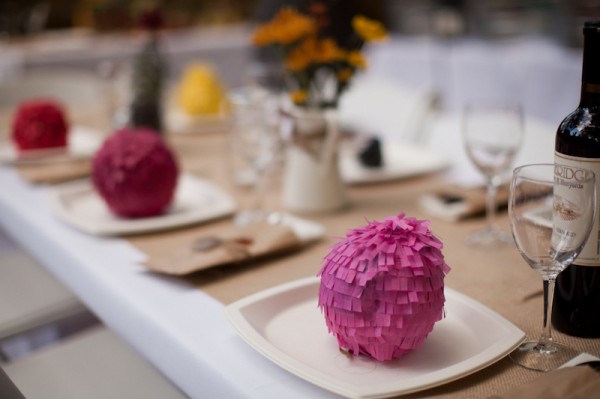
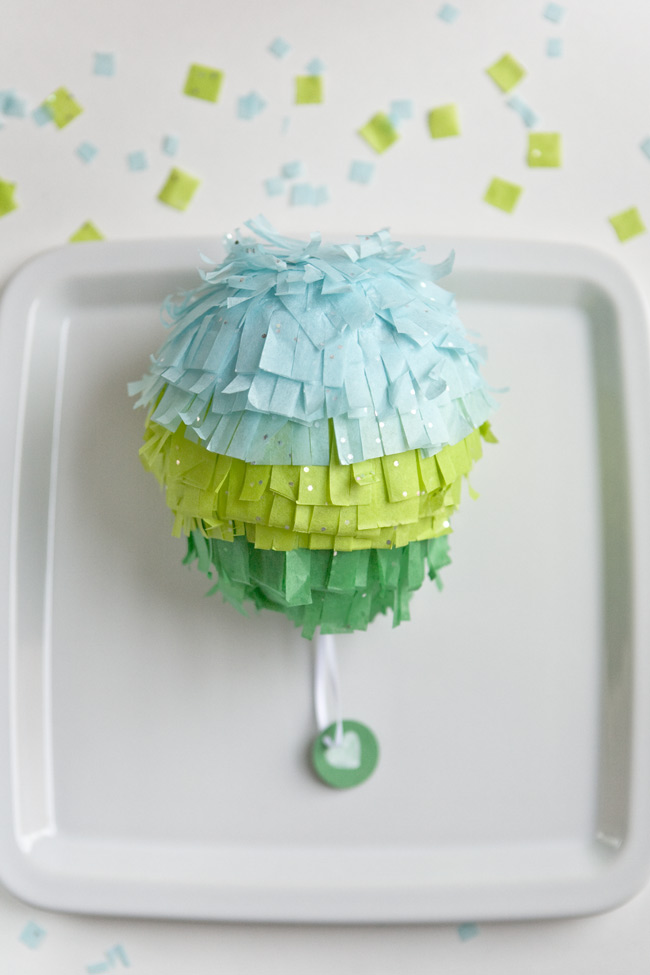
I stumbled upon this great DIY tutorial that you can use for your next fiesta!
For this project, you’ll need:
- Small balloons
-flour & water for papier mâché
-newspaper or any thin paper
-candy to go inside the pinata
-scissors
-Elmer’s glue
-tissue paper
-glasses or a base to hold the piñatas while they dry
Step 1: Blow up balloon to desired size and tie with a knot. Ours were about 5-6 inches long. Rip paper into small pieces – strip or square shapes are great, but really any shape will do. Mix equal parts of water and flour for papier mâché glue paste.
Step 2: Start gluing pieces of paper onto balloon, allowing an opening around the balloon tie for candy once it’s dry. After your first layer dries, repeat the process until is thick enough to hold candy.
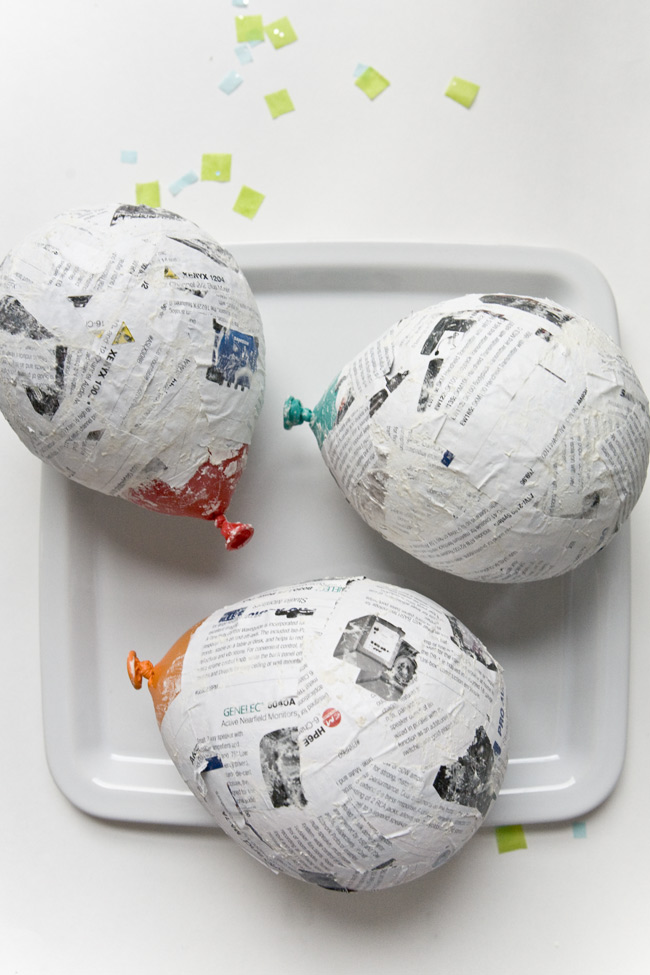
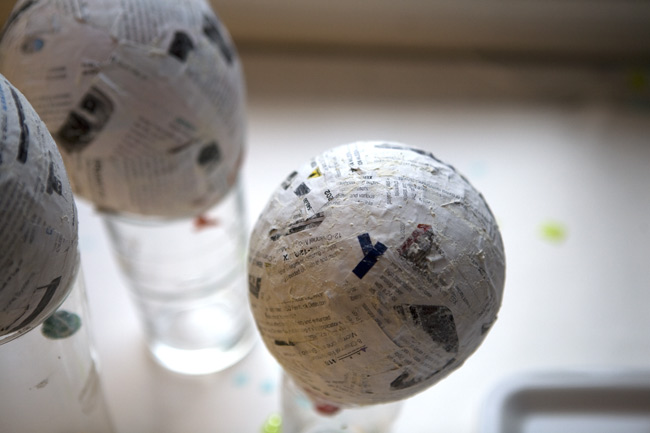
Step 3: While your papier mâché dries, you can get your tissue paper ready. We batch fringed tissue paper by folding a long strip of paper (about 4 inches wide) in half several times. (Save some time by using multi-blade shreading scissors!)
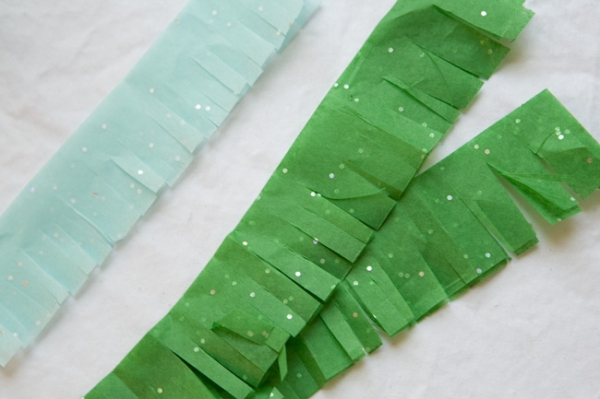
Step 4: Once your papier mâché is dry, you can start layering your fringed tissue paper. Always start layering the fringe from the bottom up. Regular white school glue works perfectly. Continue until the entire balloon is covered.
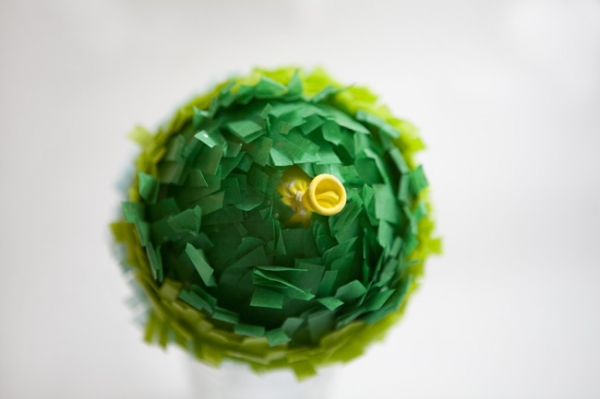
Step 5: With a needle, gently poke a hole on the balloon to deflate it. Pull balloon out and we’re ready to add the candy!
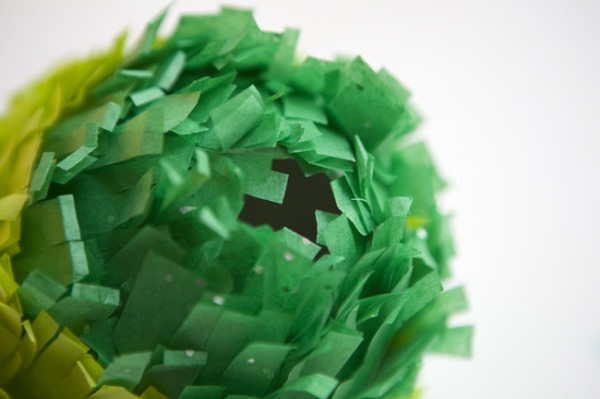
Step 6: To create a handle for the mini piñata, thread a tag in a ribbon and make a knot halfway. Tie the ends of the ribbon onto a candy.
Step 7: Now you’re ready to add candy and seal the pinata. Add the handle last and seal the pinata with a matching piece of tissue paper.
Enjoy!

Sources: Ruffled, The Sweetest Occasion, Confetti System, Martha Stewart Weddings, Perfect Bound Blog, Discover Paper, Oh Happy Day, Ruffled DIY

What a great idea!