wedding party, party

June 12th, 2012 | Posted by Hello Love in Uncategorized - (Comments Off)

1, 2, 3…..25, 26, 27!! wow, 25 attendants in this old-school, traditional wedding party photo. now that’s a feat! Even though modern wedding parties have slimmed down a bit they are still a wedding day must! Here are a few great images showing off wedding parties. Which one will you pick for your PARTY?

the southern

fall in line

the race is on

party animals

one pair

(more…)

color love

June 5th, 2012 | Posted by Hello Love in Uncategorized - (Comments Off)

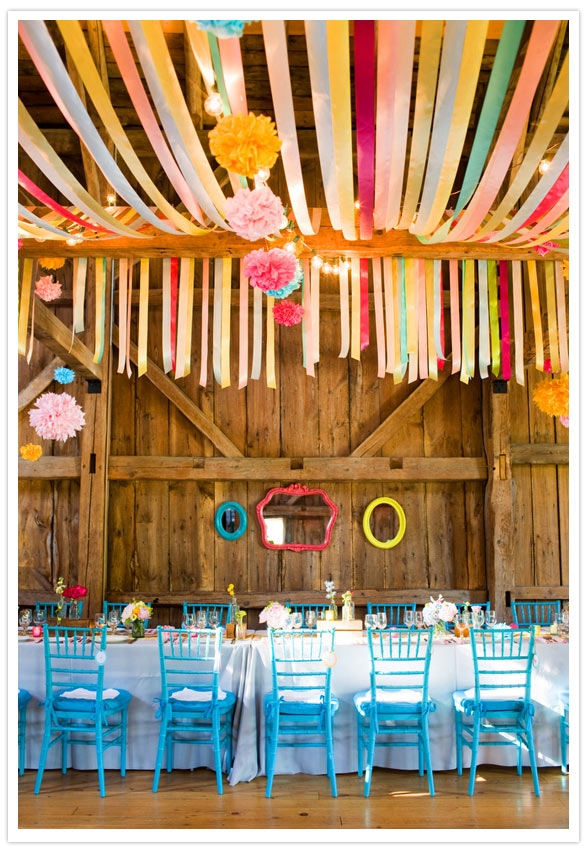
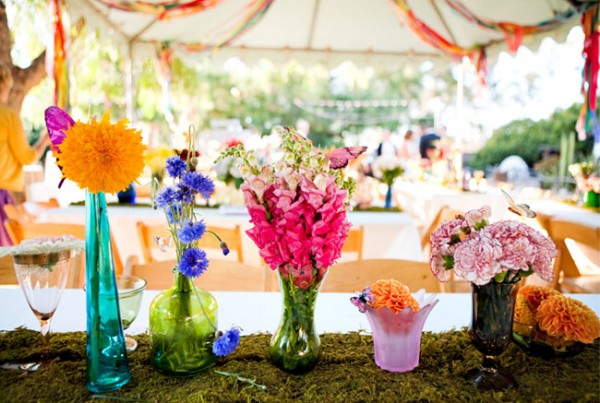
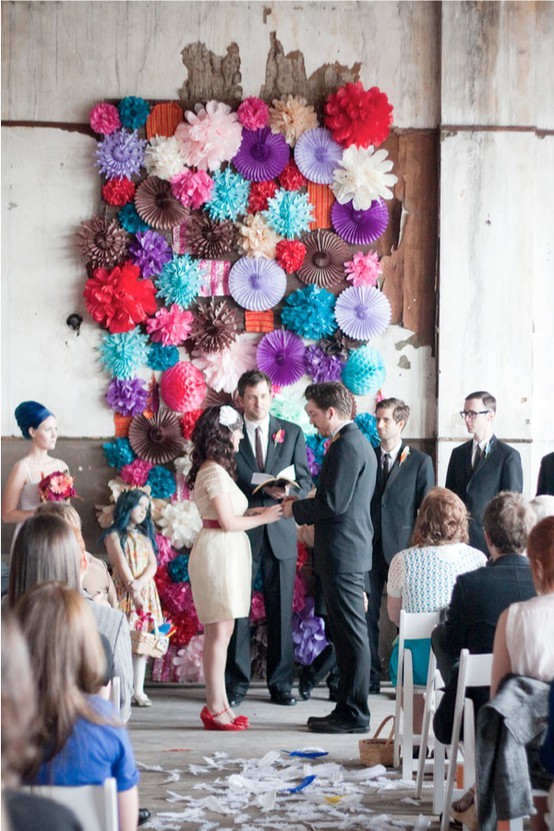
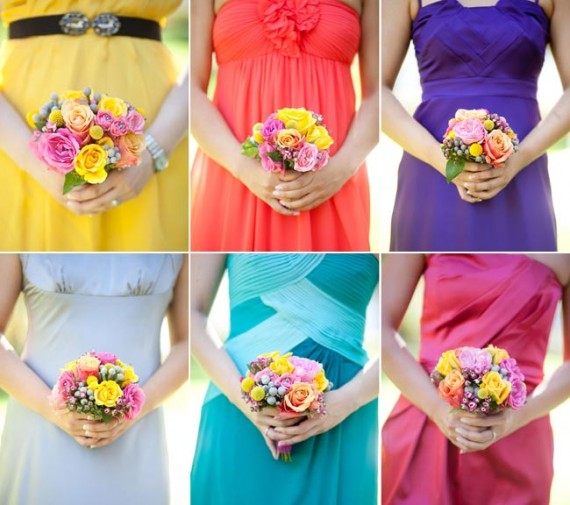
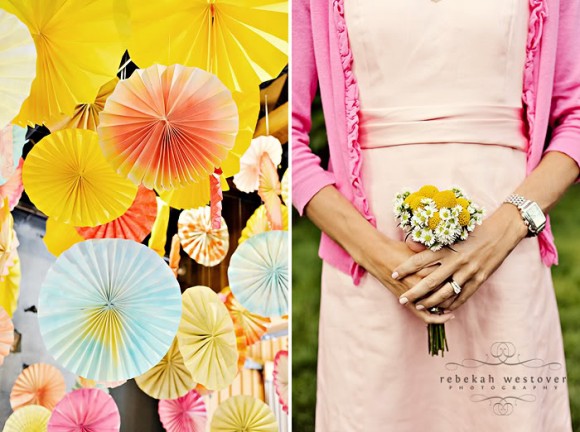
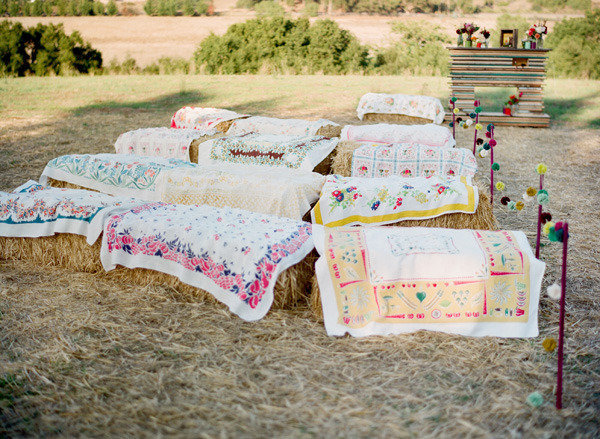
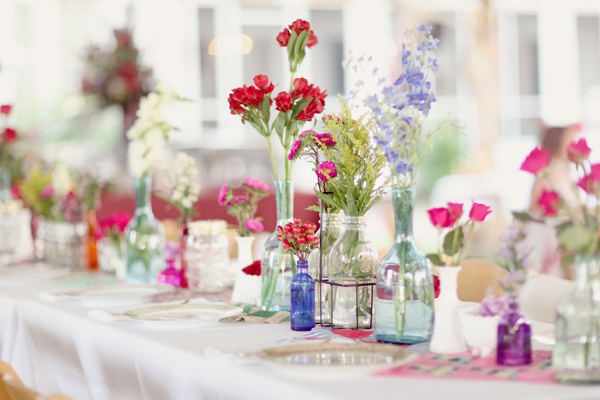
Brides…and grooms, as we approach the summer we must push for popping color before the fall takes it away. And if you want to make your photographer swoon, throw color at every detail in your wedding. It makes for the most lively images!

 three nails (first 3 images)//tiffany arment//corbin gurkin//unknown//arrow and apple//caroline tran//Lehua Noëlle Faulkner //rebekah westover//ryan ray//simply bloom

until next week, LOVE,

pretty in pink and red

June 3rd, 2012 | Posted by Hello Love in Beauty - (1 Comments)

Chris & Colbee are in LOVE! enjoy their wedding images by Kelly Christine captured at Crystal Springs in Magnolia, TX. Make sure to scroll until you get to the action wedding party shot!


man in uniform

May 29th, 2012 | Posted by Hello Love in Uncategorized - (Comments Off)

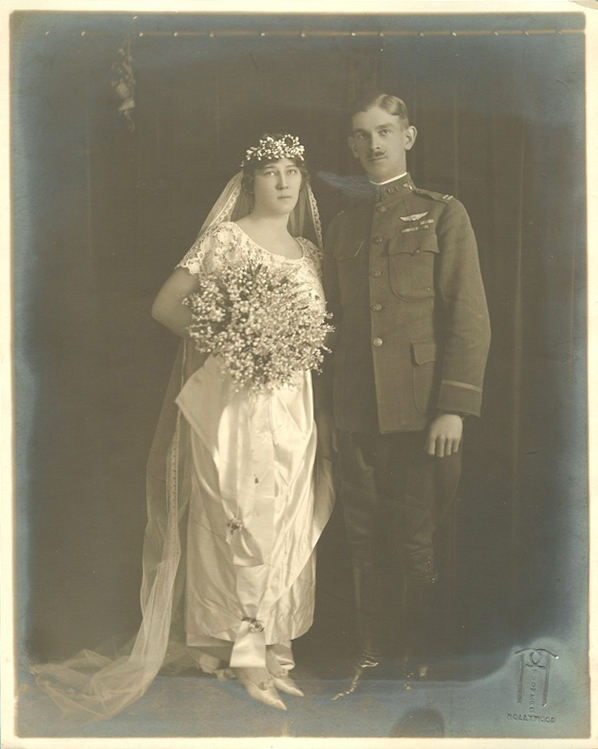
Browers of Hollywood

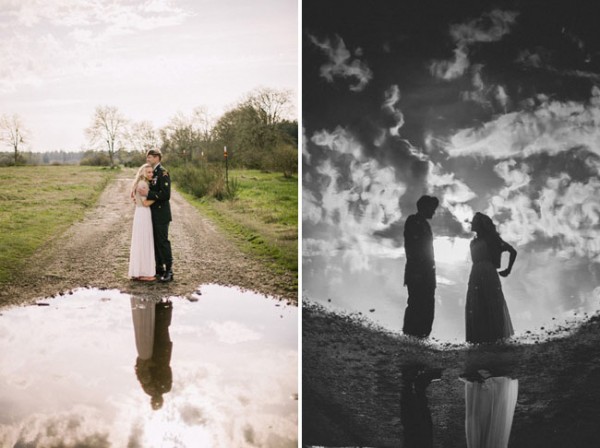
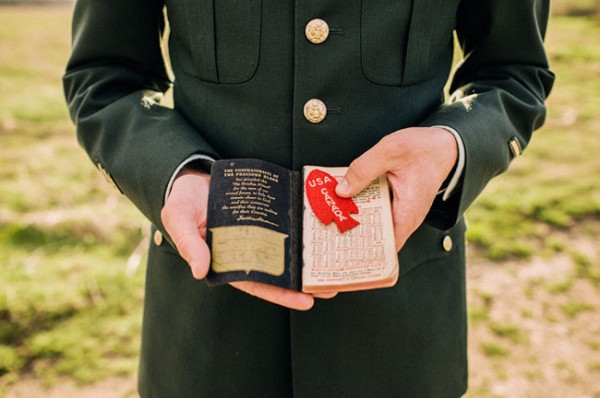
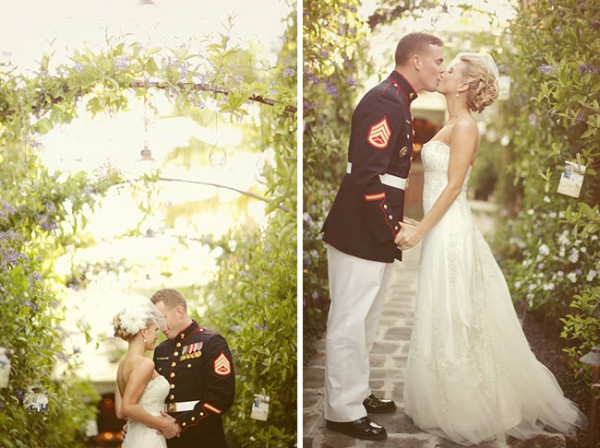
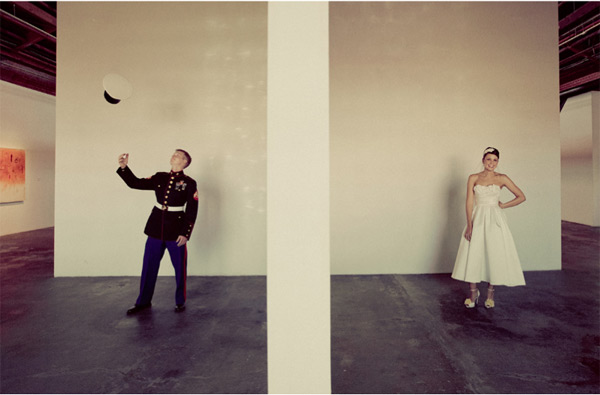
As we remembered our heroes and veterans yesterday , Memorial Day, I would like to also honor those in service today. They say nothing is more sexy than a man in uniform. So… what could be more attractive than a man in uniform that’s in Love??  Thank you to all of the men and women that serve our country and work day in and day out so that we can live in a free country.

 benj haisch

 brandon kidd

kym ventola

(more…)

name that frame

May 22nd, 2012 | Posted by Hello Love in Uncategorized - (Comments Off)

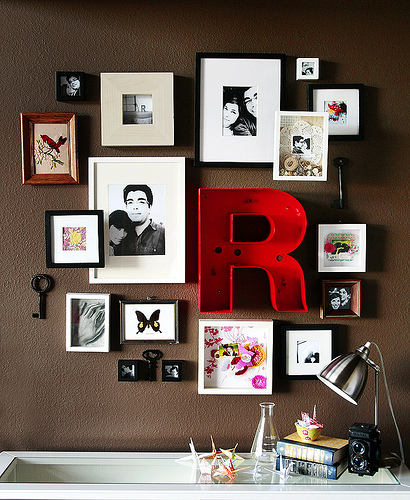
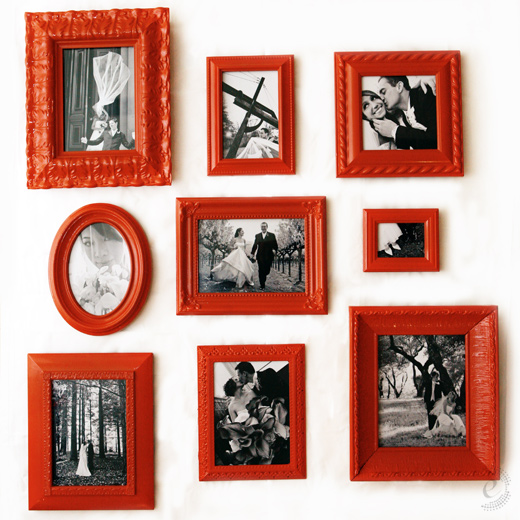
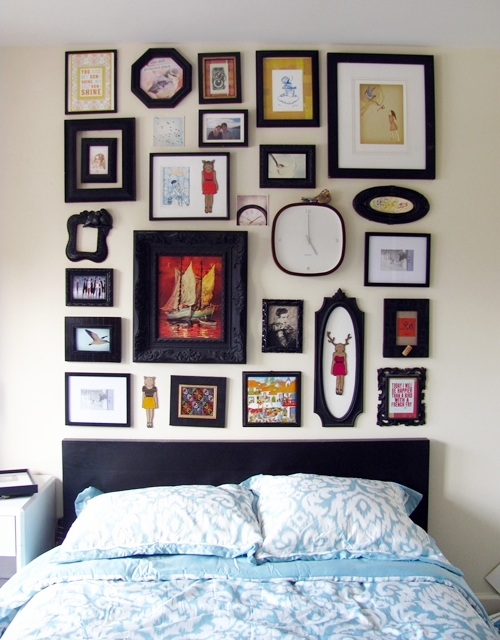
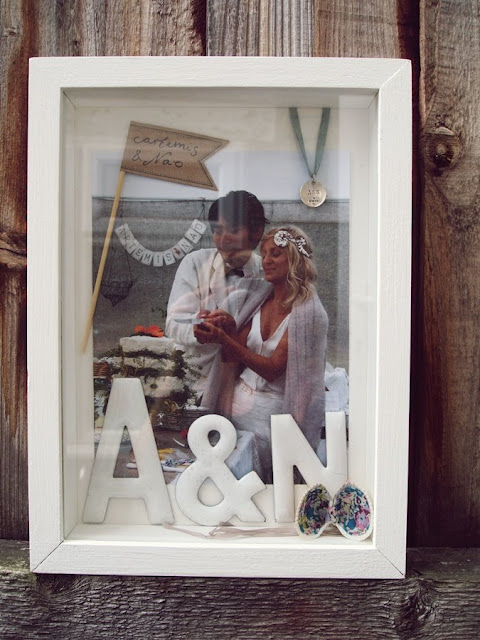
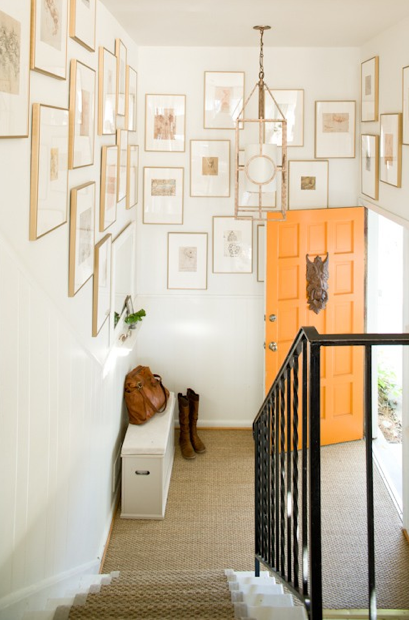
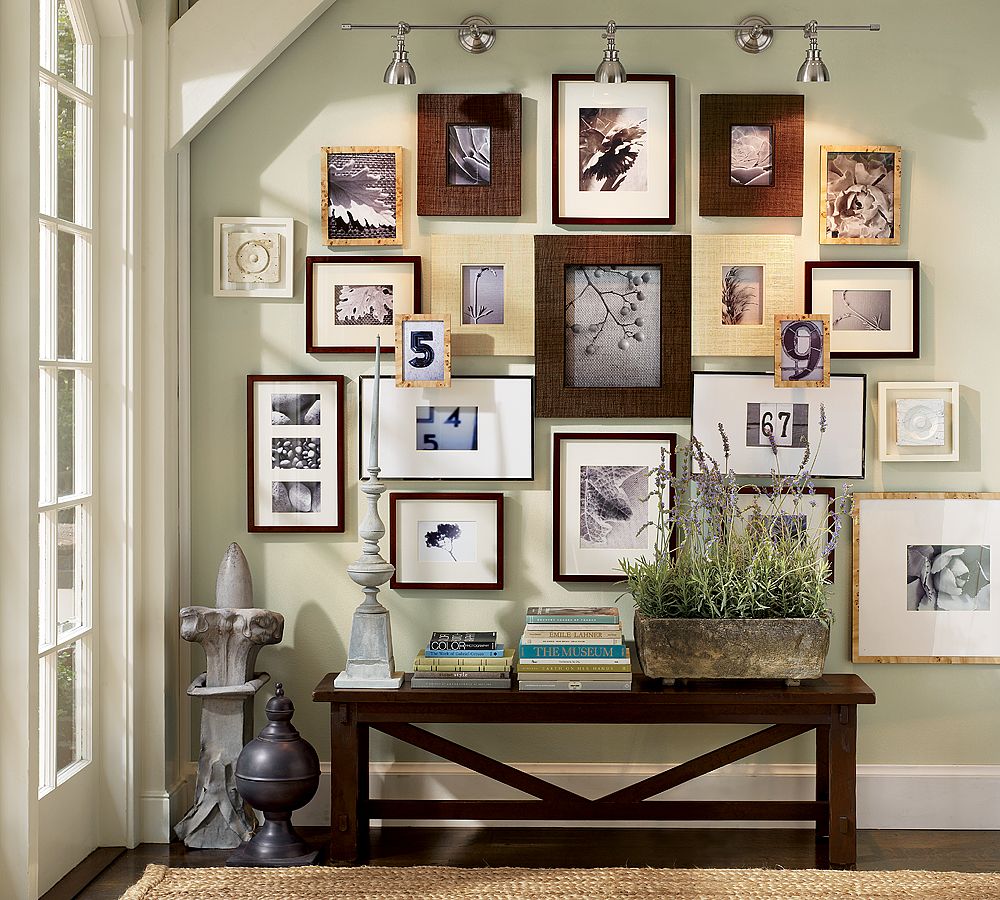
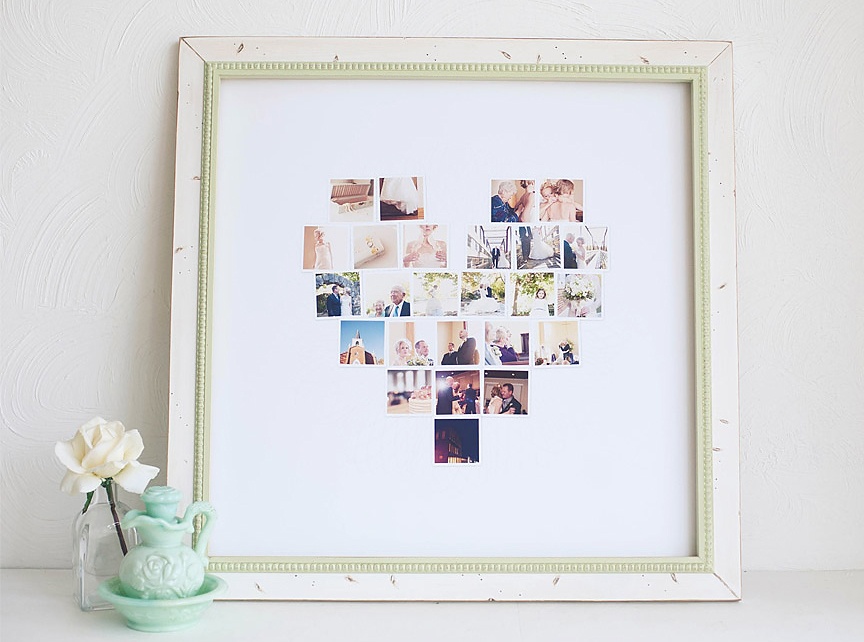
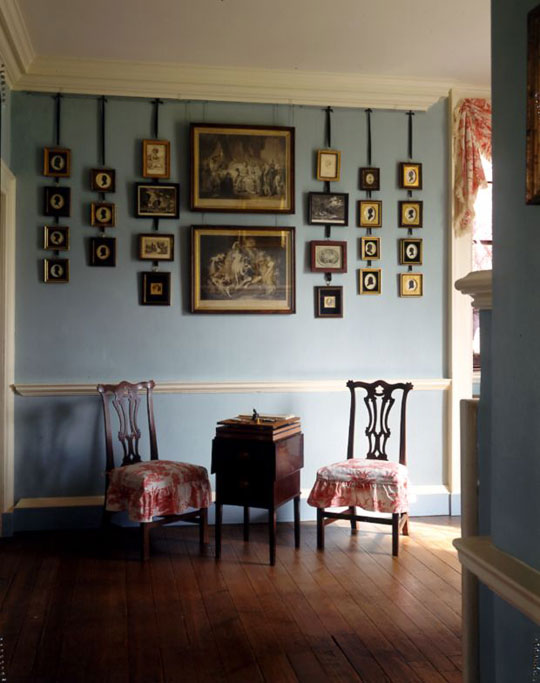
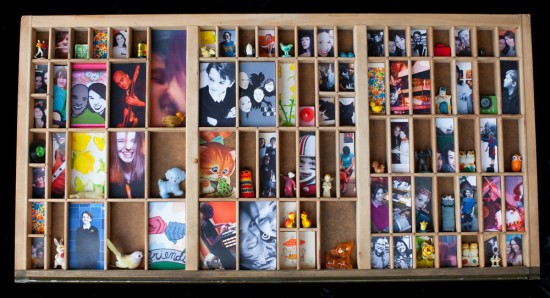
The wedding was beautiful and all of the guest had a ball!! The honeymoon was amazing and you are now husband and wife! and then your wedding day photos arrive in the mail. IT’S TIME TO PRINT. Here are a few creative ideas about how you can display your wedding day photos. Don’t put it off…relive the day, everyday, when you hang your framed wedding day prints in your home office or up your stairwell!


Art as Life//Cafe Mom//Edyta Szyszlo//Shrimp & Salad Circus//Junkaholic//Everything Fab//A Couple of Dreamers//Design Aglow//JZ blog//Apartment 123//Apartment Therapy//Offbeat Home

Until next week, LOVE,

what’s the word?

May 15th, 2012 | Posted by Hello Love in Uncategorized - (Comments Off)

Brooke Schwab

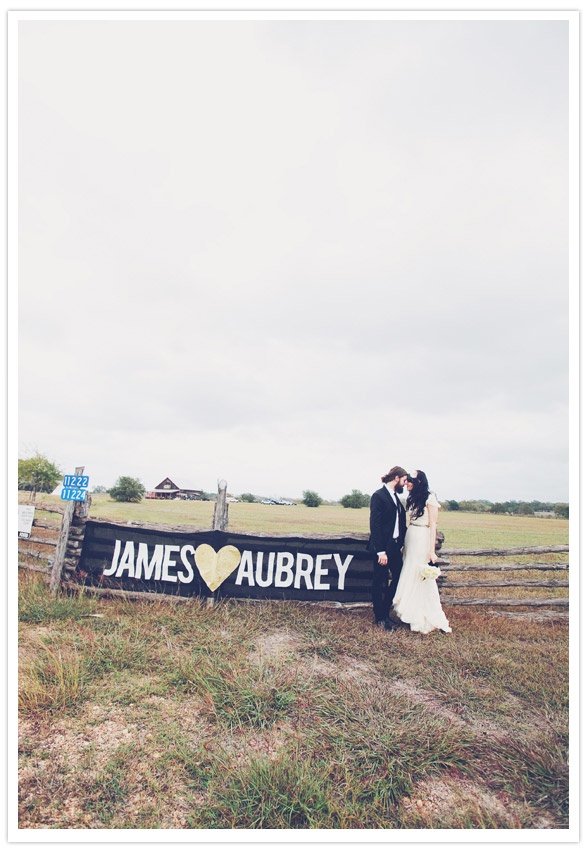
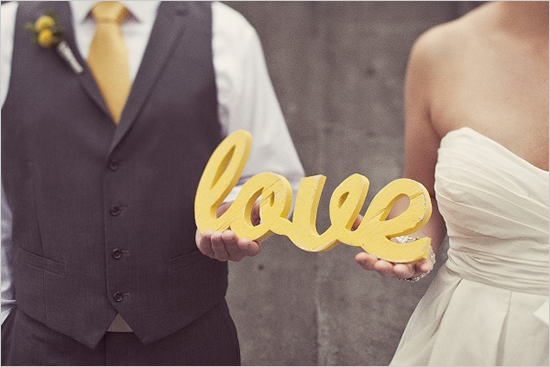
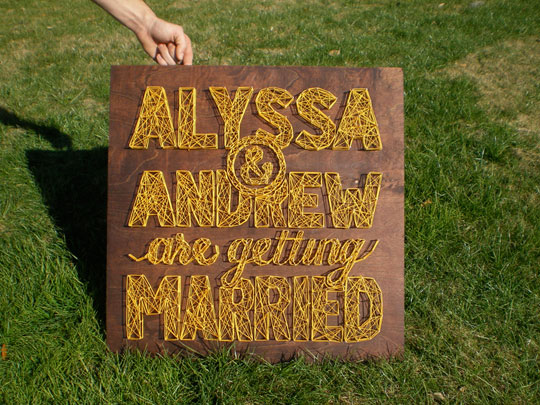
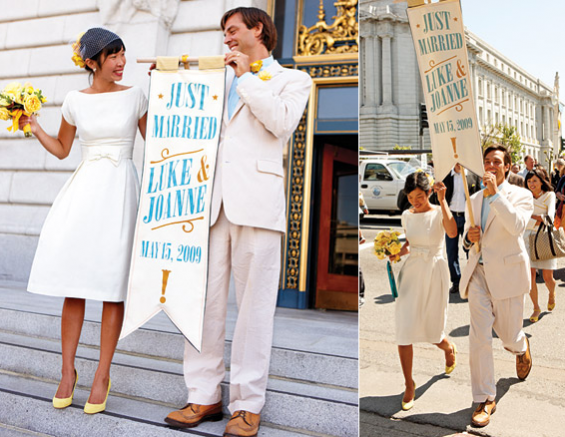
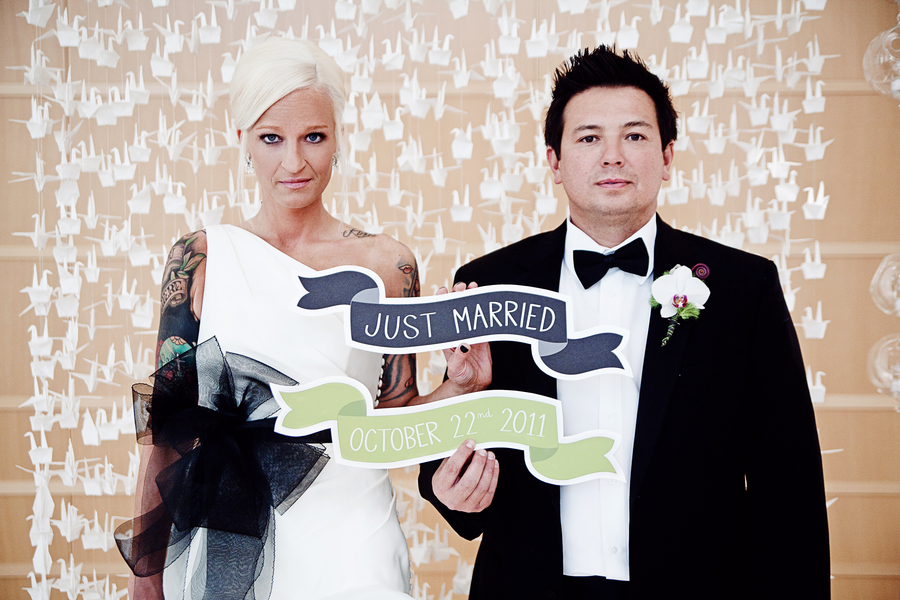
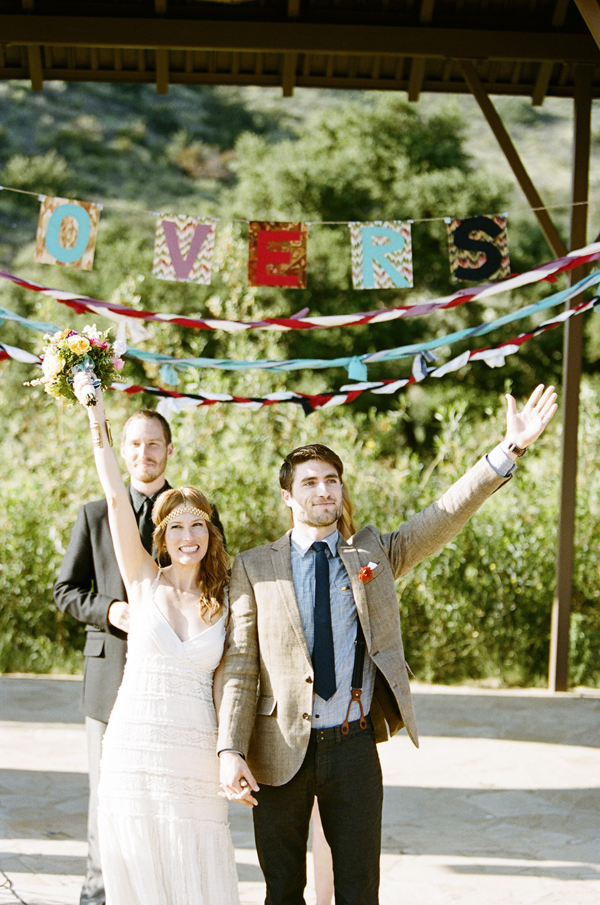
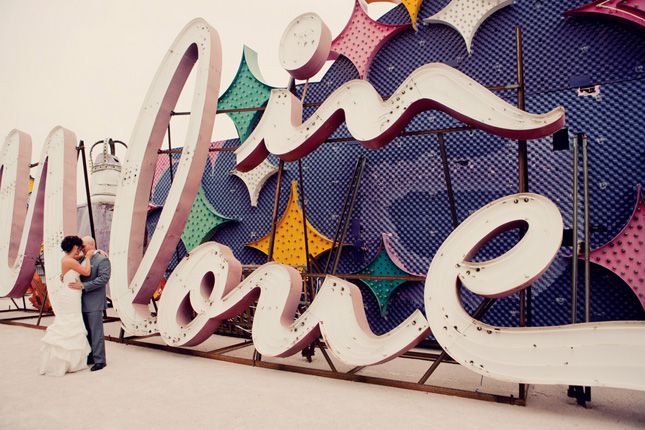
Sign, sign, everywhere a sign! Couples can speak through their photos in many ways. Why not use words, be direct, say I LOVE YOU with words!

 Jagger Photo

Kyle Read

sitting in a tree


Emily Nathan

 Sarah Babock Studio

 Braedon Photography

 White Haute Photo

DIY veil

May 11th, 2012 | Posted by Hello Love in Parties - (Comments Off)

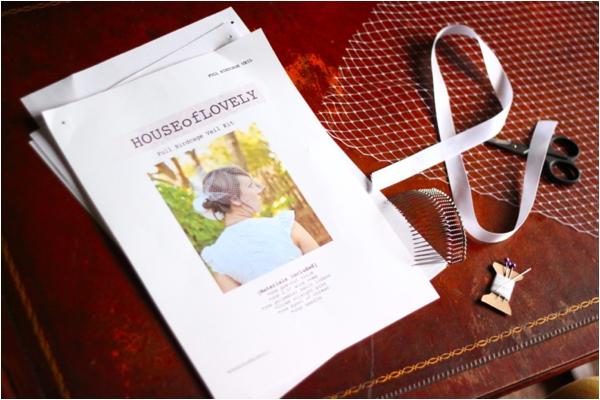
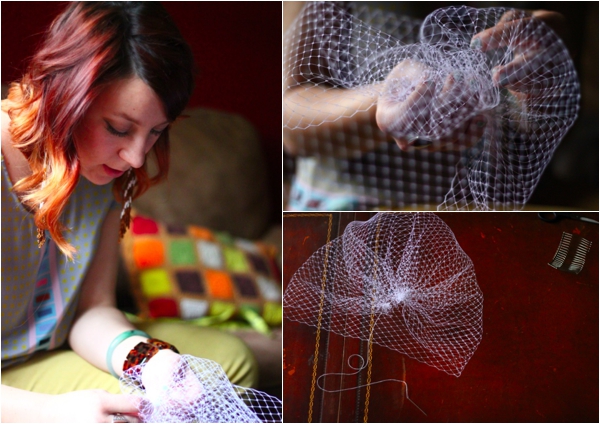
DIY birdcage veil–by Lauren Samuels, HOUSE of LOVELY

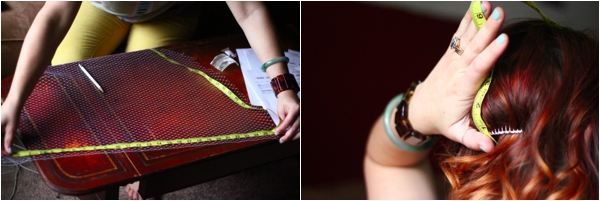
The hardest thing to understand when considering making your own birdcage veil kit is how the measurements of the veil correspond with your head and how that will look. These veil kits start out as a FULL size birdcage veil- so there is always room for alterations! The height of the veil is determined by the distance from where you want the comb to be placed to where you want the veil to stop. The width of the veil depends on the measurement around your head and how tight you would like it to fit. If you see that the measurements of the veil are larger than you’d like, then you can easily trim off excess!

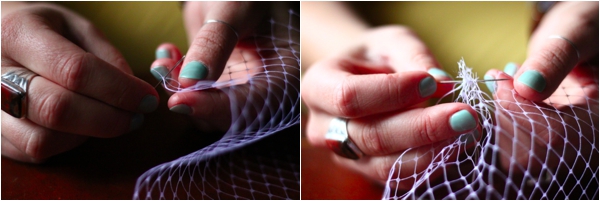
Once the measurements are set, go ahead and thread your needle. Tie a thread knot around the corner of one end of the veil and continue threading the little square boxes along the CUT EDGE.

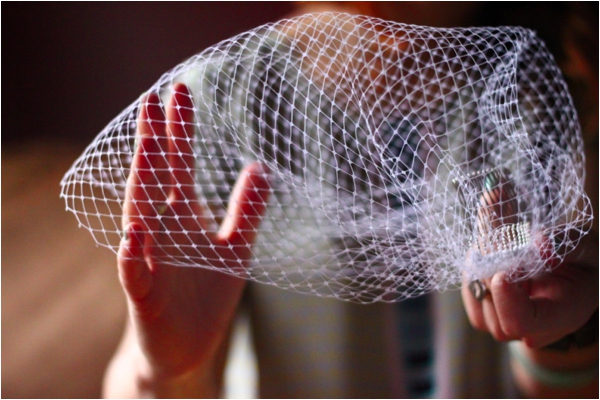
Once you have threaded all along the arch of the veil it should start to look like an actual birdcage veil! Go ahead and put that aside while we prepare the comb!
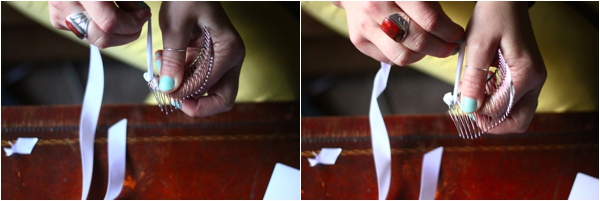
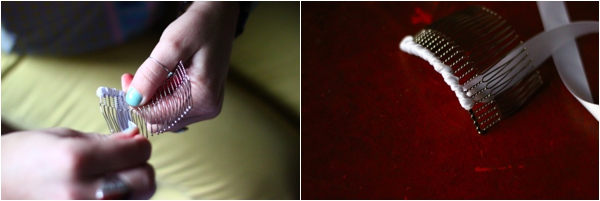
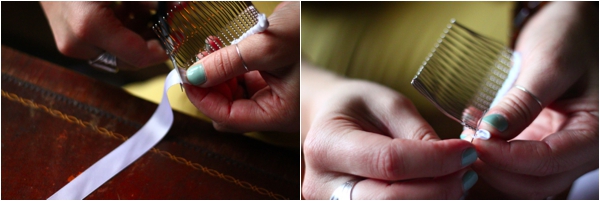
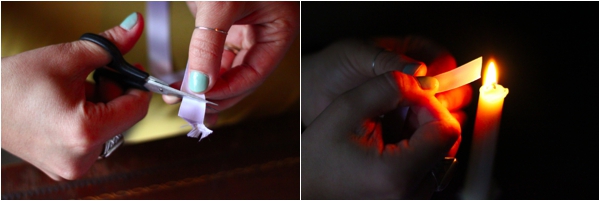
If the ribbon does not have a clean edge, re-cut it. To harden the edges of the ribbon, we will hold it CLOSE (not IN) to a flame. This is easiest done with a candle rather than a lighter. This can only be done with a polyester ribbon because of how the fibers react! Once the first edge has been melted, slide it through the comb as shown- going through each tooth to create a couture finish!
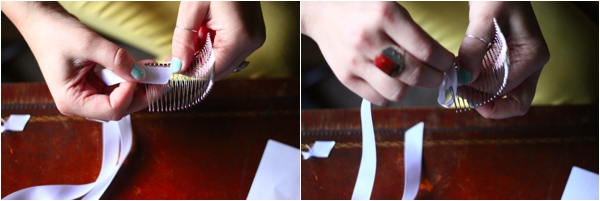
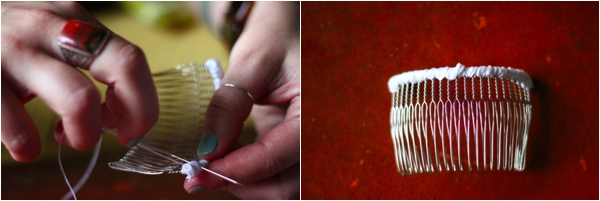
Once you are at the end of the comb, go ahead and snip off the end of the ribbon- leaving about 1/2” to melt and sew down!

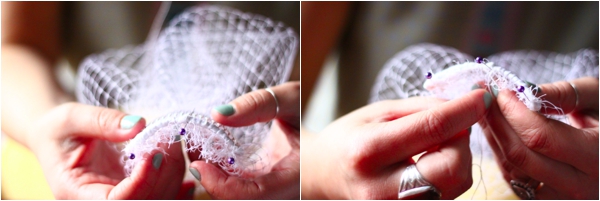
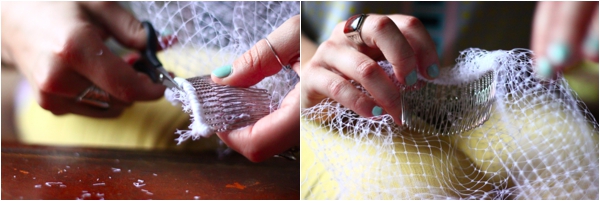
Once the comb is totally finished, it is time to attach the comb to the veil. Place the comb (arch down) on top of the veil. Pin down the veil through the ribbon of the comb to assist in the handling. Sew through the veil from one side to the other by catching the ribbon all along the way. Once you are finished- tie a knot and cut off the excess veiling.


like their Facebook page here:
Thanks for stopping by,