Piñata Party

May 3rd, 2012 | Posted by Hello Love in Paper - (1 Comments)

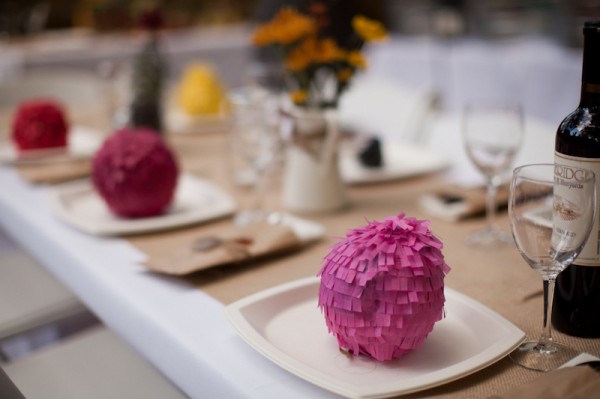
Piñatas are traditionally made of papier-mâché and decorated, filled with toys and/or candy, and then broken during a celebration. But who says they have to be big? Check out these fun (pint size) piñata party favors.
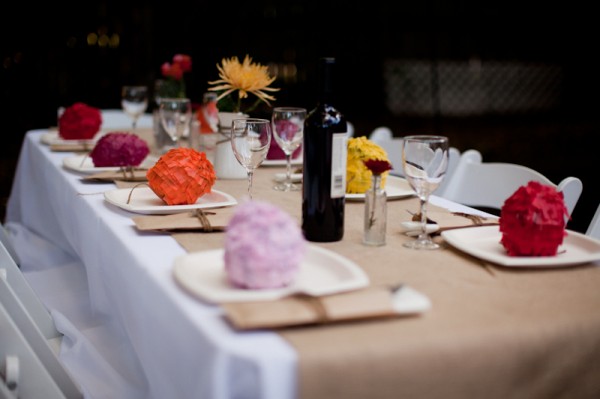
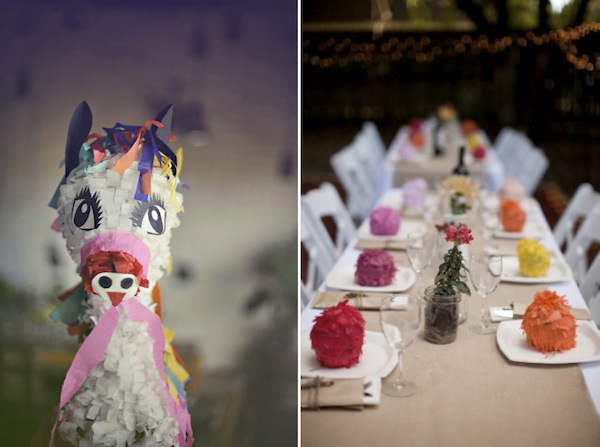
I stumbled upon this great DIY tutorial that you can use for your next fiesta!

For this project, you’ll need:
- Small balloons
-flour & water for papier mâché
-newspaper or any thin paper
-candy to go inside the pinata
-scissors
-Elmer’s glue
-tissue paper
-glasses or a base to hold the piñatas while they dry

Step 1: Blow up balloon to desired size and tie with a knot. Ours were about 5-6 inches long. Rip paper into small pieces – strip or square shapes are great, but really any shape will do. Mix equal parts of water and flour for papier mâché glue paste.

Step 2: Start gluing pieces of paper onto balloon, allowing an opening around the balloon tie for candy once it’s dry. After your first layer dries, repeat the process until is thick enough to hold candy.
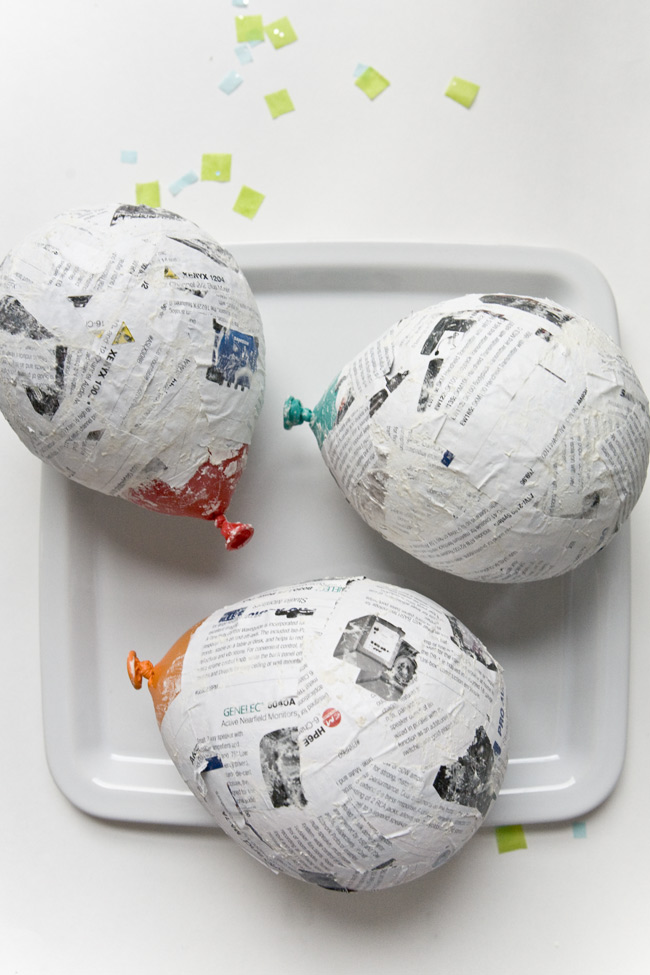
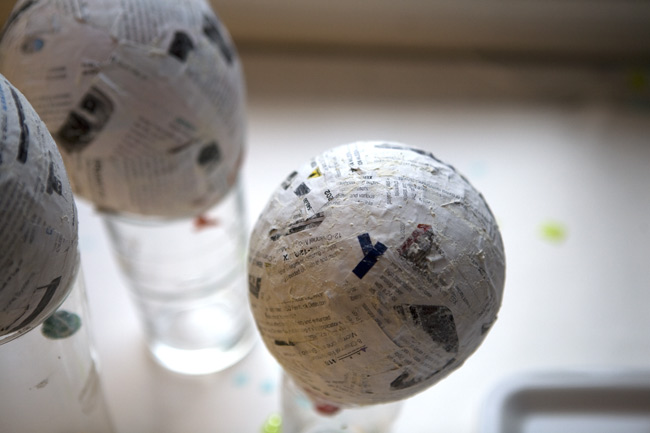
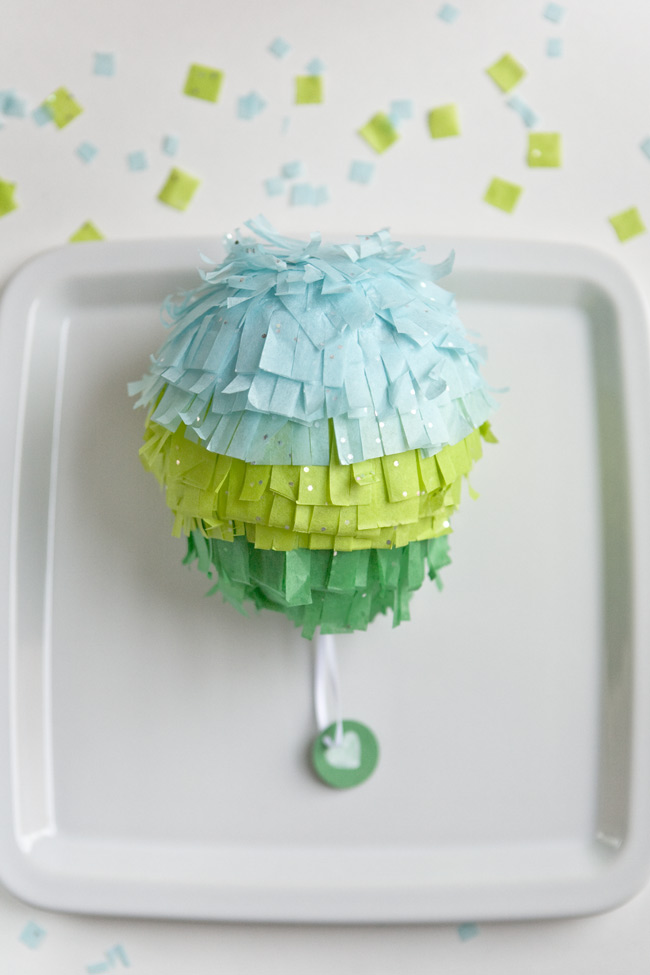
Step 3: While your papier mâché dries, you can get your tissue paper ready. We batch fringed tissue paper by folding a long strip of paper (about 4 inches wide) in half several times. (Save some time by using multi-blade shreading scissors!)
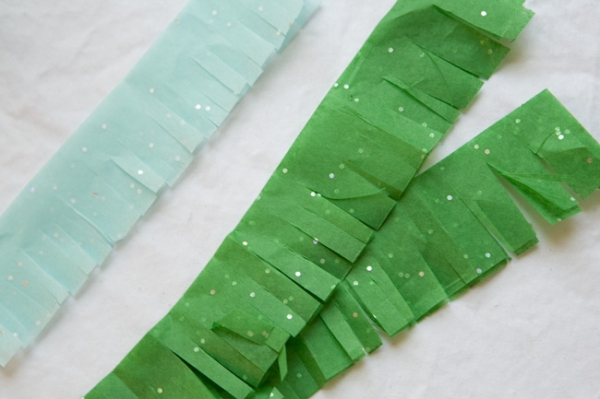
Step 4: Once your papier mâché is dry, you can start layering your fringed tissue paper. Always start layering the fringe from the bottom up. Regular white school glue works perfectly. Continue until the entire balloon is covered.
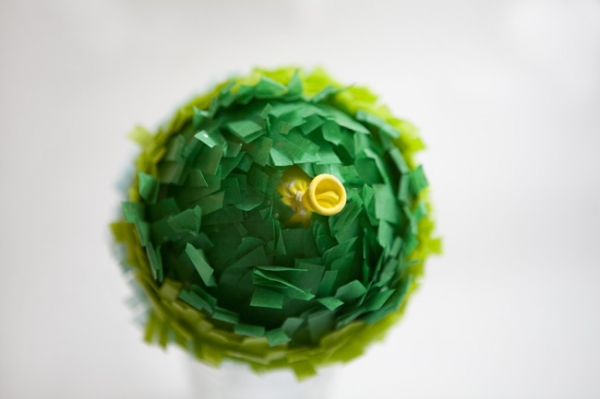
Step 5: With a needle, gently poke a hole on the balloon to deflate it. Pull balloon out and we’re ready to add the candy!
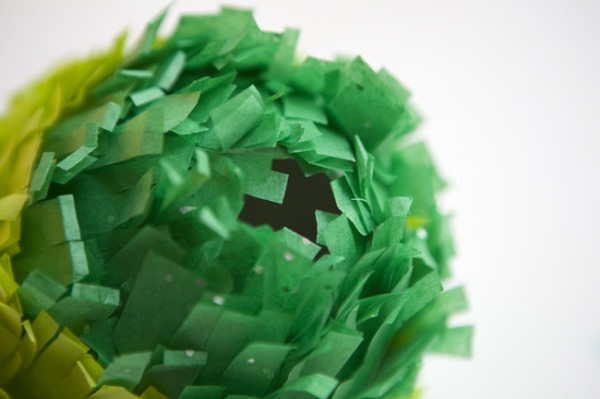
Step 6: To create a handle for the mini piñata, thread a tag in a ribbon and make a knot halfway. Tie the ends of the ribbon onto a candy.

Step 7: Now you’re ready to add candy and seal the pinata. Add the handle last and seal the pinata with a matching piece of tissue paper.

Enjoy!


Sources: Ruffled, The Sweetest Occasion, Confetti System, Martha Stewart Weddings, Perfect Bound Blog, Discover Paper, Oh Happy Day, Ruffled DIY

Please be seated

April 12th, 2012 | Posted by Hello Love in Paper - (2 Comments)

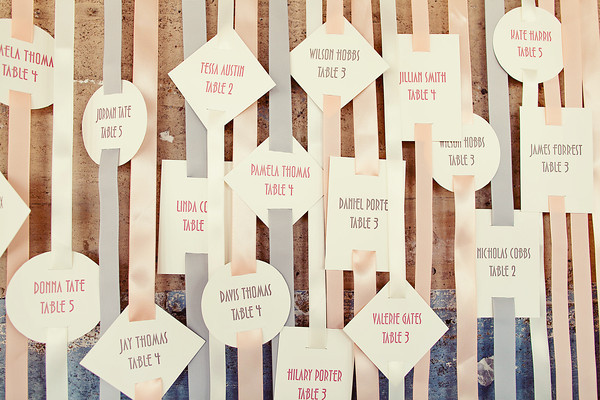
There are many ways to tell your guests where they are seated. It can be anything from a single chart to individual escort cards. It’s just another detail you can tailor specifically to your style and event! Here are some of my favorite displays.

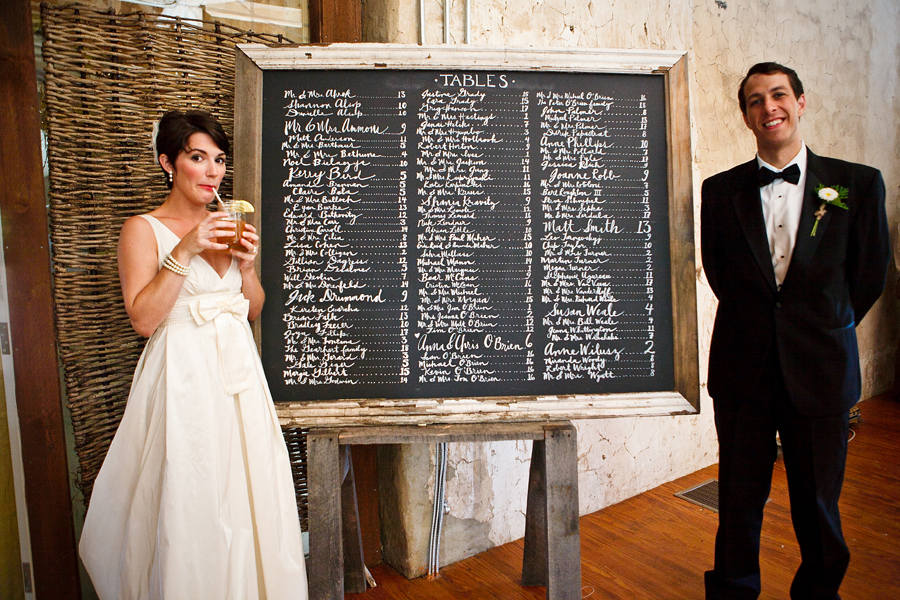
I love a good chalkboard seating chart (source)

Escort Cards by Southern Fried Paper / Photo by nBarrett Photography

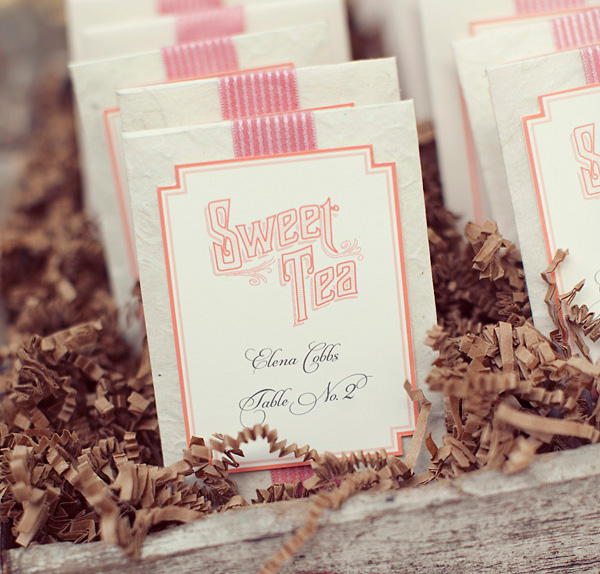
Sweet Tea Escort Cards by Southern Fried Paper (source) / Photo by Sarah Kate, Photographer

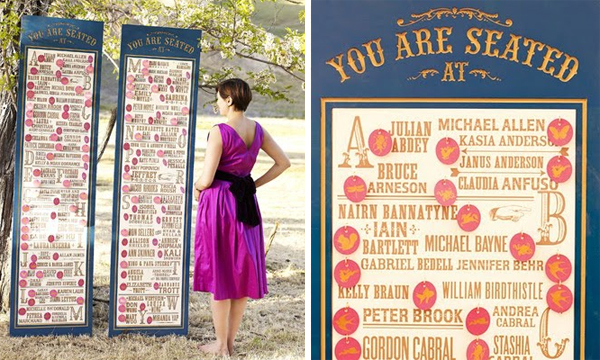
Life size vintage typography (source)

Elephant Escort Card by Southern Fried Paper / Photo by Greg Blomberg

(more…)

on the edge

March 29th, 2012 | Posted by Hello Love in Paper - (1 Comments)

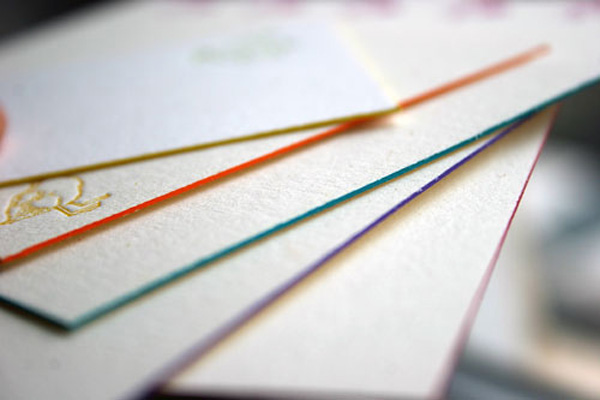
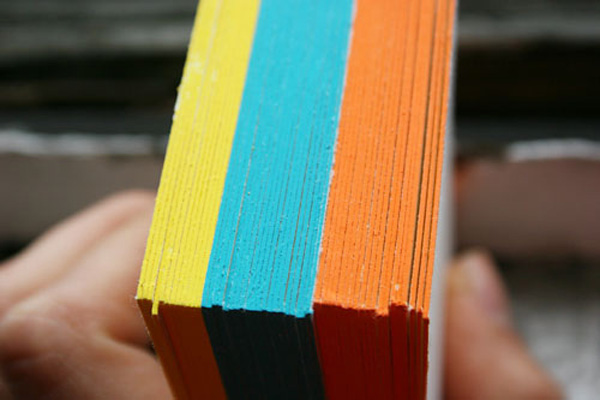
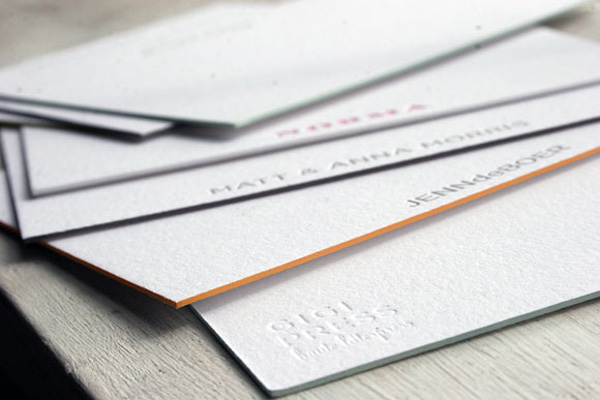
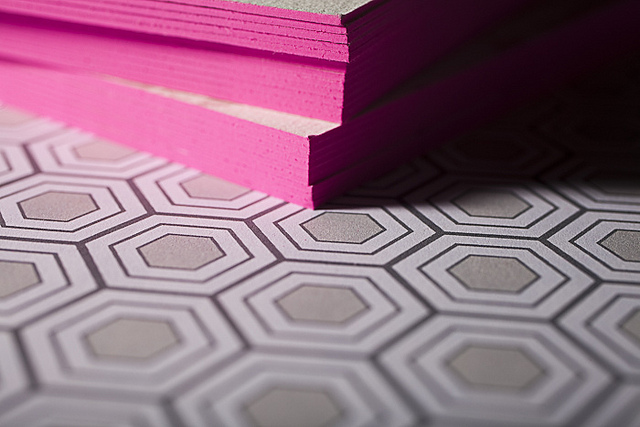
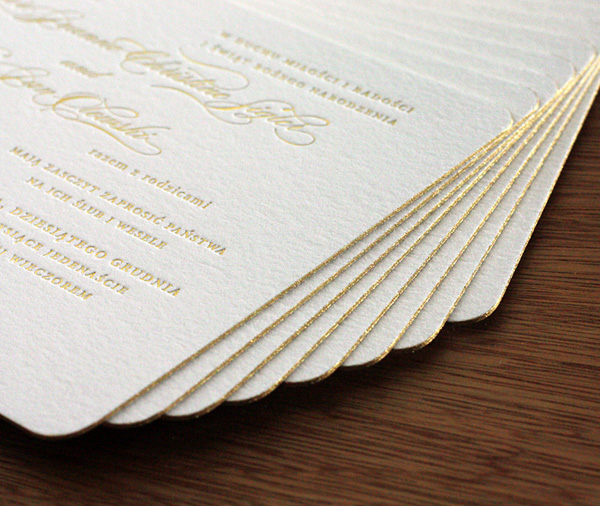
Edge painting is a beautiful way to add a subtle splash of color to your invitation. The process involves hand painting color on just the edge of the printed piece. Thicker papers and bolder colors give the most dramatic results.

(more…)

timing is everything

March 22nd, 2012 | Posted by Hello Love in Paper - (Comments Off)

A savvy bride’s guide
on what to send and when

6-8 months out: mail your save the date (destination wedding save the dates can be sent up to a year in advance)

4-6 months: Prepare to order invitations (Custom invitations can take up to 6 weeks to design and produce)

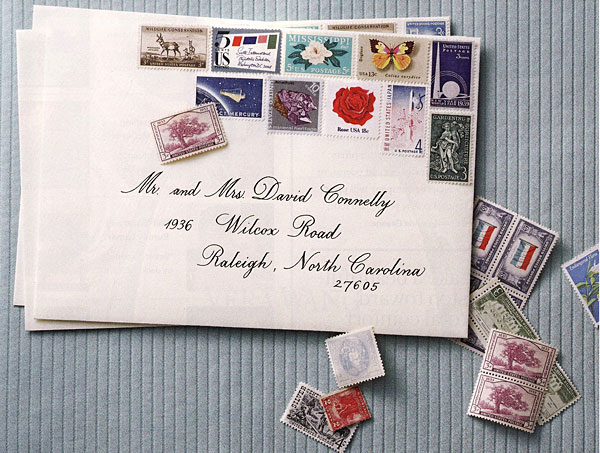
3 months: Get envelopes to the calligrapher and start assembling invitations (Note* handwritten addresses are best but computer printed calligraphy is ok too. DO NOT use office labels and be sure to spell out street/avenue, state names, etc. No abbreviations please.)

6-8 weeks: mail formal invitations

3 weeks: collect RSVPs (Response cards are typically requested back 3 weeks before the wedding.)

2 weeks:  If you still haven’t received a response 2 to 3 weeks before the event that’s when you can start making those polite reminder calls to the stragglers.

Thank you notes – you typically have a 3-4 week grace period after the wedding or shower to send a note… but better late than never.

Remember, the more time you give your guests the more accurate your head count will be!

Check out the links at the bottom for a freebie timing worksheet!

How to assemble your invitation:

The invitation is on the bottom, print side up. (A sheet of tissue paper can be placed over it.) Stack all other inserts on top of the invitation in order of size (smallest on top). The reply card goes under the (stamped) reply envelope’s flap. Everything goes into the envelope with the printed sides facing up. If you are using an inner envelope, place it, unsealed, into the outer envelope with the names facing the back flap.

Great reads for more info:

Emily Post’s Etiquette: Emily Post and The Emily Post Institute have been a great resource for brides for almost 100 years. So you could say she knows her stuff.

Derek BlasBerg’s “Very Classy”


Download the “Timing is Everything” Worksheet: PDF |  XLS  |  ZIP


xoxo,

Photo Sources: SoolipBridal Musings, Beast Pieces