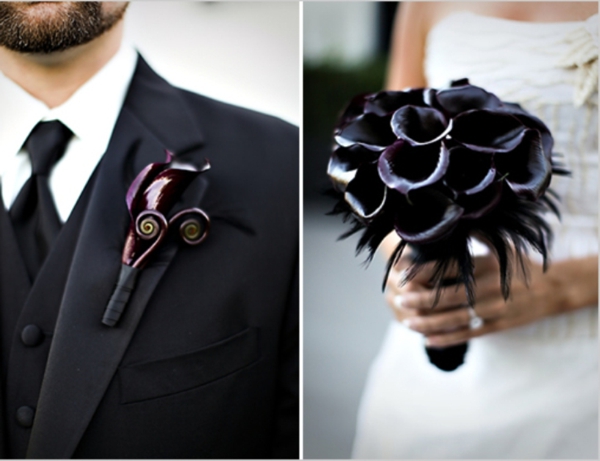
“I see a red rose and I want to paint it black……”
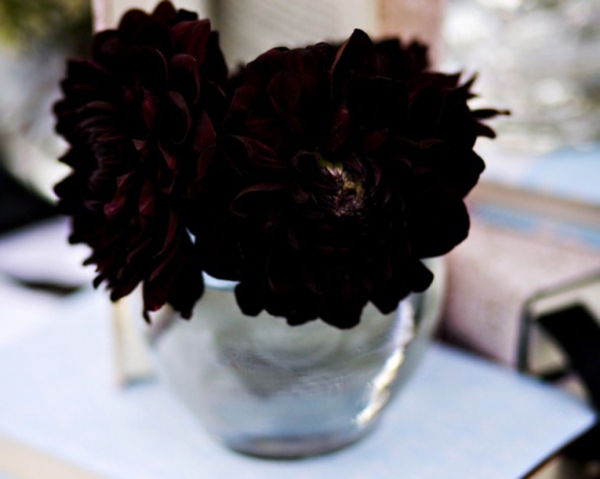
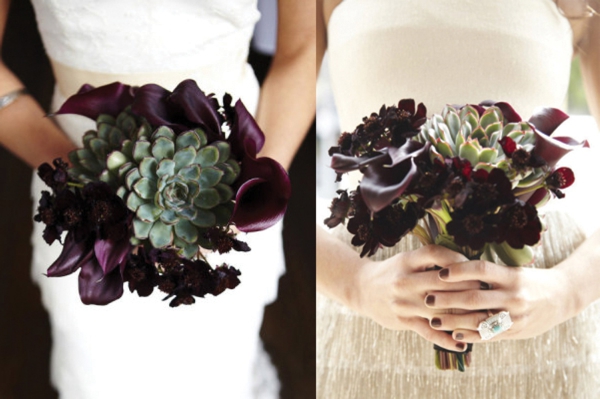
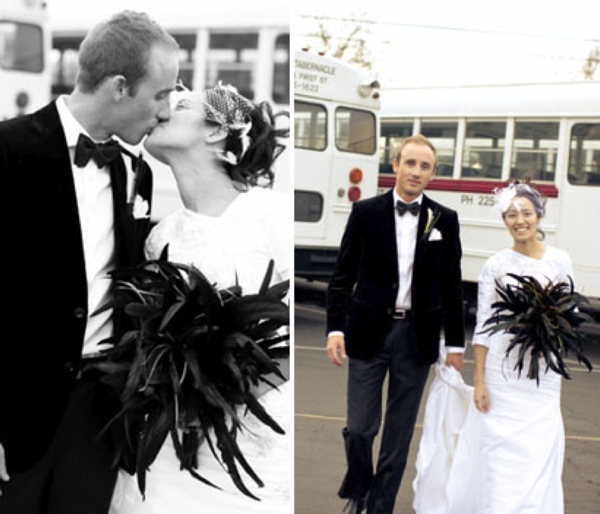
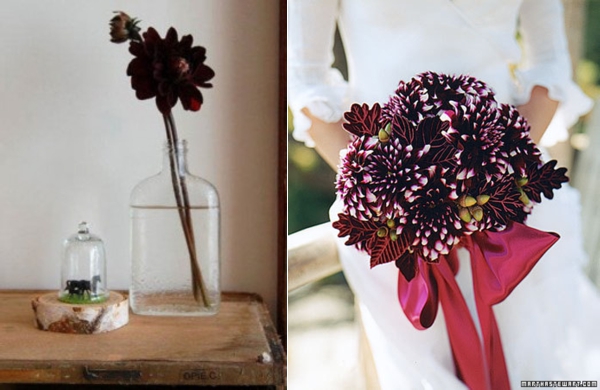
Happy Halloween!


“I see a red rose and I want to paint it black……”


Happy Halloween!


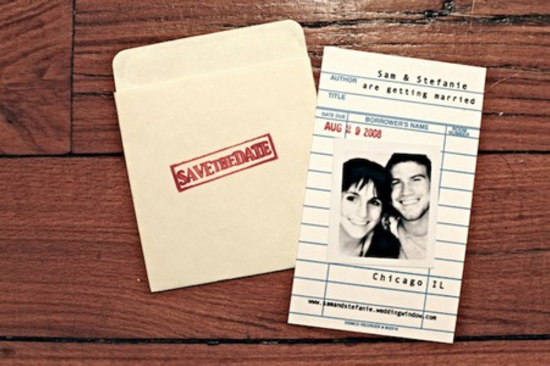
SAVE IT… the date that is. If you are thinking of using a photo in your save the date take a look at creative photographers, designers, and couples teaming together to make rockin’, creative Save the Dates!!



until next week, LOVE,

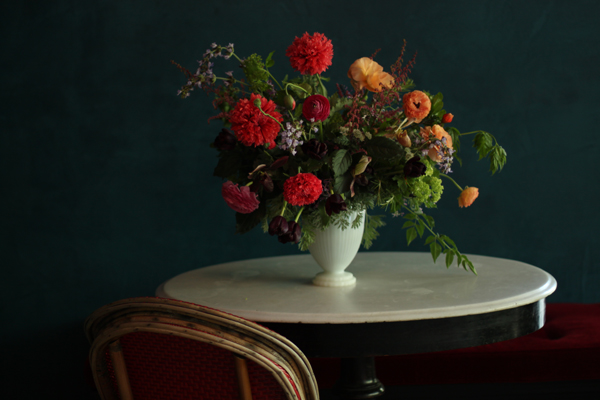
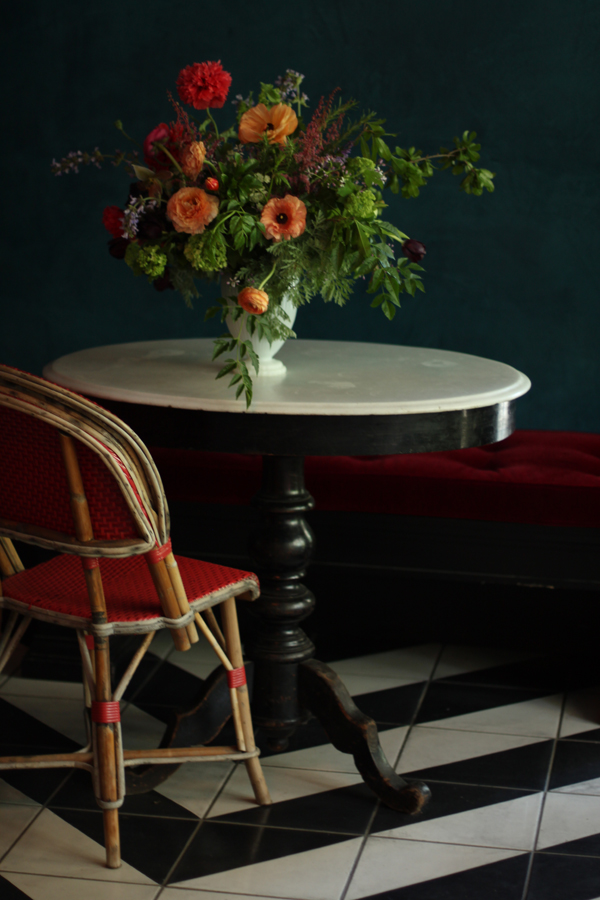
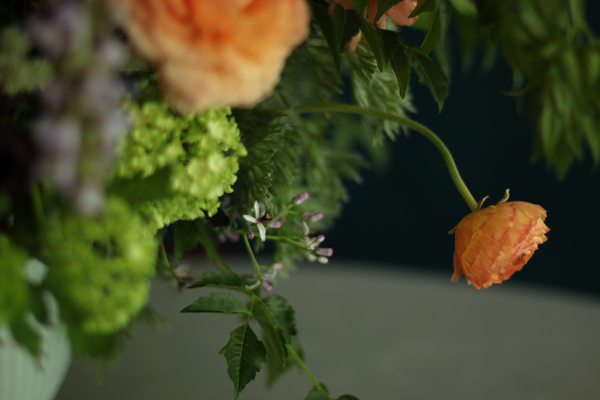
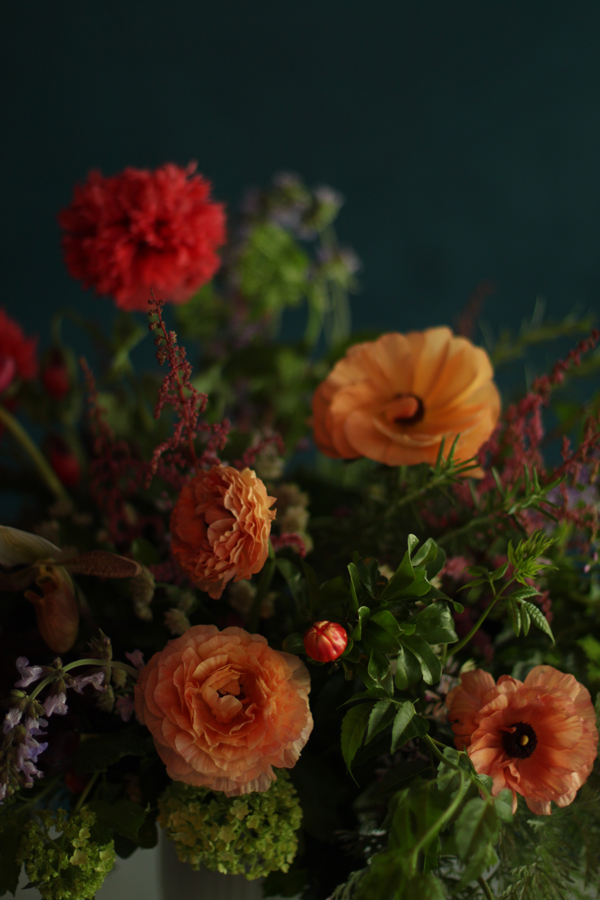
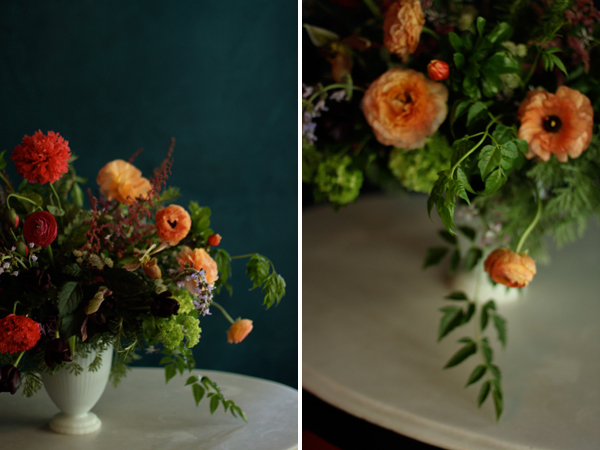
Such an earthly gorgeous arrangement by the Nouveau Romantics for a birthday party at Hotel St Cecilia. Florals such as Peony Poppies, Ranunculus, Astilbe, and Lady Slipper Orchids mingled with gorgeous greens!


Tomorrow is my birthday! Every year I think about what I can do to celebrate without it turning into a second wedding. (That should be reserved for once a decade.) For inspiration, I wanted to share some famous birthdays from the good ole days. And how could we not start with Marilyn? Enjoy!
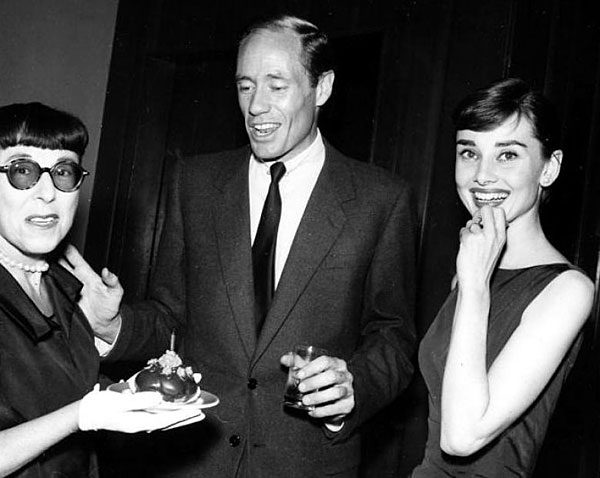
Audrey Hepburn: May 4, 1929


Charlie Chaplin: April 16, 1889

Hitchcock: August 13, 1899 (Did anyone else realize he was this old?!)
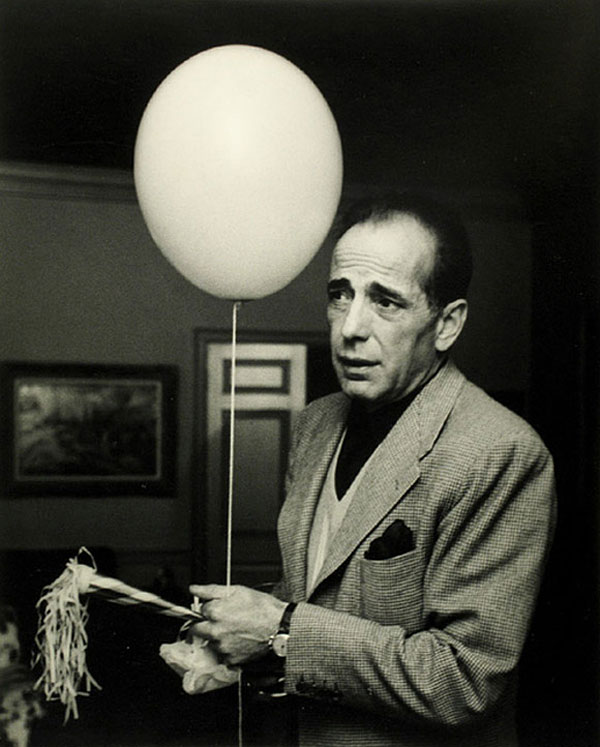
Humphrey Bogart: December 25, 1899

Judy Garland: June 10, 1922 (Katherine Hepburn is to her right)

John F. Kennedy: May 29, 1917


Elizabeth Taylor: February 27, 1932

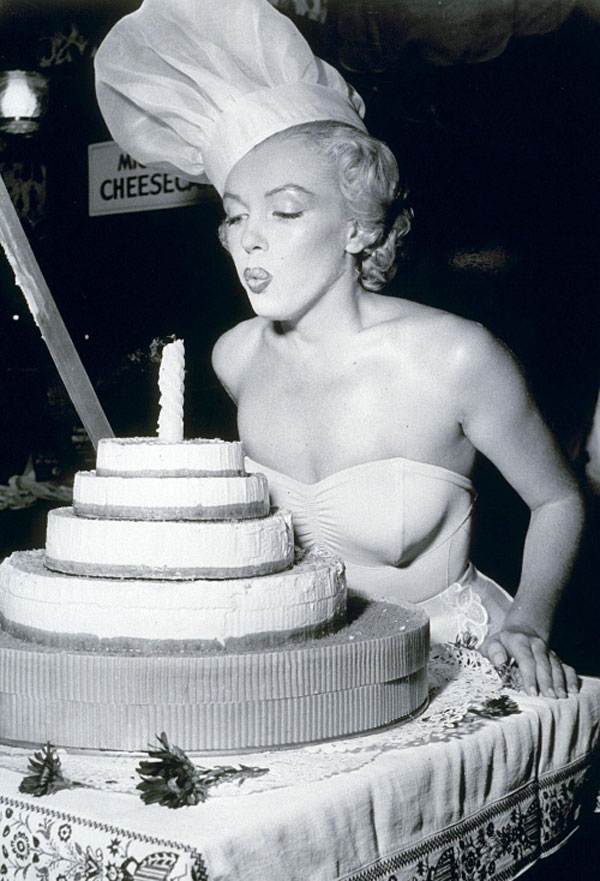
Marilyn: June 1, 1926


Sinatra: Dec 12, 1915
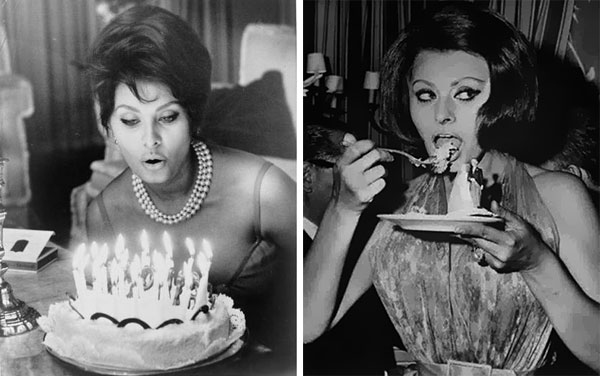
Sophia Loren: September 20, 1934
I hope I look that good blowing out my candles!
xoxo,

Sources: here, here, here, here, here, here, here, here, here, here, here, here, here, here, here, here, here, here, and here

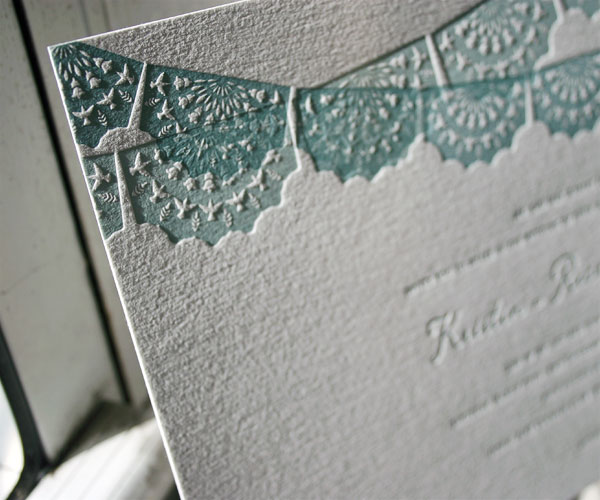
There’s no doubt I love letterpress, I work with it every day – but these beautiful designs by Bella Figura really make me swoon.




Mercury glass can get pretty expensive and sometimes you are limited on the shape and size…..Why not make it yourself? This tutorial from Ashley Brown via Design Sponge on antiquing glass or creating a mercury glass affect on vases and votives is a valuable lesson to the wedding crafter! enjoy!

Materials
Instructions
1. Start by covering the outside of the glass with a few magazine pages and painter’s tape to prevent getting spray paint on the
outside. This step is optional, but I did it just in case. If you end up getting a little on the glass, don’t worry. It scratches right off.
Make sure your glass is super clean (especially on the inside). If you leave smudges, it will cause the “mirror” effect to be a little cloudy and not as reflective.
2. Once the glass is sparkling clean, lightly spray the inside of the glass with water — just enough to form some good-sized water
beads.

3. Right after you spray the water, lightly coat the inside of the glass with the Looking Glass spray paint. Since you’re probably
going to be spraying inside a relatively small surface, it’s hard to do even sprays, but try to keep things as even as possible. Like any spray paint project, it’s best to do several very fine coats than a few thick coats. After each coat, quickly turn the glass upside down to dry. Note: When you turn it upside down, the paint will run, but that’s okay! That’s part of what gives the finished project an aged-glass look. Make sure you put the glass (upside down) on a drying rack so air can get in there to dry both the paint and the water. If you don’t have a drying rack on hand, balance it on two upside-down paper bowls. This method works really well, and you can just throw away the bowls when you’re finished.

4. Repeat step three until you achieve your desired look. I recommend at least three coats.
5. After the glass is completely dry, it’s time for a little bit of enamel paint. This step was a tad intimidating before I got started, but it ended up being really easy and fun. Start out by using the scrubbing sponge to scratch away some of the Looking Glass spray paint here and there. There’s no science to this, so just do what you think looks good.

6. Once you rough up the inside, apply thin layers of the black and gold enamel paint using your paintbrush. For a more “natural” look, try mixing the two colors. Note: It’s kind of like applying makeup, in that you have to know when to stop. Too much scratching/painting will take away the mirrored aspect. So just be sure not to overdo it. If you’re planning on using your piece as a candle holder, remember not to go too heavy on the enamel paint. You still want the candle light to shine though. Also, If you get to a point where you aren’t sure if you should keep going or not, go ahead and put it down for a few minutes (or even a few hours) and come back to it later. With this project, it’s totally okay if you let it dry and come back to it later. There’s really no right or wrong way to do it!

7. Let your new masterpiece completely dry before putting a candle inside. Depending on how thick your enamel-paint coats are, you may want to wait a full 24 hours.
8. Enjoy your new accessory, and don’t forget to tell people, “I made that!”