bit of boho

July 31st, 2013 | Posted by Hello Love in Flower - (Comments Off)
2013-07-30_0012
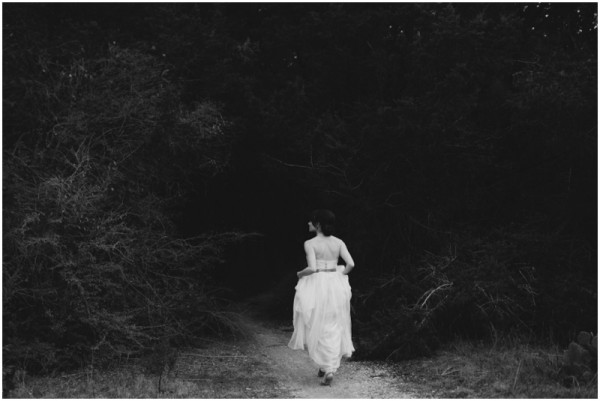
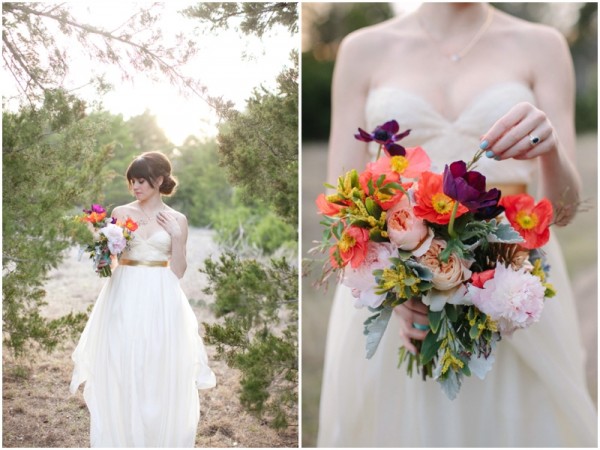
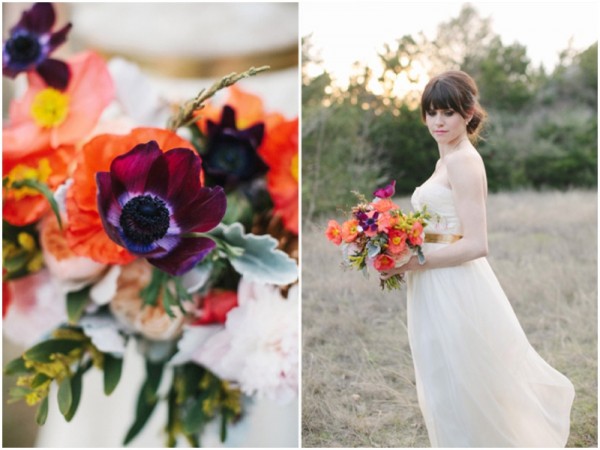
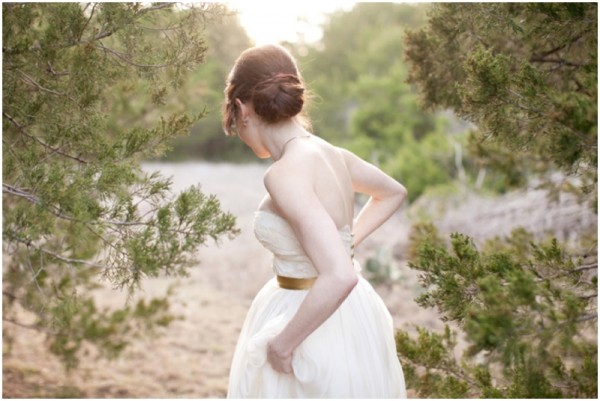
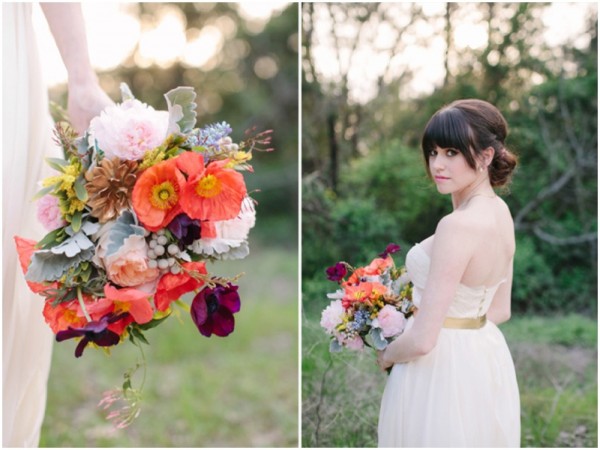
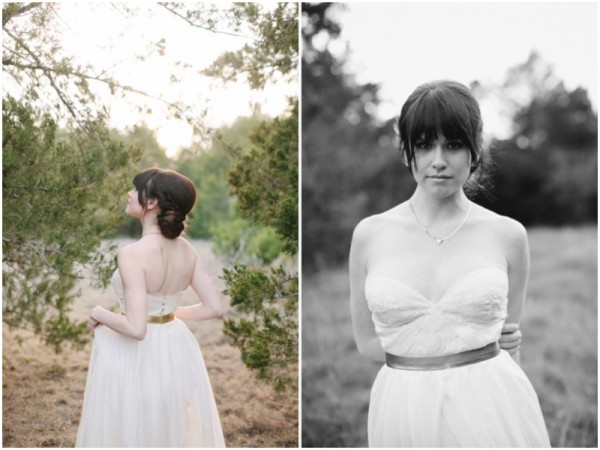
an outdoor bridal session. the florals are illuminated in the sunset…an eclectic bouquet of poppies, anemones, acacia, garden roses, succulents, dusty miller, peony, jasmine, muscari, and brunia, tied off with a turquoise ribbon, carried by a stunning bride to be.
2013-07-30_0004
2013-07-30_0005
2013-07-30_0006
2013-07-30_0007
2013-07-30_0008

dessert bar 101: styling

July 30th, 2013 | Posted by Hello Love in Sweets - (Comments Off)
2013-07-29_0008
(This is part two of a series on creating the ultimate dessert bar. Find part one on the dessert bar basics here.)
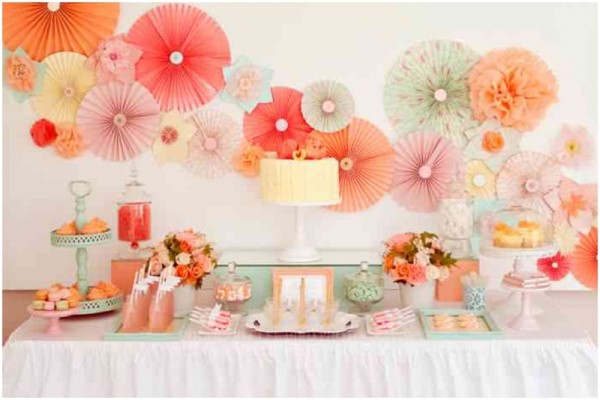
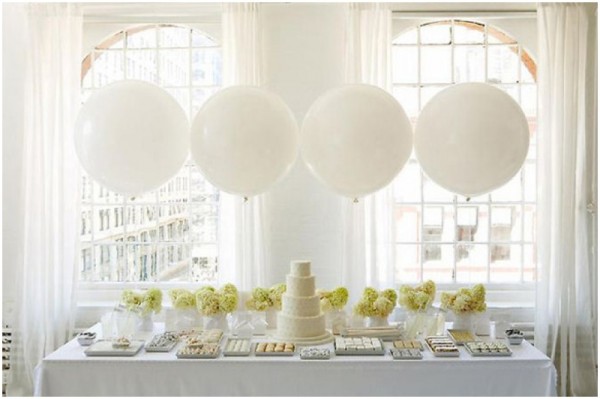
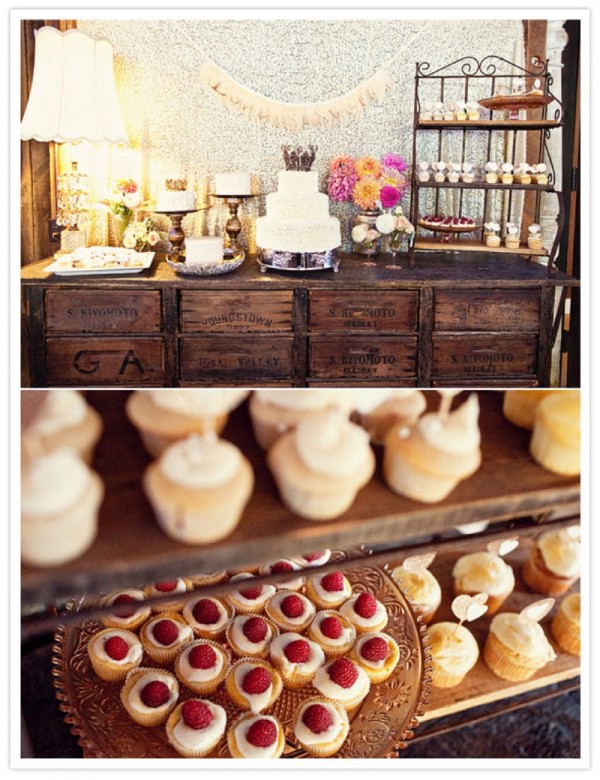
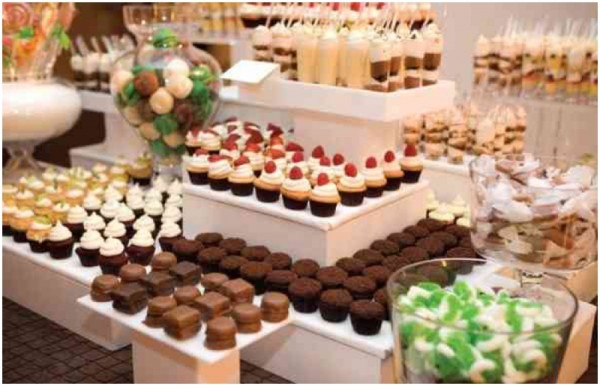
Before the desserts tempt you guests’ sweet tooth, you will want the beautiful styling of the table to be the eye candy that draws them over. (It’s also just a good excuse to create another amazing styled moment. As if you needed one?) Some of the most beautiful elements of the most beautiful dessert bars are the table props, backdrops and styling flourishes. Extra attention to detail here will really make your dessert bar pop. Read on for our tips and suggestions on how to style your table like a pro.


Tip #1: Room Placement, Lighting, Accessibility
It may sound obvious, but I’ve set up quite a few weddings that didn’t fully realize the significance of these three factors, resulting in beautifully styled dessert bars hidden in dark corners and photographs pocked by unfortunate wall markings (thermostats, electrical wires, venue advertisements, etc.) Something I have really learned in this business is that good photographs aren’t a guarantee: you have to set the scene for them, so:
- Make sure you choose a spot that has plenty of light and that the wall flanking your bar is free of any eyesores (or that you will be able to hide any that may exist with your backdrop and styling details).
Consider guest accessibility as well. Dessert bars imbibe a solicitous, come-and-go vibe, and you want your guests to be able to snack between dance party breaks, so make sure that there is plenty of room and access from both sides to your bar. Placement near the dance floor and bar areas are ideal.
2013-07-30_0003
Tip #2: Get Creative with Serving Pieces
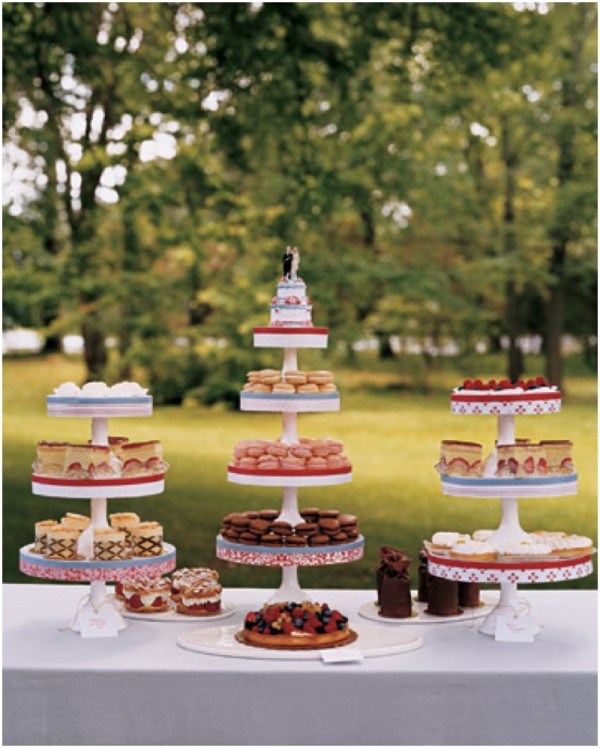
A truly beautiful dessert will look amazing no matter what it is served on, but here we are talking about taking it to that next level of knock-your-socks-off styling. The classic approach is to forage or rent a collection of lovely milk glass cake stands, and this can be utterly beautiful. BUT. If you’re looking for something a little different and equally as charming (which of course you are because you’re here!), try some of these ideas:
For something Rustic:
- mix up materials: galvanized stands, vintage silvers and coppers, woods and whites look beautiful together
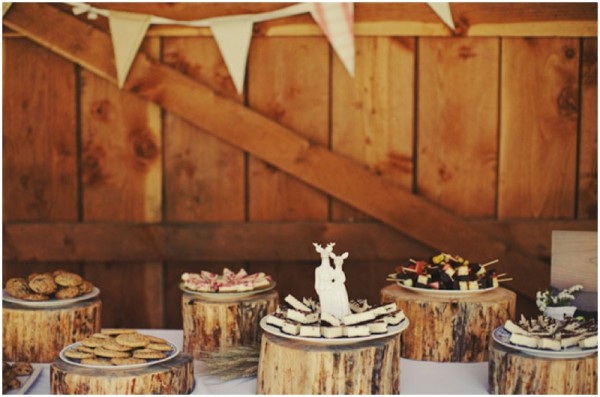
- use wooden slabs of varying thickness (alone, turn them into cake stands, or layer them with cake stands)
- rent vintage wooden crates, egg boxes and scales as props
- beautiful woodcut platters and cutting boards with vintage silver
- berry baskets paired with vintage hankies are always lovely
- rent interesting furniture pieces in place of tables
2013-07-30_0001
2013-07-30_0002
For something Modern:
- acrylic stands come in all shapes and sizes (really. for anything from cake pops to macaron towers to cake knives)
- BHLDN and the like carry some striking unusual stands inspired by everything from sea creatures to royal parties
- pair statement pieces like cut geode platters or artisan ceramics with understated white (more affordable) pieces.
2013-07-29_0009

becoming a bridal beauty!

July 29th, 2013 | Posted by Hello Love in Beauty - (Comments Off)

2013-07-29_0007

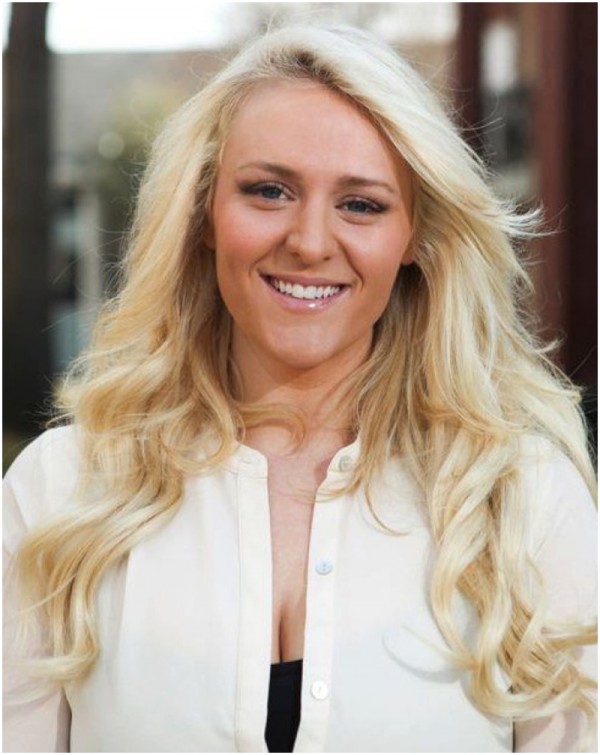
    Hello, Love couldn’t be more excited to introduce our first guest blogger! Her work is absolutely amazing, she’s a total delight to be around and she makes you feel completely confident and calm when you’re in her chair. So, without further ado, here’s Cat (and her first amazing post about bridal beauty)!

Cat Smith has been a freelance makeup artist for 7 years.  She is the owner and creative director of Knockout Beauty. She specializes in make up artistry and hair styling. Knockout Beauty was named 2013 Best Weddings- Best Makeup artist in Dallas by the TheKnot.com. Cat is available for all events including weddings, photo shoots or even just a night out on the town! In addition to working with private clients, she has also worked with international beauty brands such as:

- Bobbi Brown

- Yves St. Laurent

- Laura Mercier

- Le Metier de Beaute

Cat’s Five Tips for Wedding Makeup:

Are you a bride taking on the challenge of doing your own makeup for your wedding day? Never fear! With these five tips, you will be able to create your special day look like the pros!

The amount of makeup you wear on your wedding day differs from the amount you would wear on a day to day basis. It is important to keep in mind that you have to wear more makeup in pictures so that it shows up and highlights your best features.

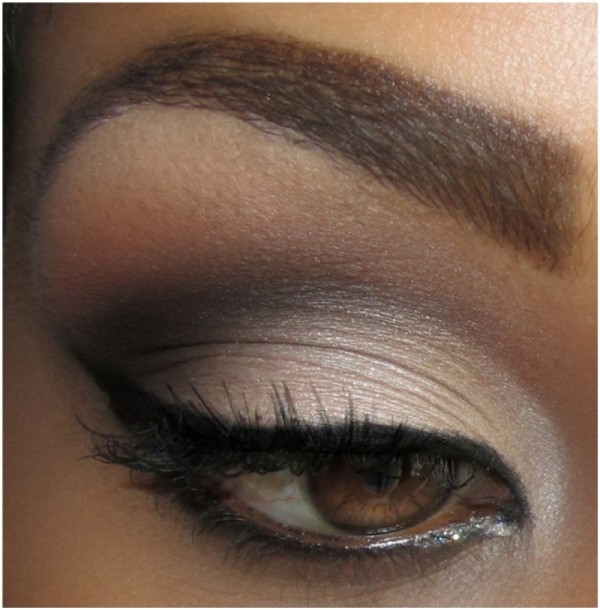
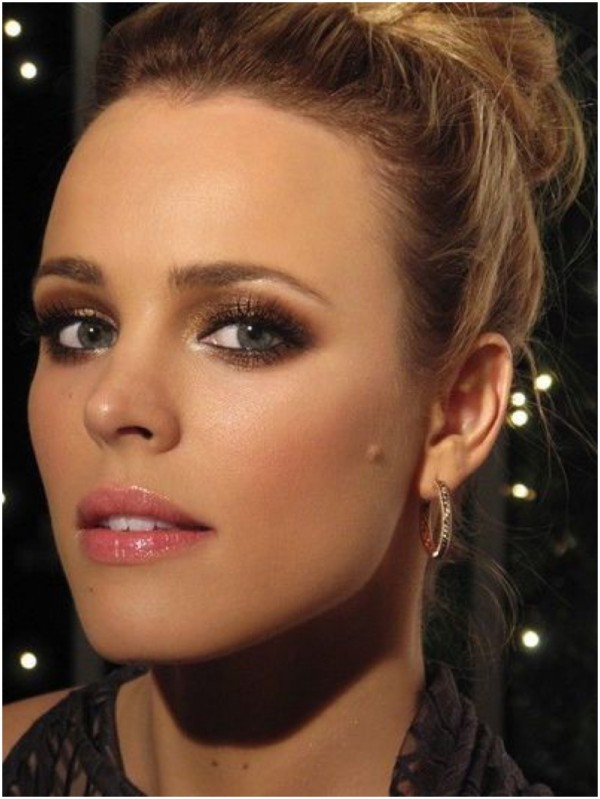
1. Blend eye shadow in the crease and outside corner a shade darker than you usually would. This way it still looks like you, but will be more dramatic in pictures. A safe bet for most brides is shades of copper and brown. These are timeless colors that will always look good.
2013-07-29_0001

2. Line both the top and bottom of your eyes with black liner. For the bottom liner, only line inside the waterline with a gel liner and QUICKLY set it with powder. Your eyes will pop but not look too heavy. The powder helps set the liner in the eye and keeps it from running out when you tear up!
2013-07-29_0002

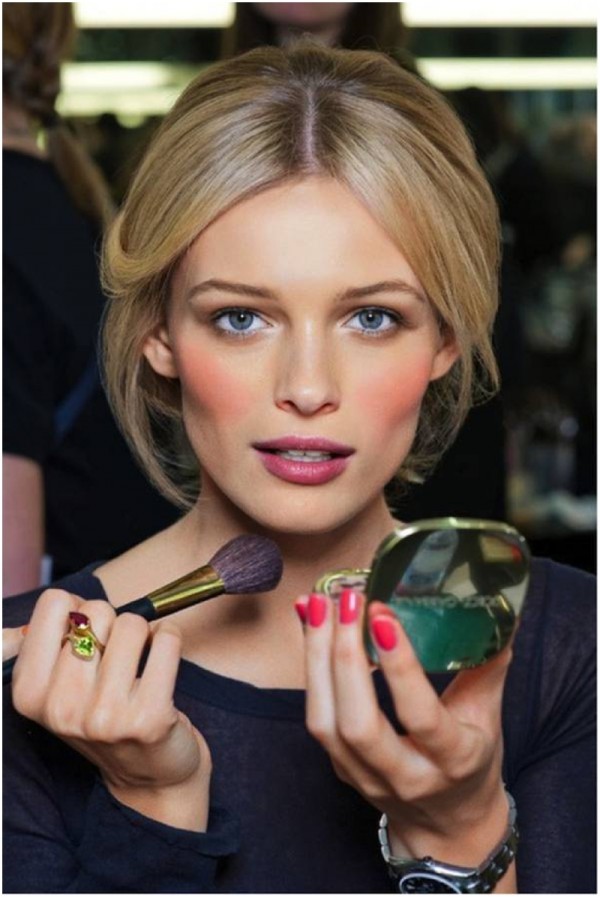
3. Keep blush high on your cheekbones and pat the color on your cheek working from the ear towards your nose. This will help keep your cheekbones lifted and give definition. Don’t brush the color from the apple of your cheek back towards the ear. This can deposit too much color near the nose.
2013-07-29_0003

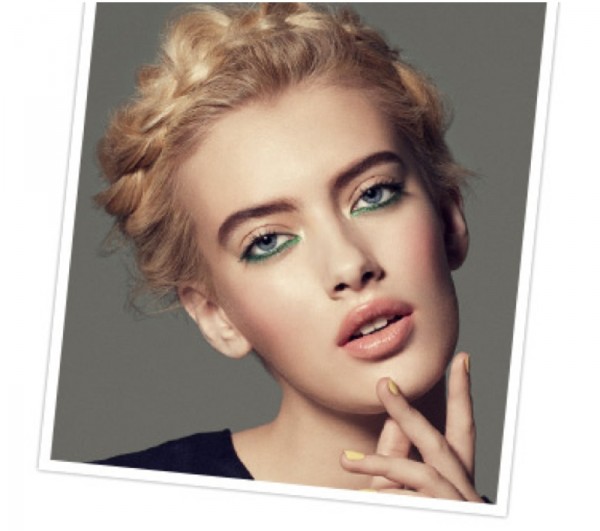
4. Use a matte lipstick with a shiny gloss placed only in the center of your lips. The combo of the matte lipstick and shiny gloss give your lips fullness but will not look overdone in pictures.
2013-07-29_0004

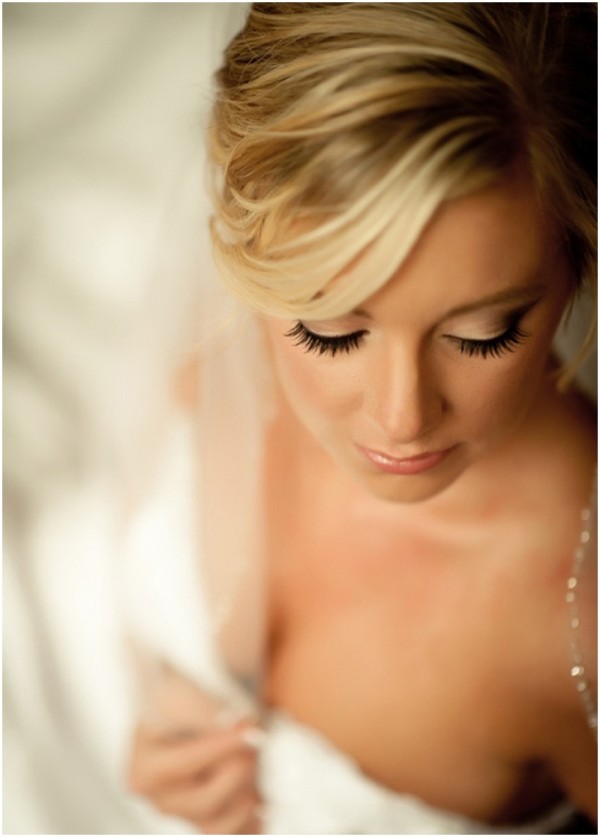
5. LASHES. Find a pair of lashes that give your natural ones thickness and a bit of length. Lashes do not have to be over the top, but they are the quickest way to add a special touch to your look. If full strips of lashes are too much for you, look for demi strips that are applied to the outside corner of eyes.
2013-07-29_0005

*Bonus Tip* To make sure you have the best look possible that will last all day, be sure and use the proper primers and sealants. They will make all the difference!

Hopefully these 5 quick tips will help you find your best look for your wedding day!

XO – Cat

Sources: Sugar Pie Honey Bunch // Juxtapost // Lauren Conrad // Beauty.com // Media-Cache
party style: i’m on a boat!

July 27th, 2013 | Posted by Hello Love in Parties - (Comments Off)


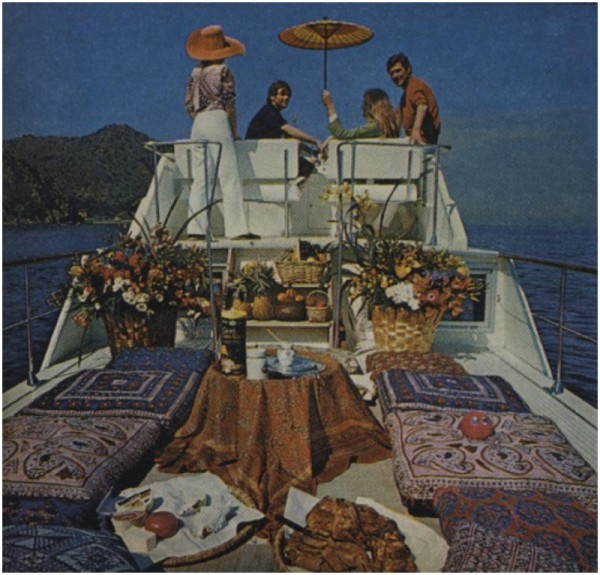
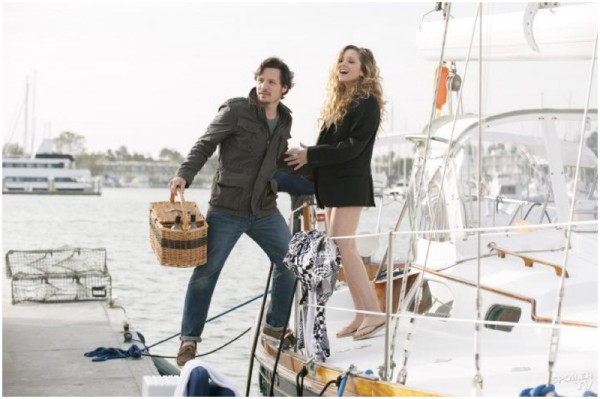
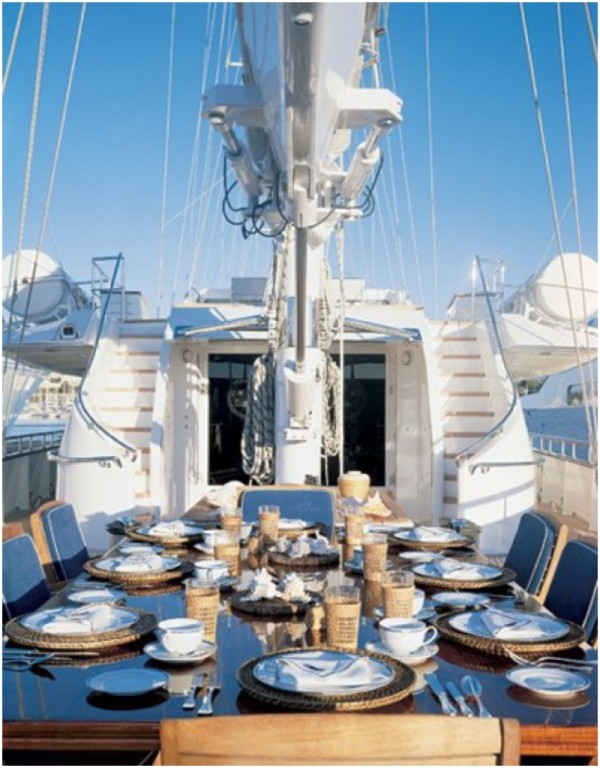
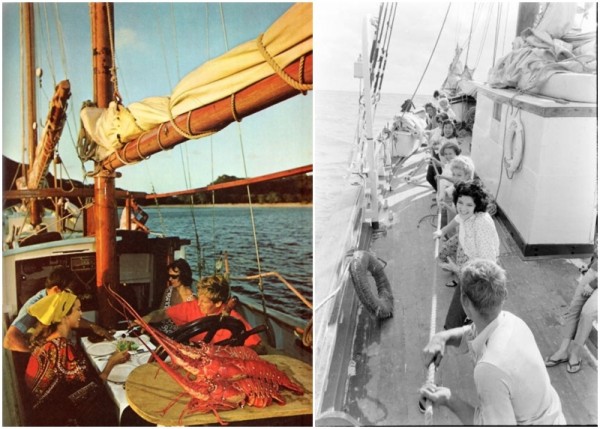
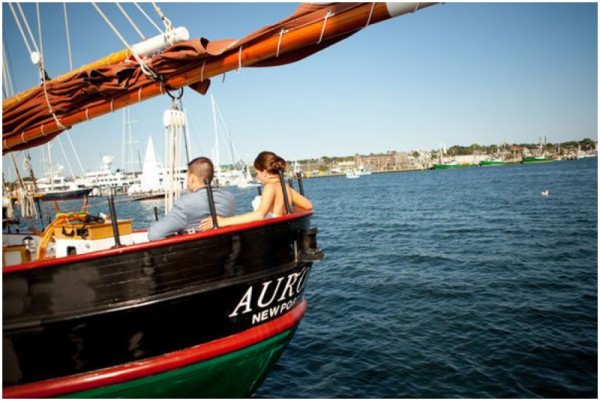
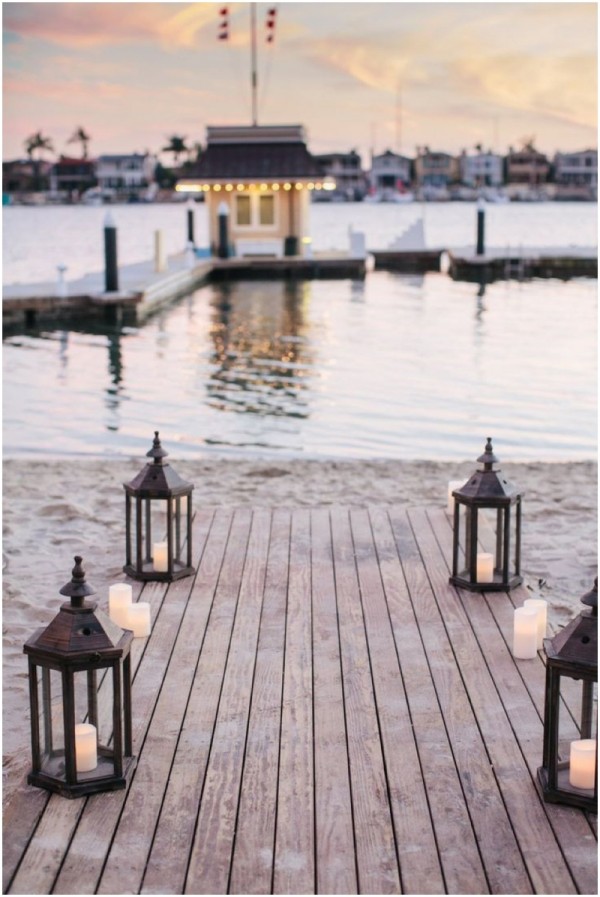
In the summer, a party outdoors is a good thing. A party at the beach, better yet. Party on a boat? The best. Most of us don’t have a boat docked, awaiting the next evening dinner party and cruise, but it sure is a happy thought!  I’ve navigated around the images of rowdy booze cruises and celebrity yacht parties, sponsored by insert-name-of-topshelf-liquor-brand-here, to get to the good stuff. From a picnic for two, to a Moroccan-themed dinner with friends, to a catamaran cruise, these boats show off their entertaining skills!

Cheers!

megansig1


pushing the envelope

July 25th, 2013 | Posted by Hello Love in Paper - (Comments Off)
2013-07-21_0029
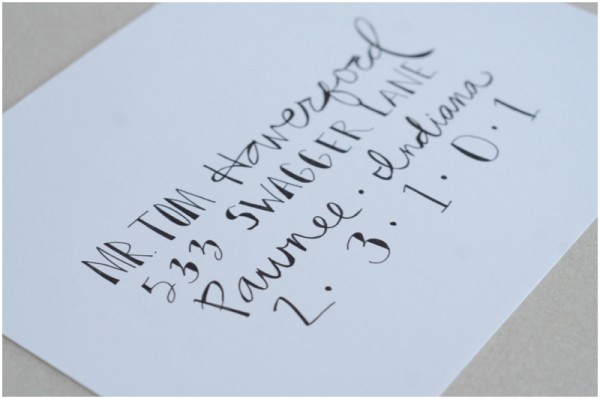
Envelopes are just as important as what’s inside. Choosing the right envelope can elevate any wedding stationary and help set the tone for your event. Here are some great examples of wedding envelope ideas that don’t just mail it in.
Calligraphy is a wonderful way to spice up your wedding stationary, and save yourself the four hours it’ll take to address them yourself! If you write like I do, you should probably hire a pro! We LOVE Lisa Holtzman!
2013-07-21_0028
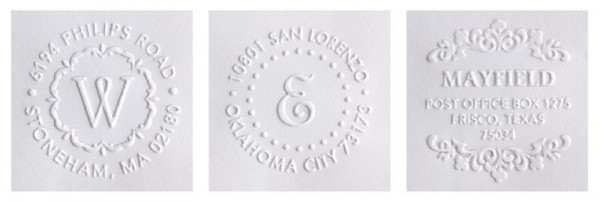
Love this address embosser from tinyprints! Its gorgeous and functional, what more do you want? Best part is that it works with any color envelope!
2013-07-21_0022
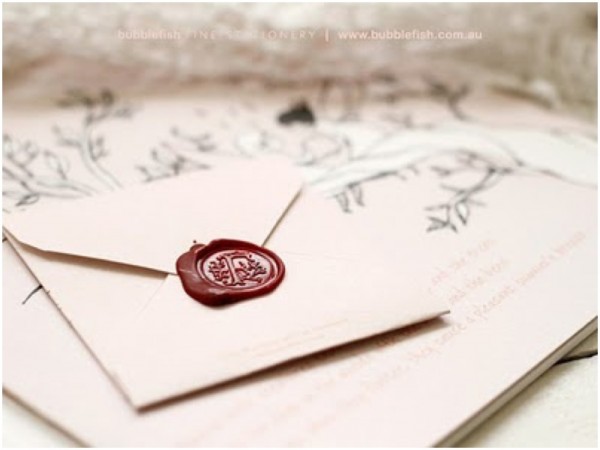
Wax seals channel that formal, romantic vibe and scream, “hey, it’s official.” Also a great use for that signet ring you’ve been eyeing with your new initial?!
2013-07-21_0023
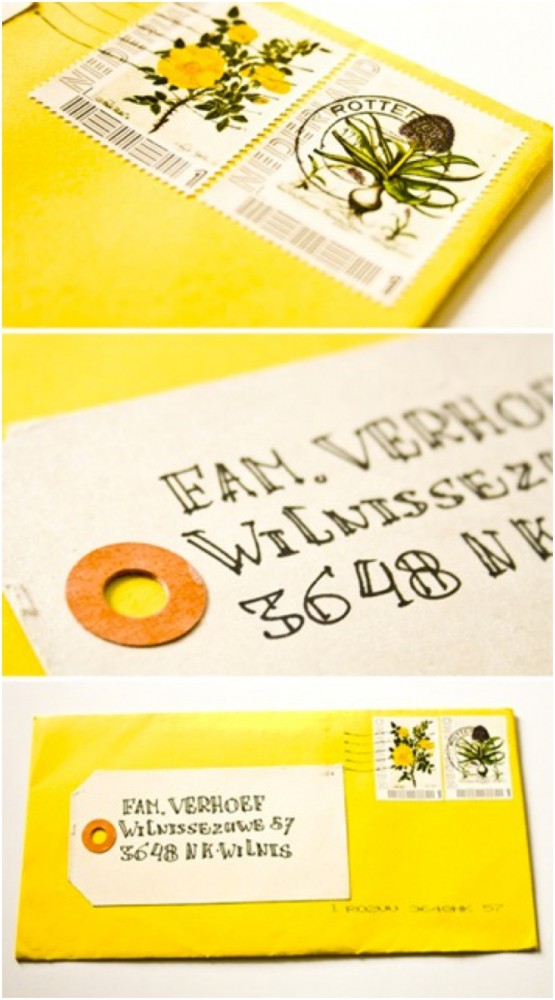
Really fun take on envelope labels! perfect for afternoon garden DIY wedding!

rooms in bloom

July 24th, 2013 | Posted by Hello Love in Flower - (Comments Off)

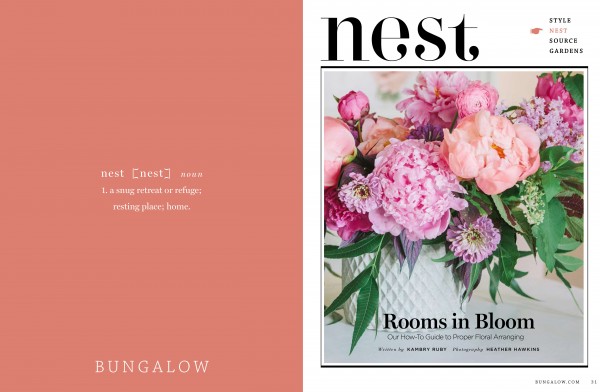
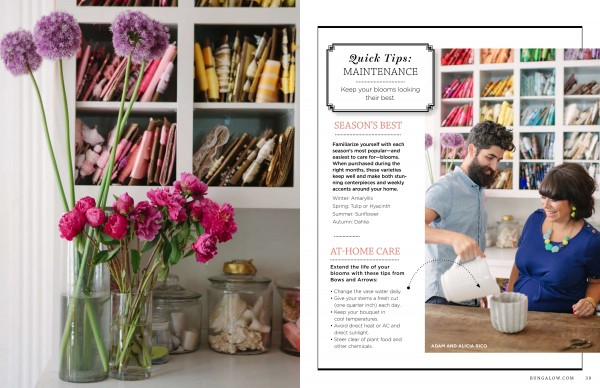
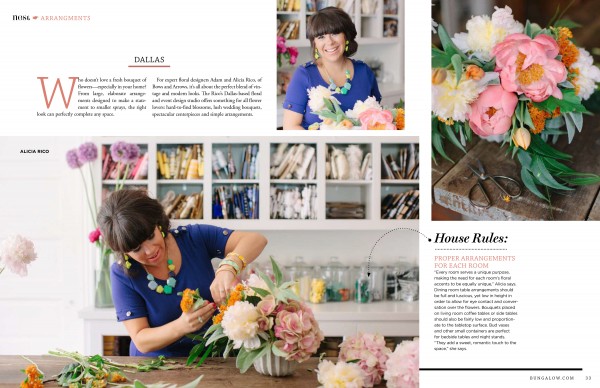
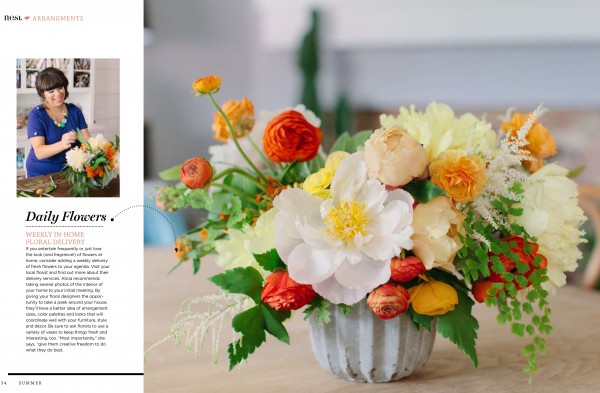
Bungalow Magazine Flowers

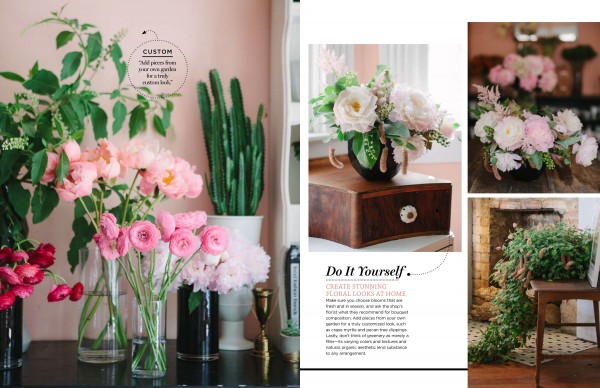
We are so happy to be featured in the current issue of Bungalow Magazine! The shoot is all about arranging flowers for your own home – so, be sure to try some of these tips next time you want to spruce up your space!
Alicia-13


dessert bar 101: the basics

July 23rd, 2013 | Posted by Hello Love in Sweets - (Comments Off)

2013-07-23_0009

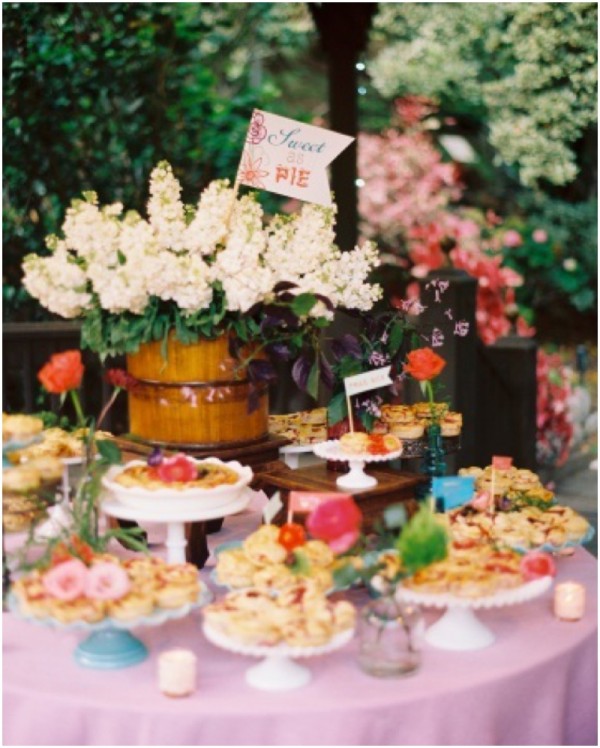
Over the next few posts, we are going to walk you through the how-tos of assembling a dreamy dessert bar that strikes the perfect balance with style, taste, and practicalities. There are a lot of details to cover to pull off a beautifully styled table: menu, servers and flatware, props, backdrops, and signage to name a few, and then there are all the practicalities like quantities, organization, and utility. It can be a bit overwhelming for the novice and professional alike. But take a walk through our dessert bar boot camp over the next couple of weeks and you will be fully prepared to create a striking spread that even Martha would approve.
2013-07-23_0002

I like to think of the dessert bar as a party within a party, and like a party, it takes planning to pull it off. So let’s start with the basics.

First up: the venue, date and event style.

These determine the styling direction for your table, and play an important role in menu design. Are you having a casual backyard dinner party with long tables and cafe lights? Is your event more rustic – set in a barn/stable/mill, or at a family ranch estate? Are you going for a super-styled bash set in a white-walled gallery or loft with warehouse windows and exposed brick walls? A more traditional ballroom? A destination escape set amongst palms and sand? It may seem obvious, but it’s important to have this figured out first before jumping into a menu tasting or design.
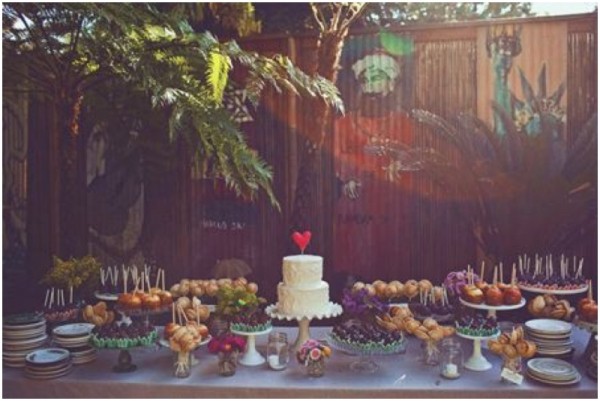
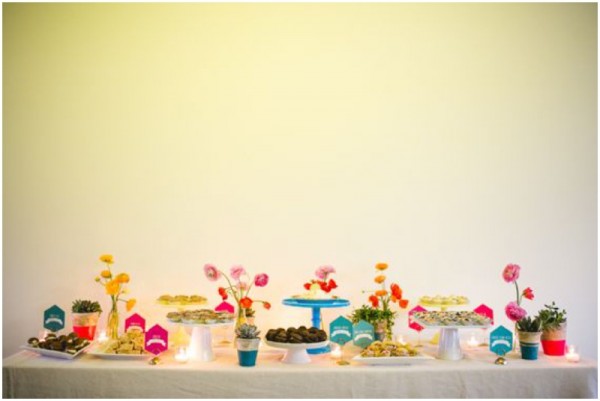
Next: menu design!

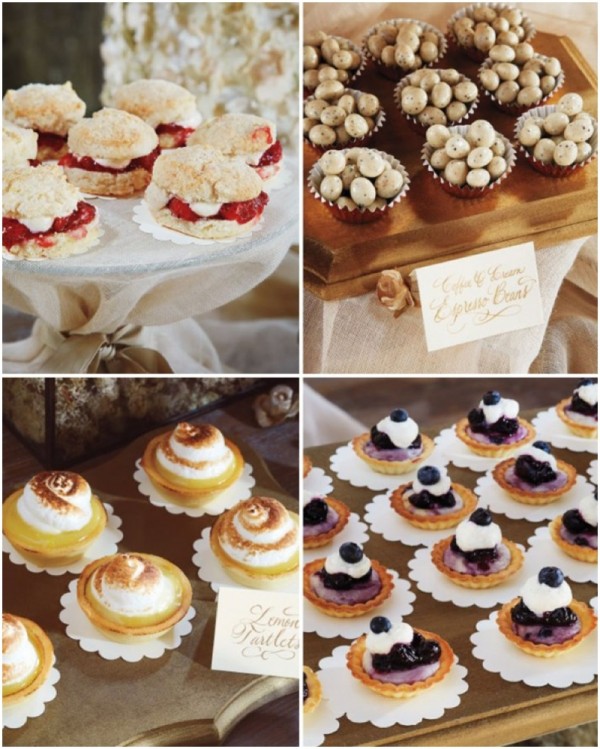
So now that you have your style and venue chosen, it’s time to choose your sweets. The most important factor is that you serve items that you love, because even if you have the most beautifully styled dessert bar anyone has seen, it’s going to be a flop with food that is unsatisfying. Use your event date and style as a guide for brainstorming:

-Think about the season your event will take place in – what are some flavors, fruits and experiences that come to mind?
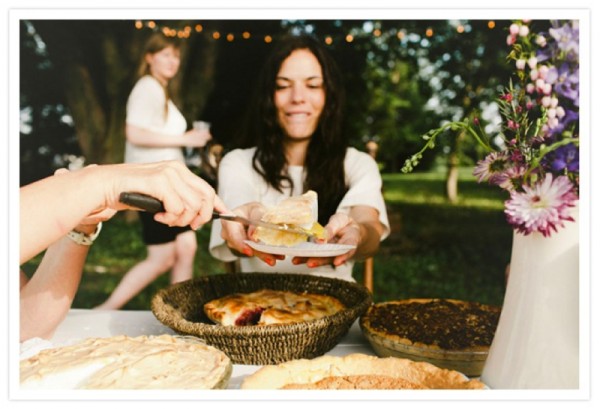
- Think about the weather, too. If your event is in the heart of summer you will probably want to serve treats that will be refreshing (and possibly even frozen). If guests will be bundling up and trekking through snow to attend, you’ll want at least a few options that will keep guests warm and toasty.

- Think about your style, and the types of foods you associate with them. For example, something rustic usually calls to mind pies, fresh fruits, shades of brown (caramel and chocolate, for example), while something modern may call to mind more color, geometric shapes, symmetrical servings, and clean lines.
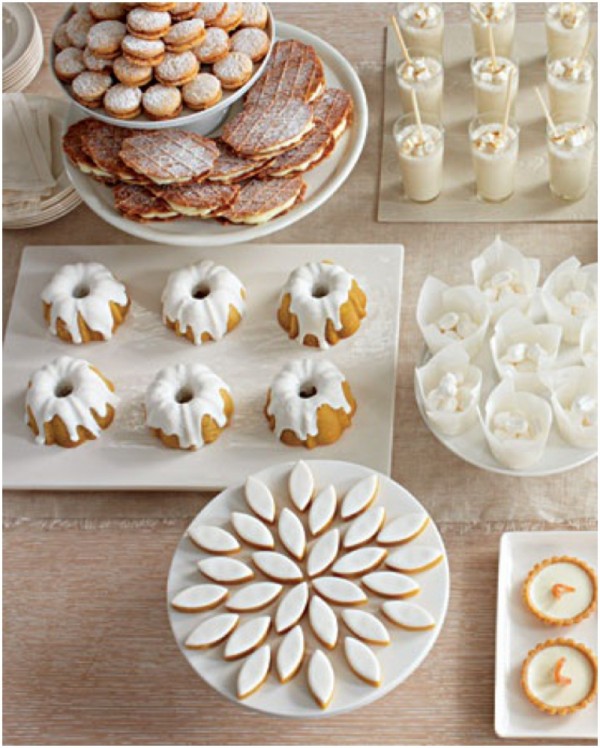
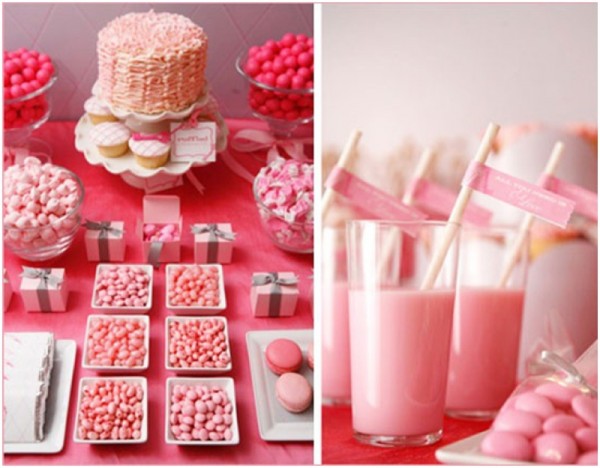
- Think about your colors. Is your affair monochromatic, pastels or jewel tones, or all over the place? If color plays a significant role in your event design, you will most likely want it echoed on your dessert table too.
With all these things in mind, get with your fiance, family, or event co-hosts and make lists of treats and flavors that you love, inspired by your date, venue, and style. Use this targeted list at your starting point when researching, and then meeting with caterers and bakers. A talented baker will be able to spitball with you and come up with some items that fit your personal tastes and style.
With menu in hand: determine quantities.
One of the biggest stresses for most couples planning a wedding with a dessert bar is the quantities of items to order. Here’s a simple guide I offer to most:
- If cake will be served, bet on 1-2 additional dessert bites per guest.
- If no cake will be served, or only a small cake, bet on 3-4 dessert bites per guest.
 There will always be those who (for reasons totally crazy, right?!) don’t sample any treats. And there will be those who want to sample everything. With all the work you are putting into style and presentation, and with the right baker in hand whipping up unbelievably tasty treats, guests will want to sample a couple of different items. 3-4 per guest is a good median rule.
So now that we know our date, style, venue, menu, and quantities to order — we can start the fun styling and organizing — the subject of next week’s follow up post!
Yum!